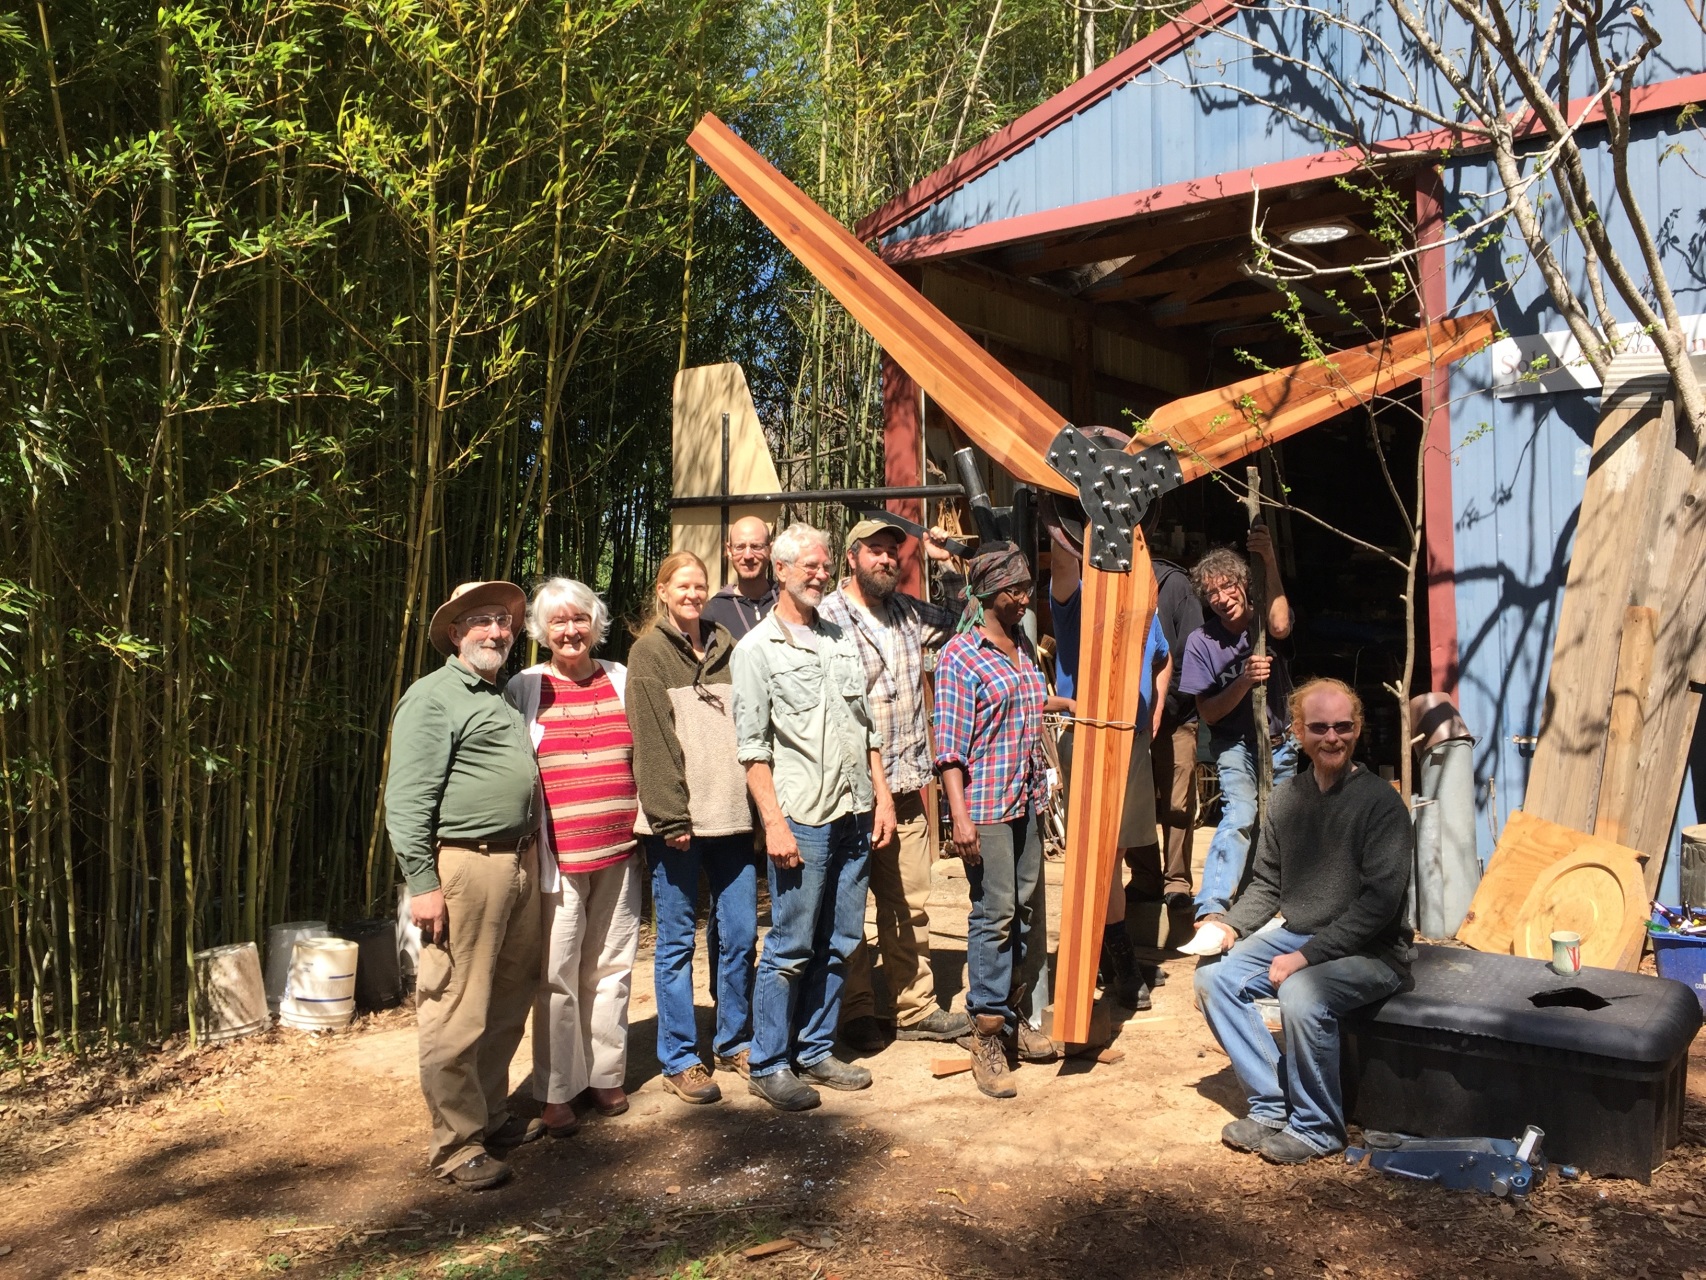
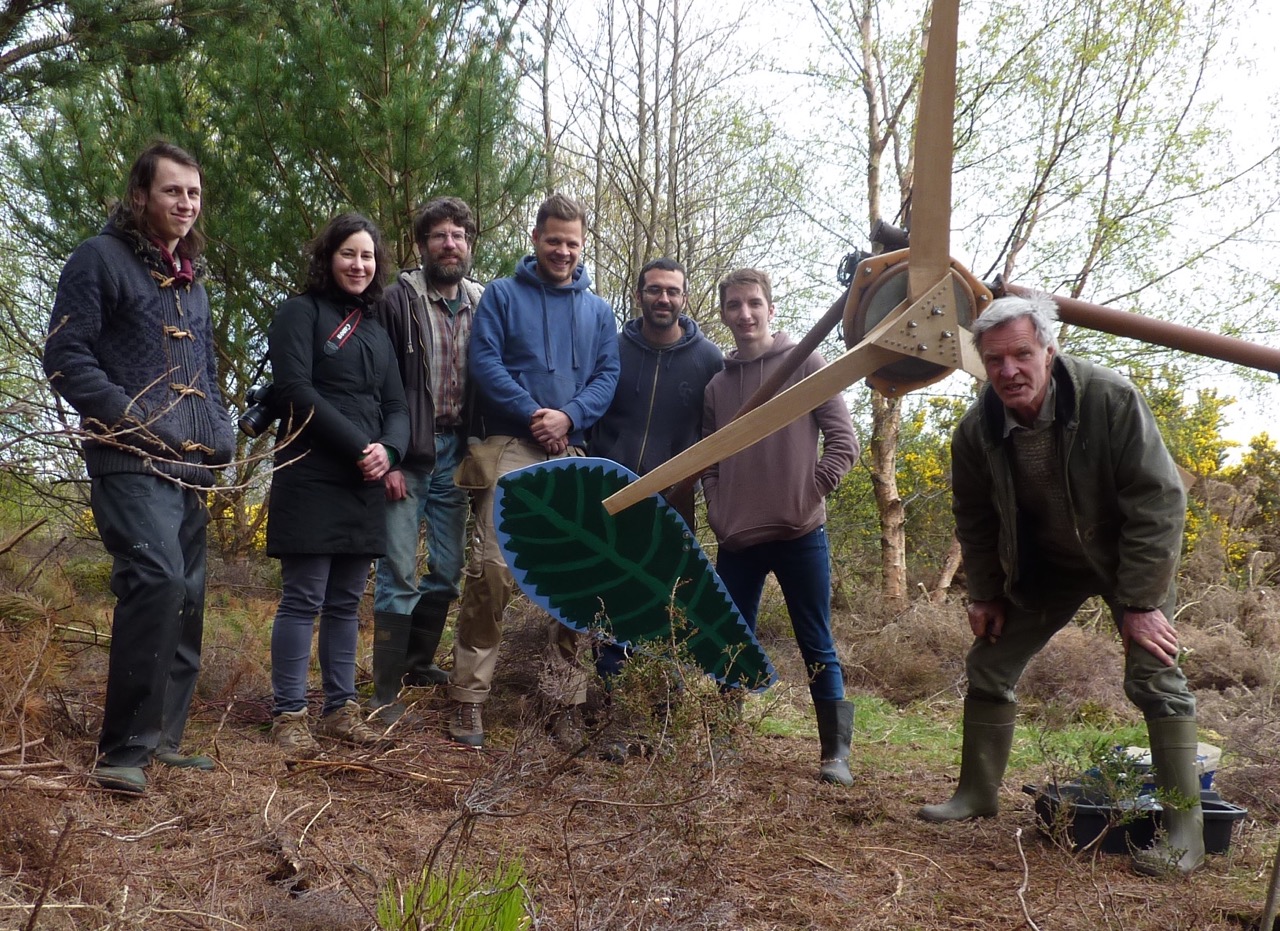
The self-timer group photo session.
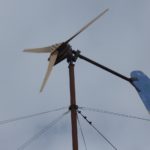
On this year’s course we built a 2F machine but with 16 magnets instead of the usual 12. I have a cheap source of these smaller magnets. The 2F is a “2 metre diameter Ferrite magnet wind turbine” which is documented in my 2F wind turbine construction manual.
The rpm is a little higher than the 12-pole version. We played with adding an extra layer of magnets to one rotor, and got about 15% higher flux density (hence lower rpm) but I don’t think I will build any serious alternators stacked like that.
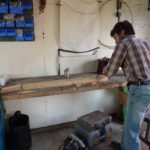
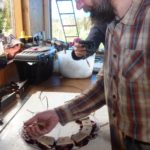
Most of the blade carving was done with drawknives but I did not get any pics of that. It’s an easier procedure than the one in my Recipe Book and seems to give good results for this size of turbine.
I am very grateful to Kostas Latoufis for coming to help, and for putting up with me so patiently. Also grateful to the five participants for their hard work and good company.
-
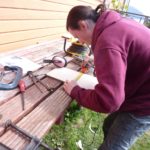
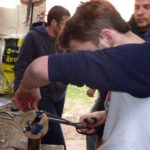
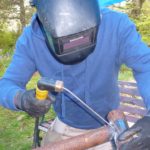
- Welding practice
-
- Owain welds the stub axle in
-
- Theo welds the yaw bearing
-
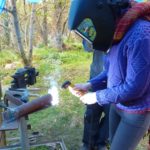
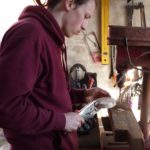
- Annabel welding
-

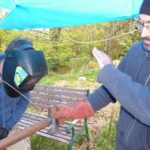
- Kostas sets up the tail hinge angle
-

- Theo helps with the tail hinge angles
-

- More angles
-
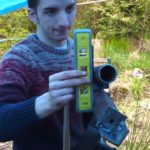
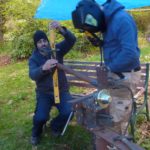
- Using a 6mm drill bit as packing to check that the tail hinge is above the yaw axis
-
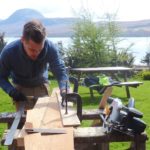
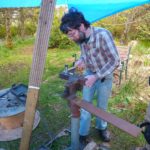
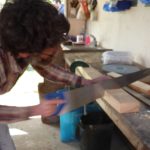
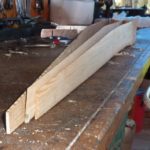
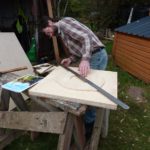
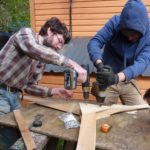
- JP sets up a fence to cut the blade taper
-
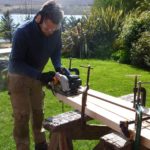
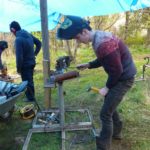
- Tapering the blade
-
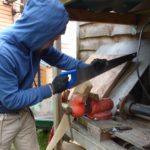
- Owaing kerfing his blade
-
- and chopping out the waste wood
-
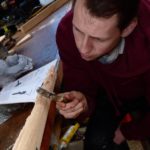
- Using a chisel to smooth the triangular ramp.
-
- Removing the tip in the end
-
- Some blades came out a bit undersized
-
- Sam building up his blade with epoxy
-
- JP cuts the root of his blade to fit the hub.
-
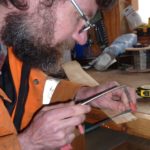
- Annabel checks the thickness of her blade root
-
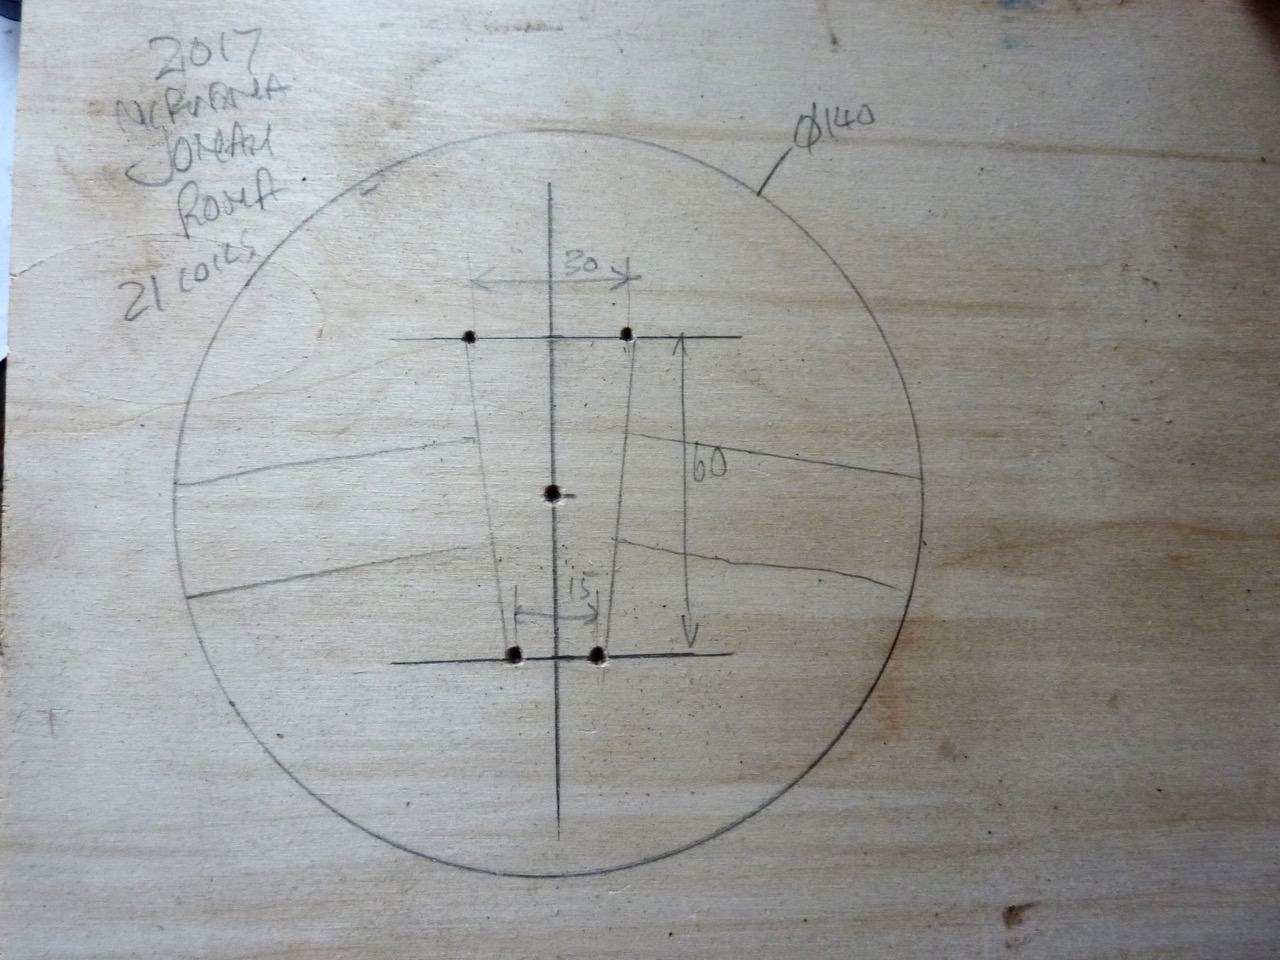
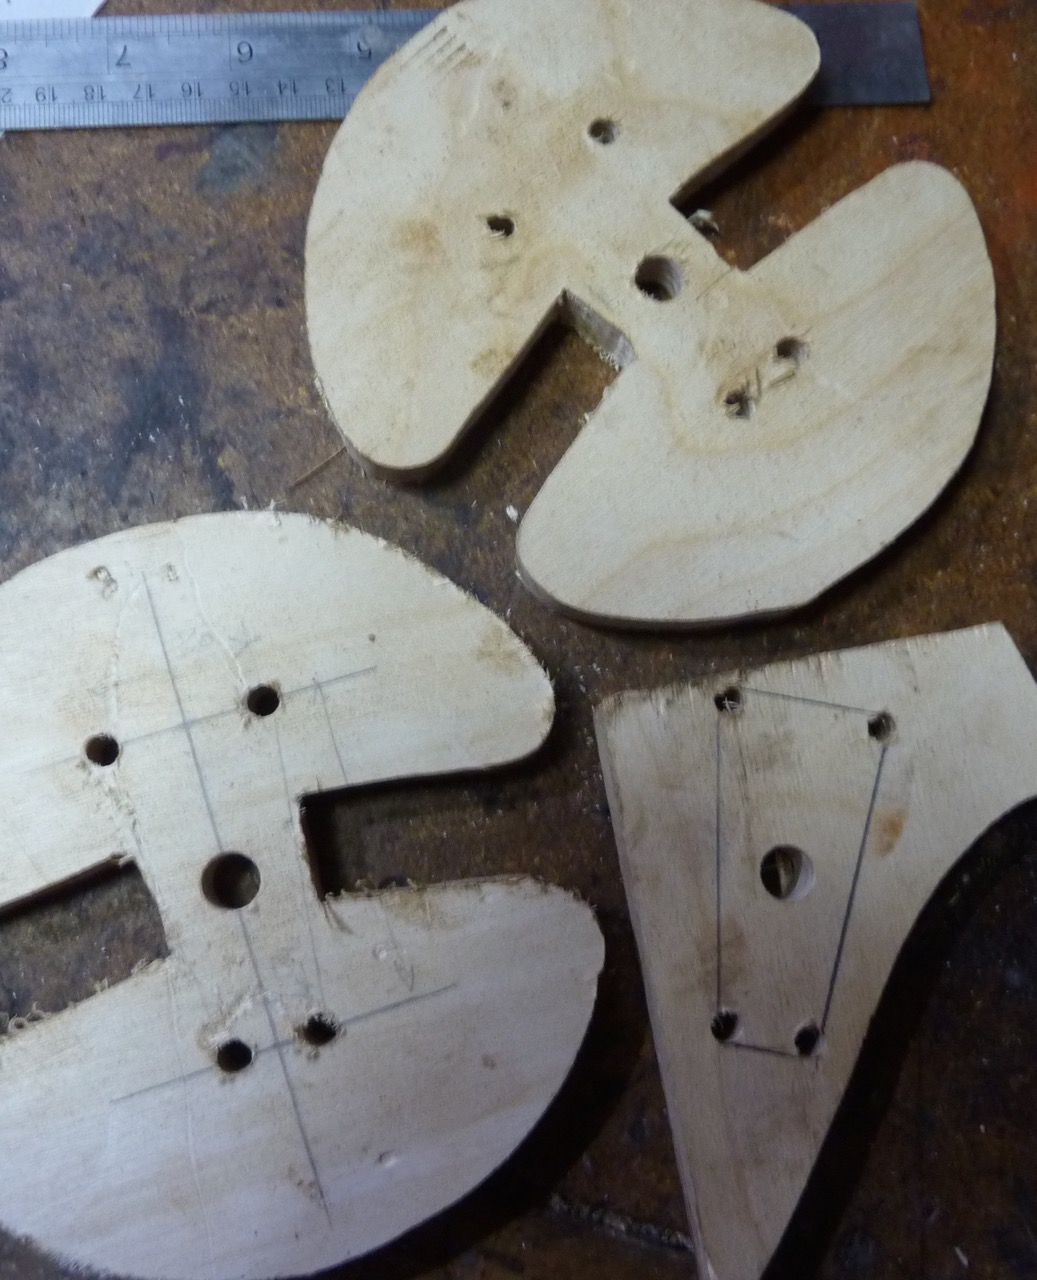
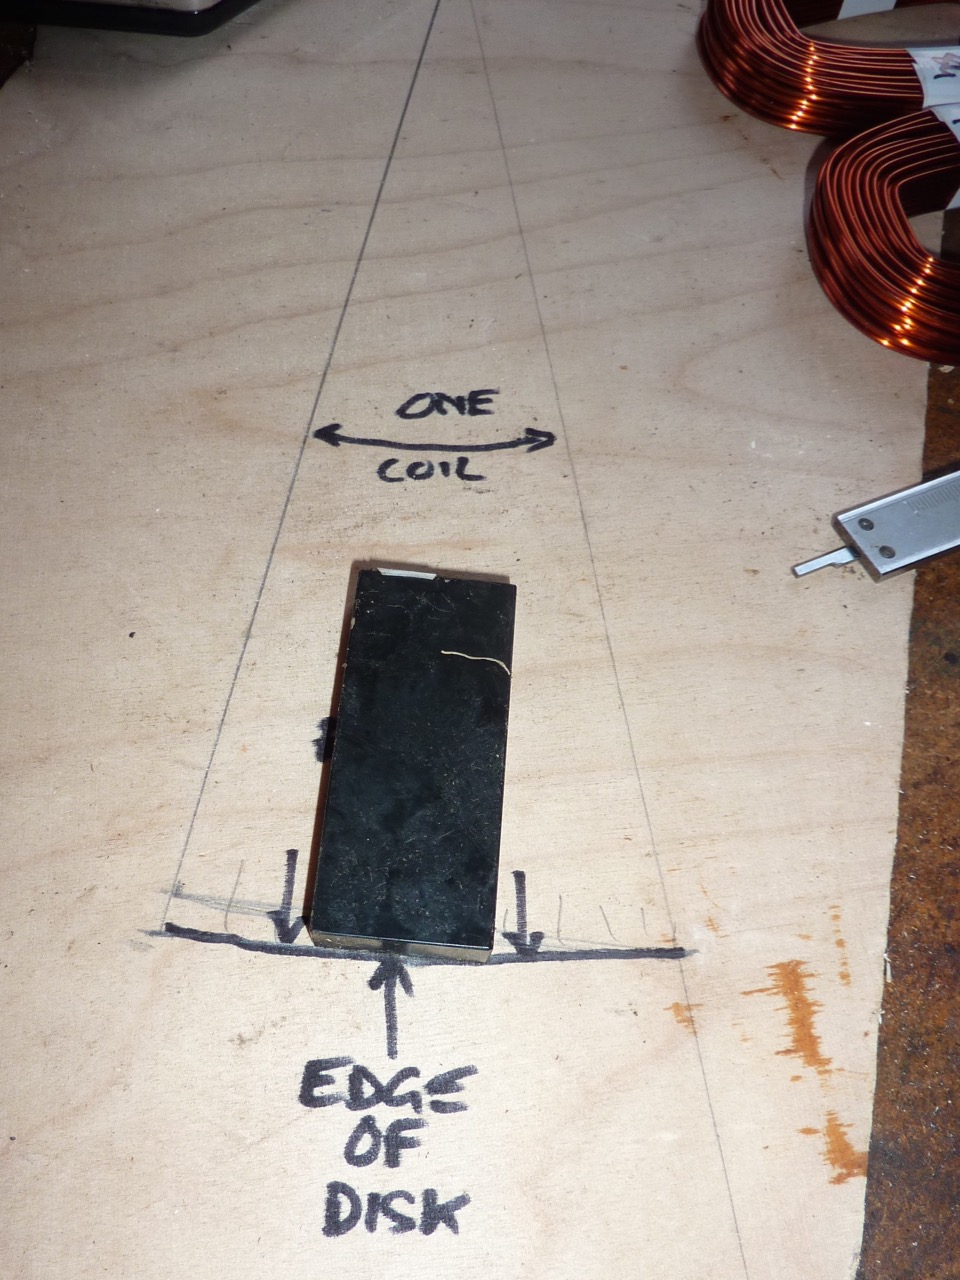
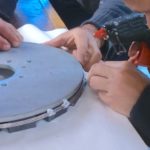
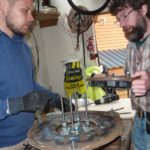
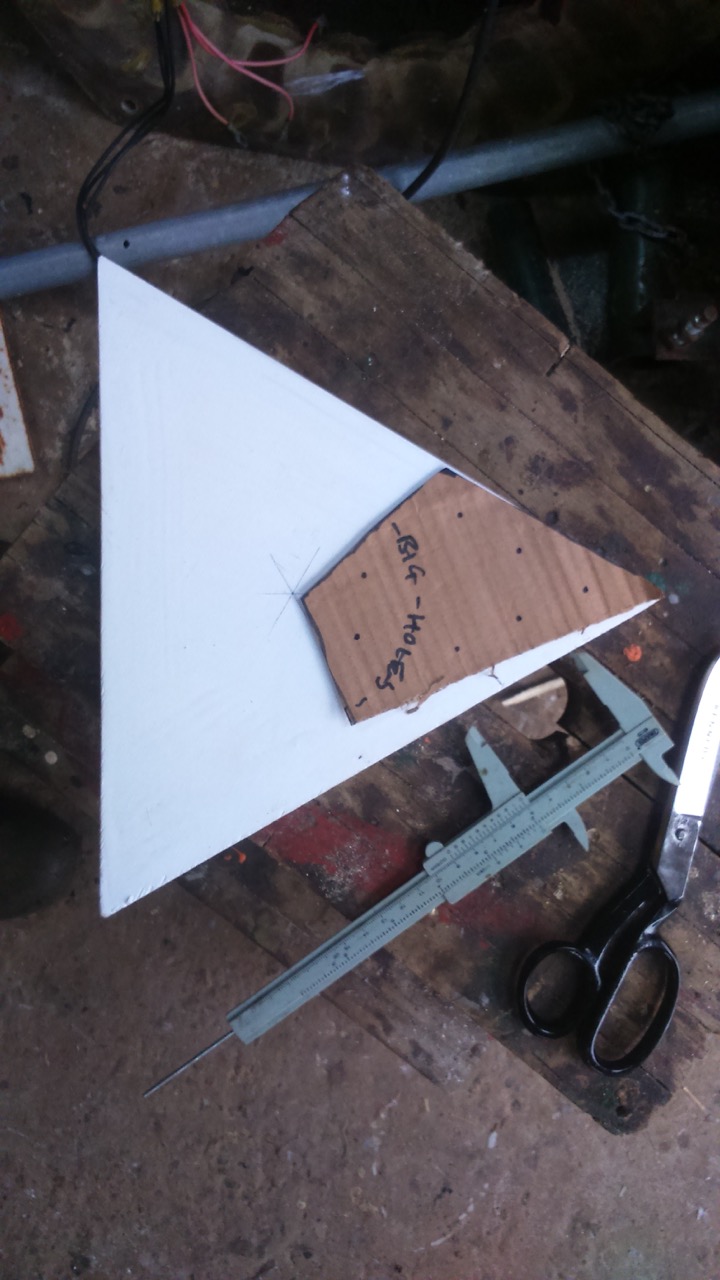
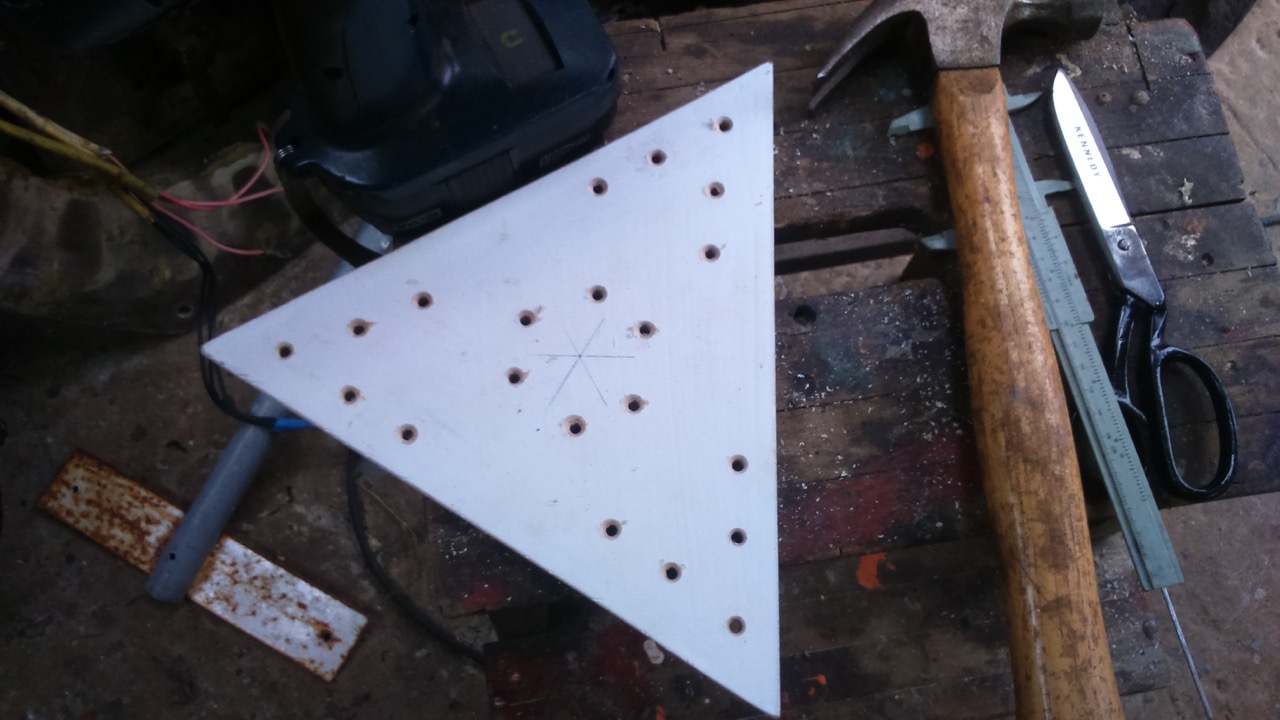
- Marking out the holes for the coil winder
-
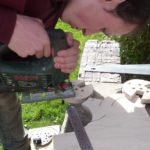
- Sam drills holes
-
- Cutting notches for tape
-

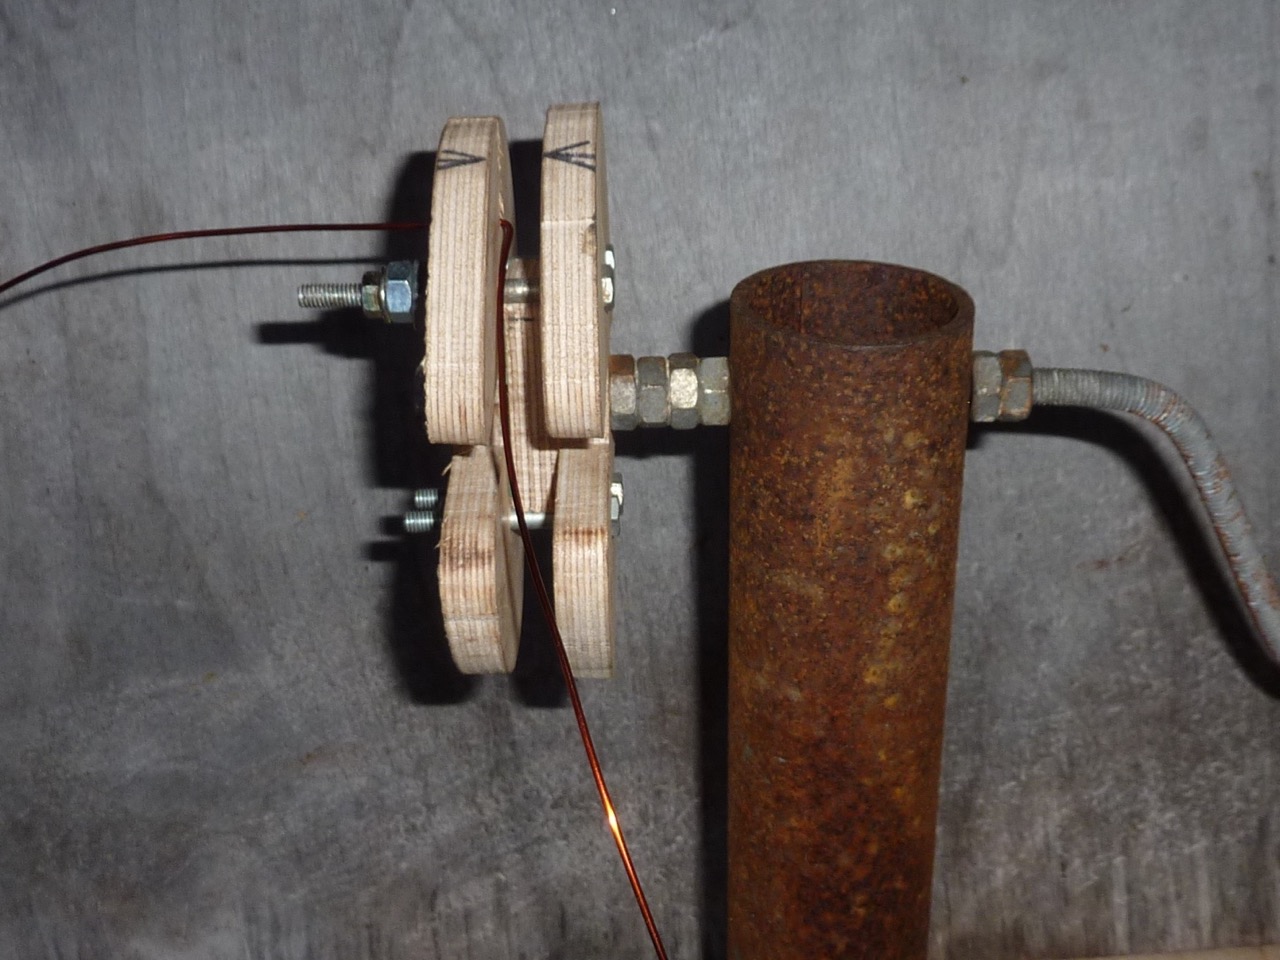
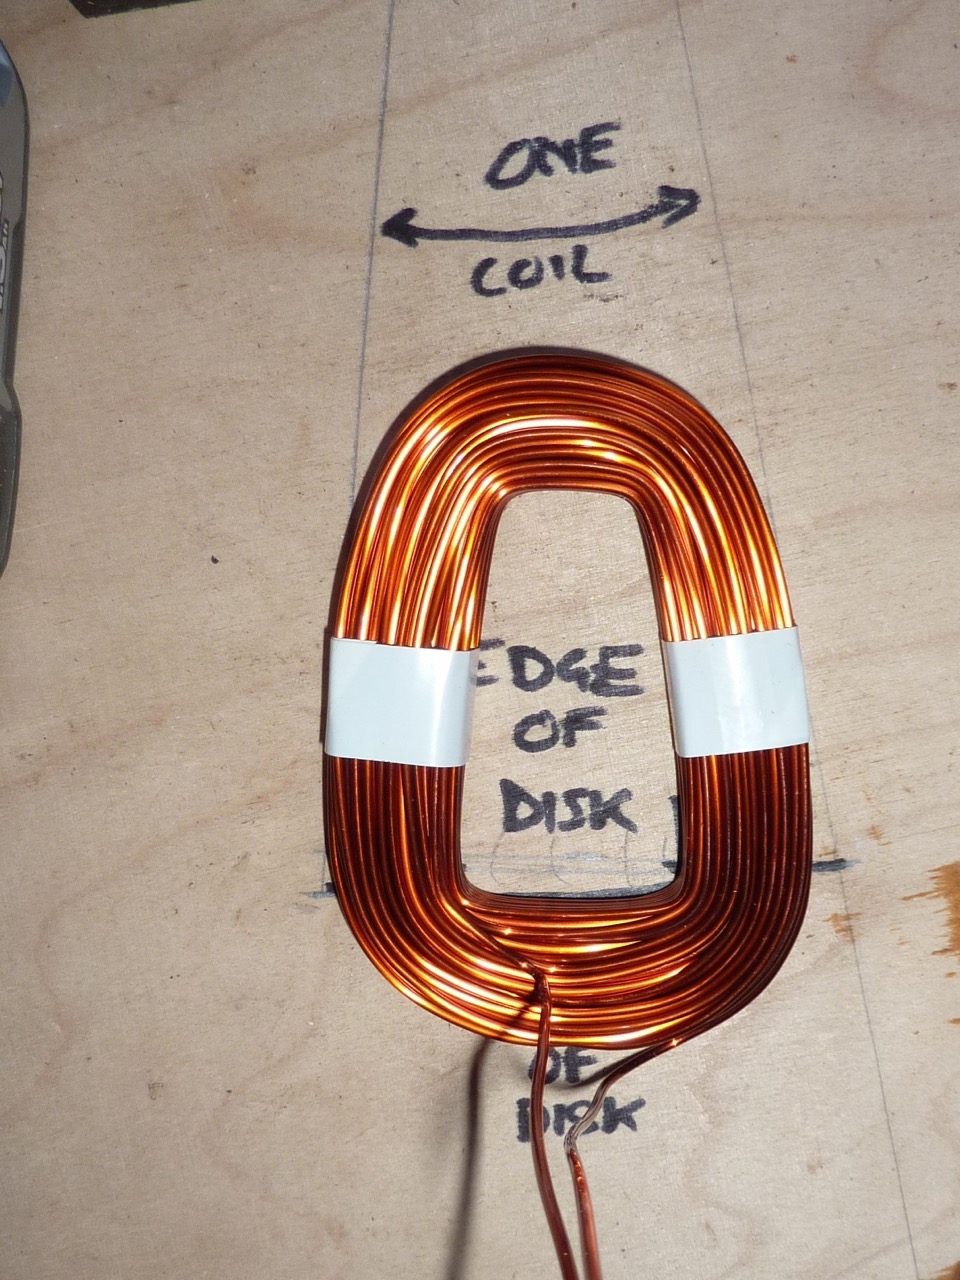
- One coil winder.
-
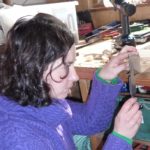
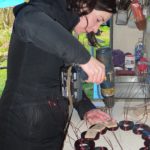
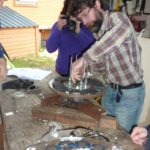
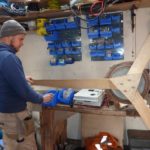
- Winding coils
-
- Taping a coil.
-
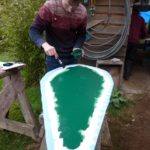
- The stator mould
-
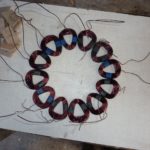
- 12 coils the right shape and size ready.
-
- Fixing in place to solder tails.
-
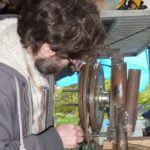
- Owain checks polarity using a magnet with a current in the wires.
-
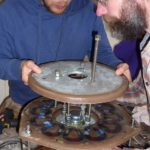
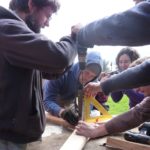
- Kostas and Theo put coils in mould.
-
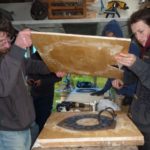
- Out comes the stator
-
- Hot glue gun to fix the stainless wires around the magnets
-
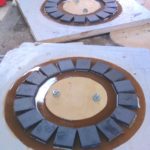
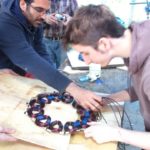
- 16 pole magnet rotors in the moulds
-
- Owain assembles the alternator
-
- JP fits the second rotor.
-
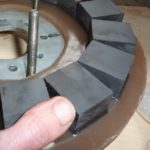
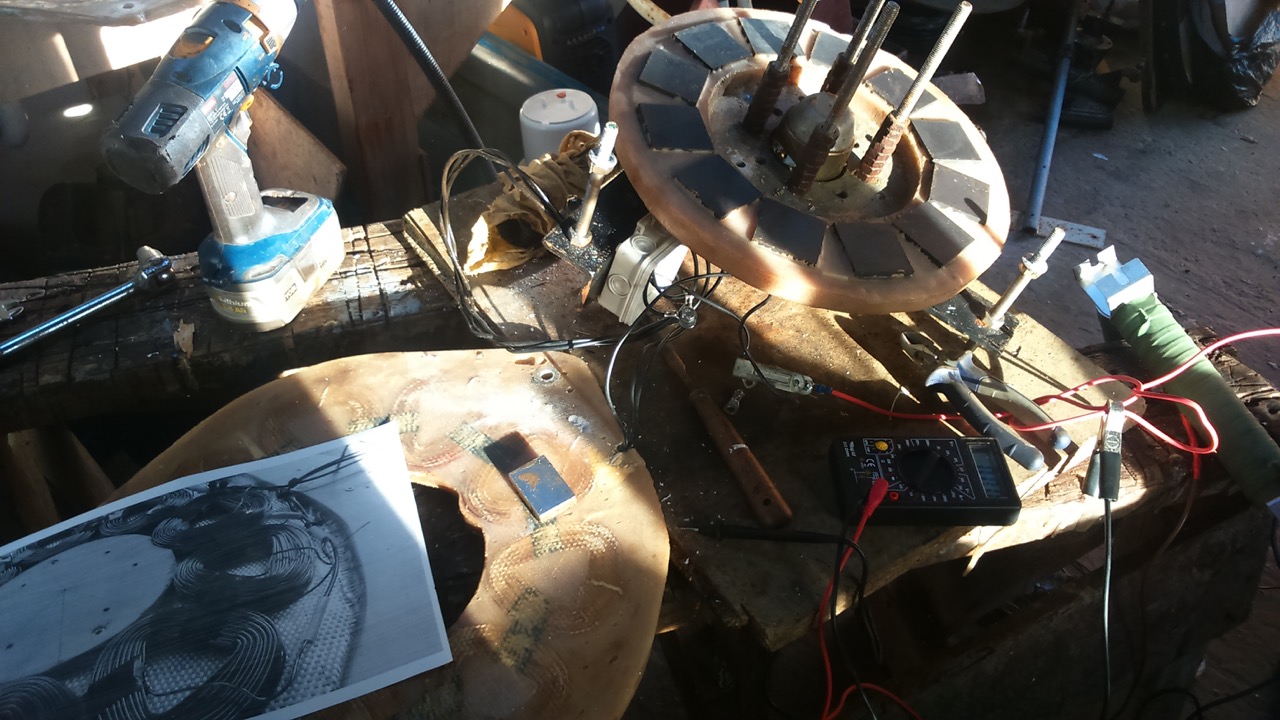
- Extra magnets on one rotor.
-
- Playing with an extra set of magnets on one rotor.
-
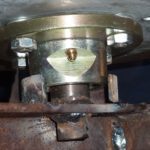
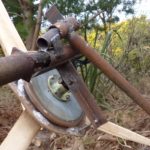
- Hub assembled in reverse so we can access the grease nipple.
-
- Checking clearances
-
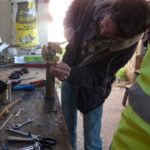
- JP welding the tail
-
- kostas helps JP with tail welding
-
- Theo paints the tail (a leaf)
-
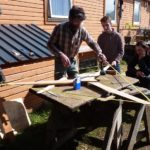
- Assembling the blades
-
- Stainless steel coach bolts this time
-
- Drilling clearance holes
-
- The blades did not need any balance weights!
-
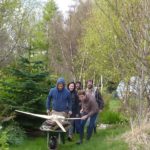
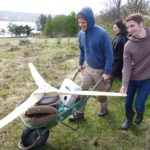
- Off to put up a windmill.
-
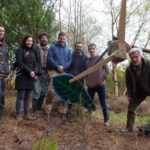
- The self-timer group photo session.
-
- Annabel cranks the rope hoist.
-
- Up and running!
-
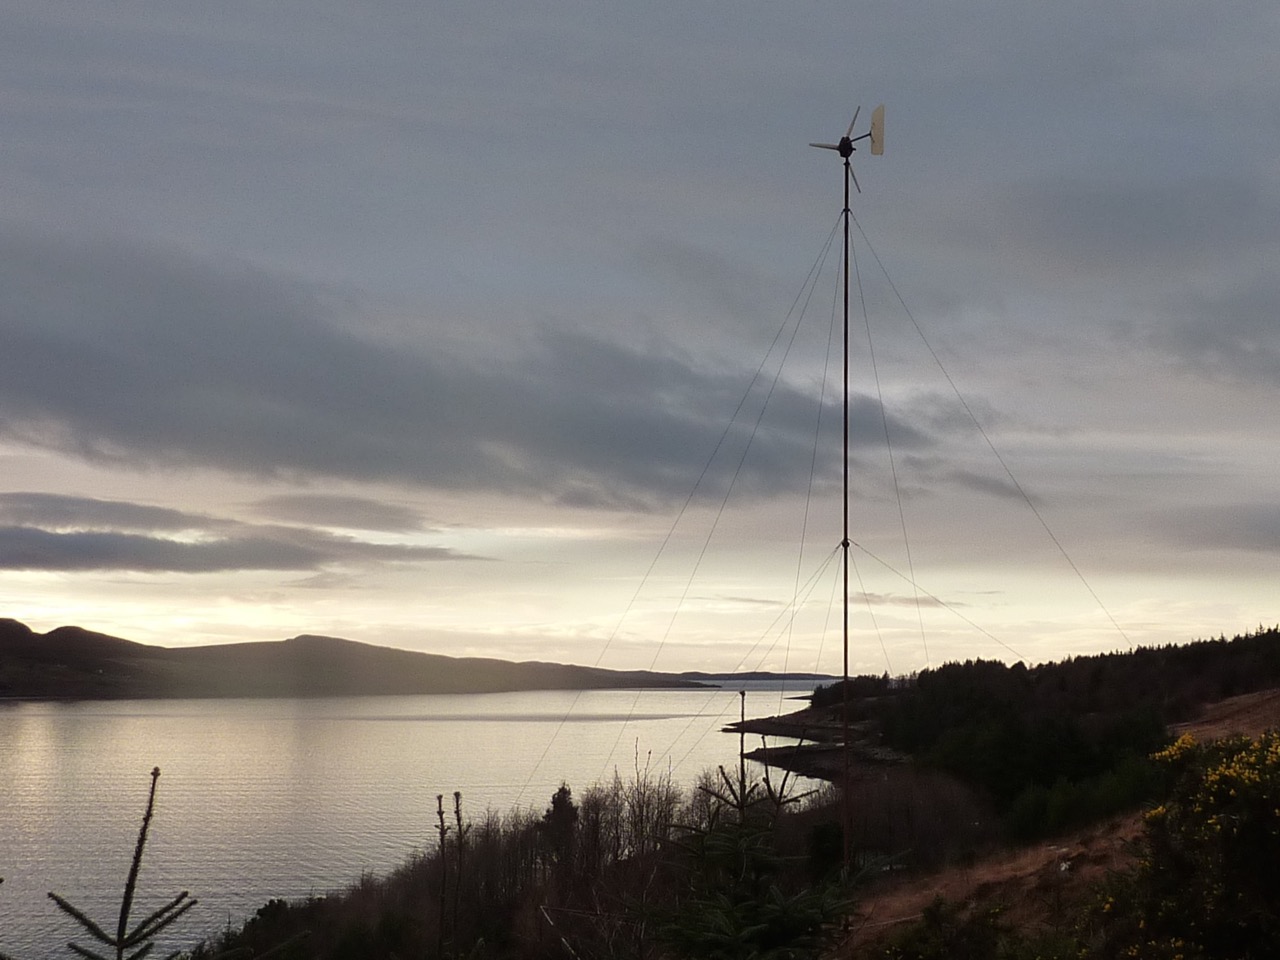
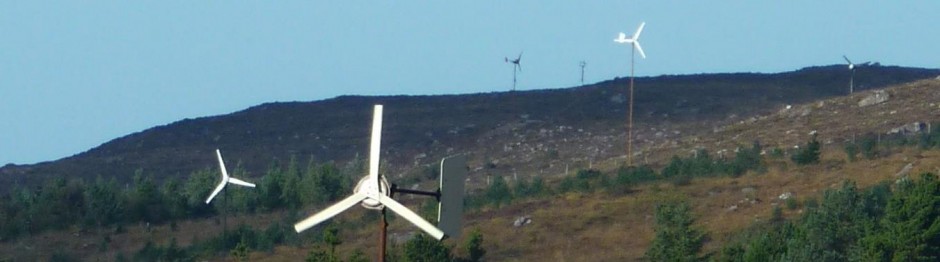
- Another beautiful windmill spins.


 of typical daily electrical energy use for homes around the world. Prices vary from about 8 US cents to 40 US cents per unit. Here in the UK we pay 20 cents or 16 pence per kWh unit. The average British home uses about 13kWh per day costing about £2.
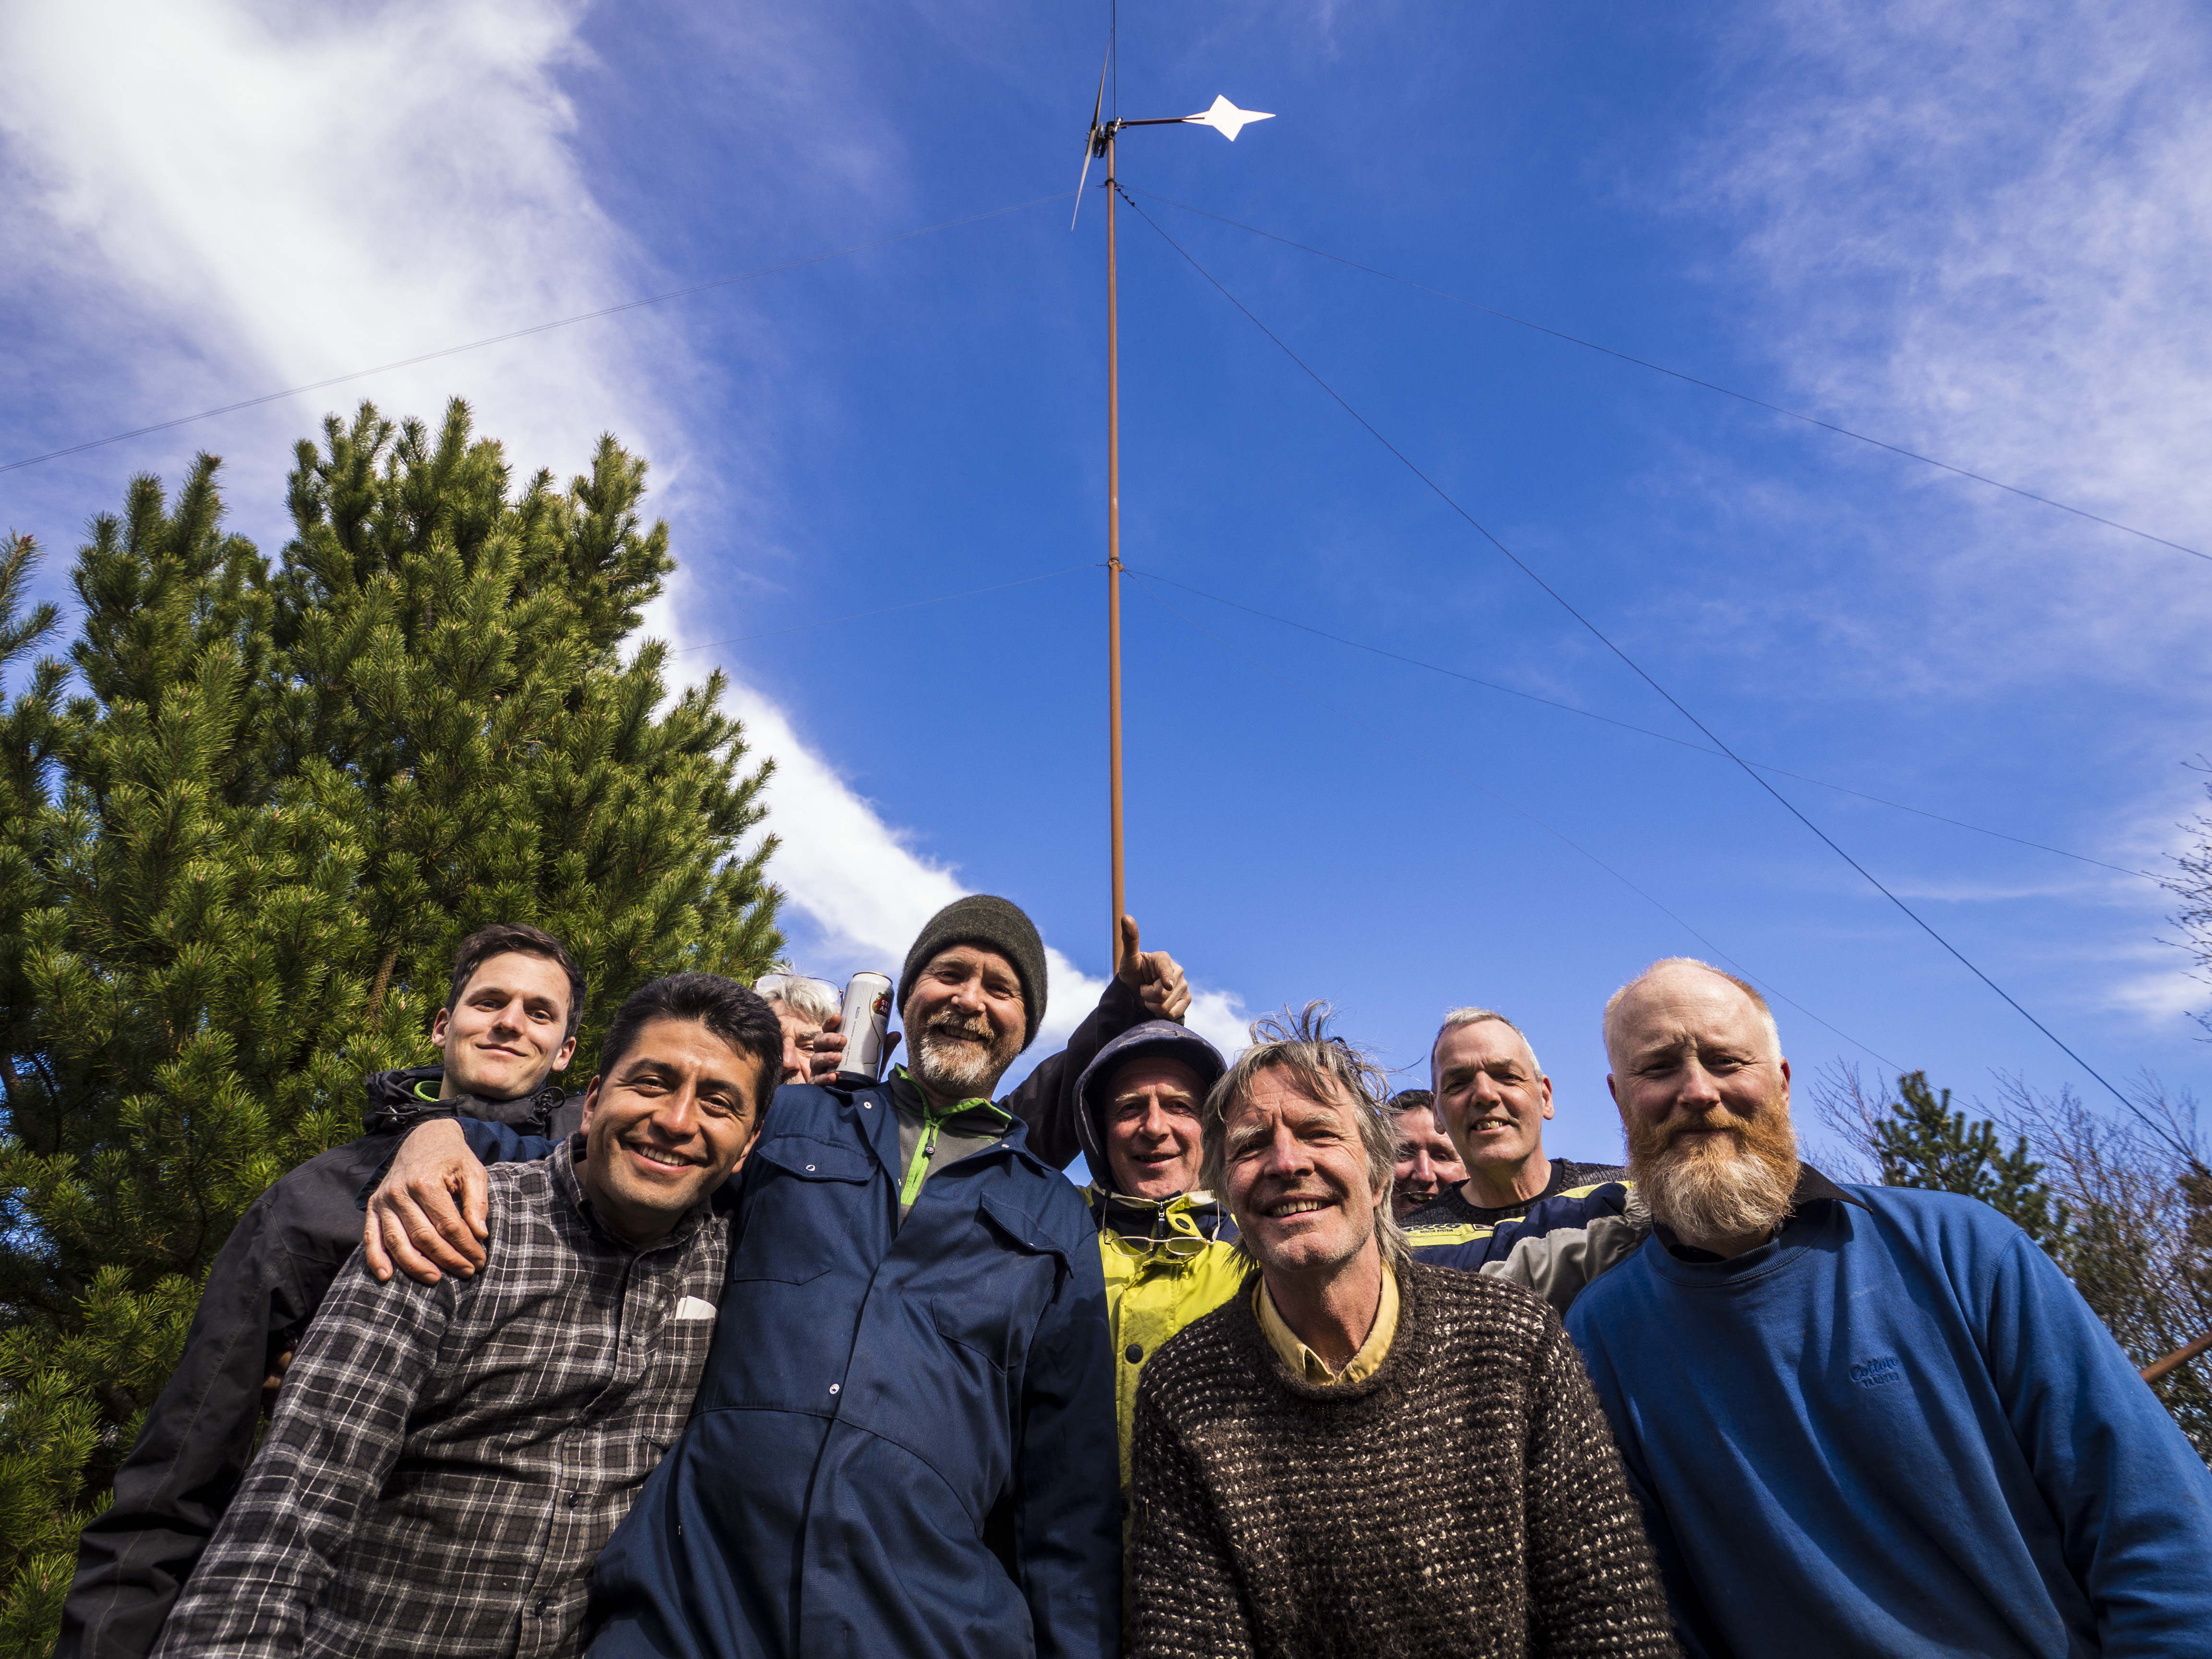
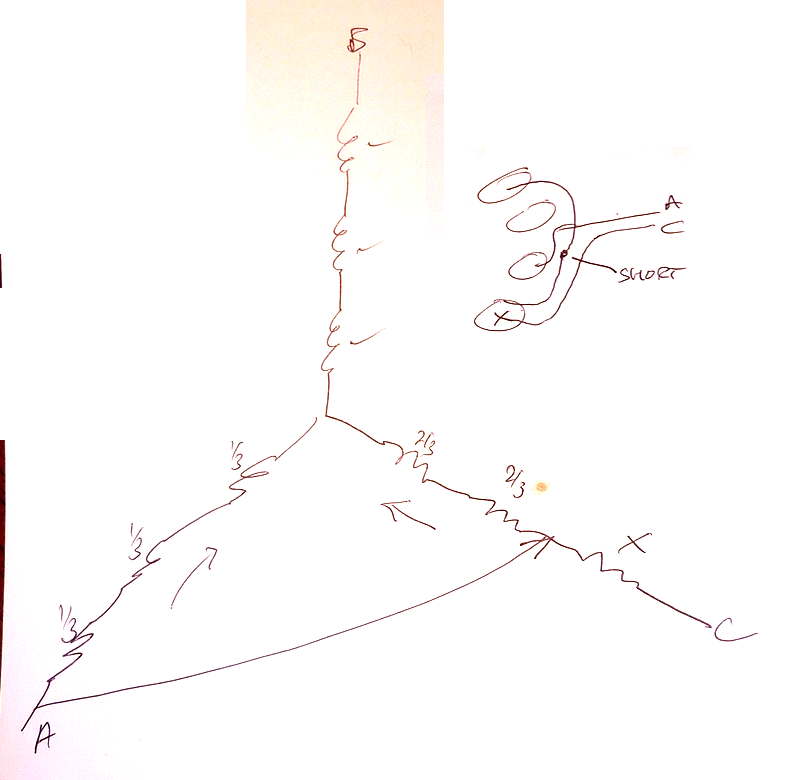
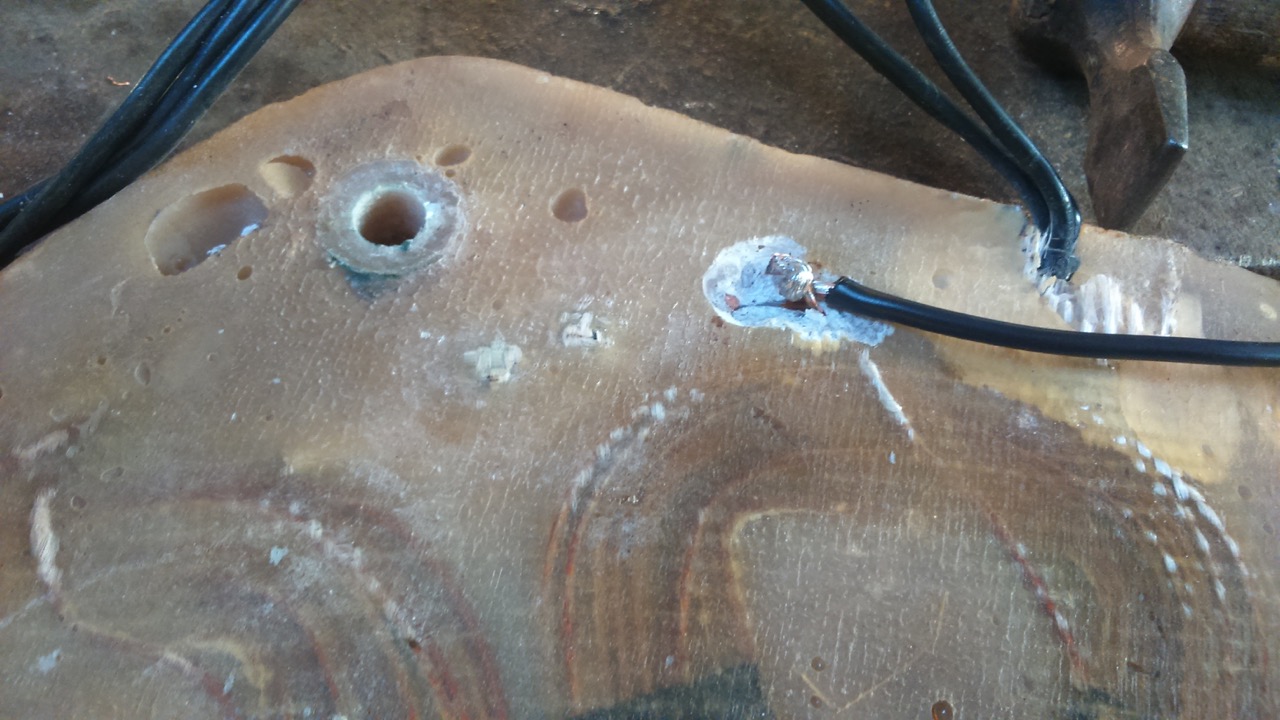
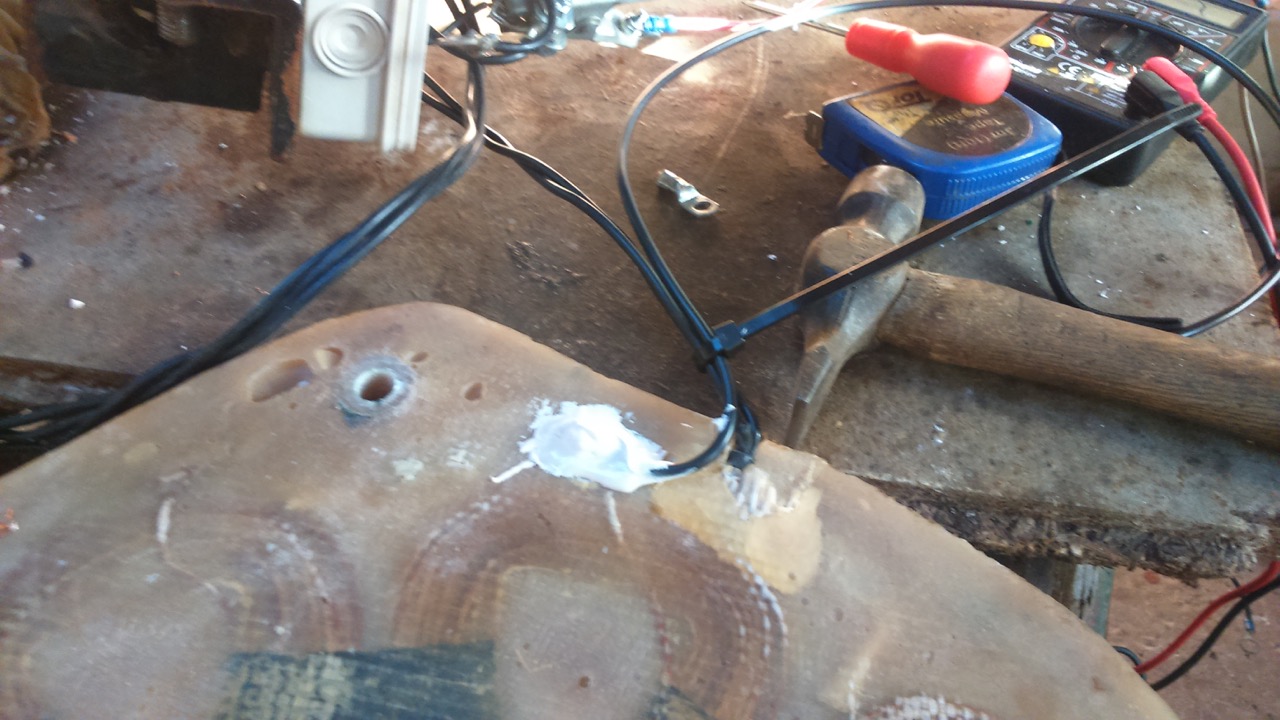
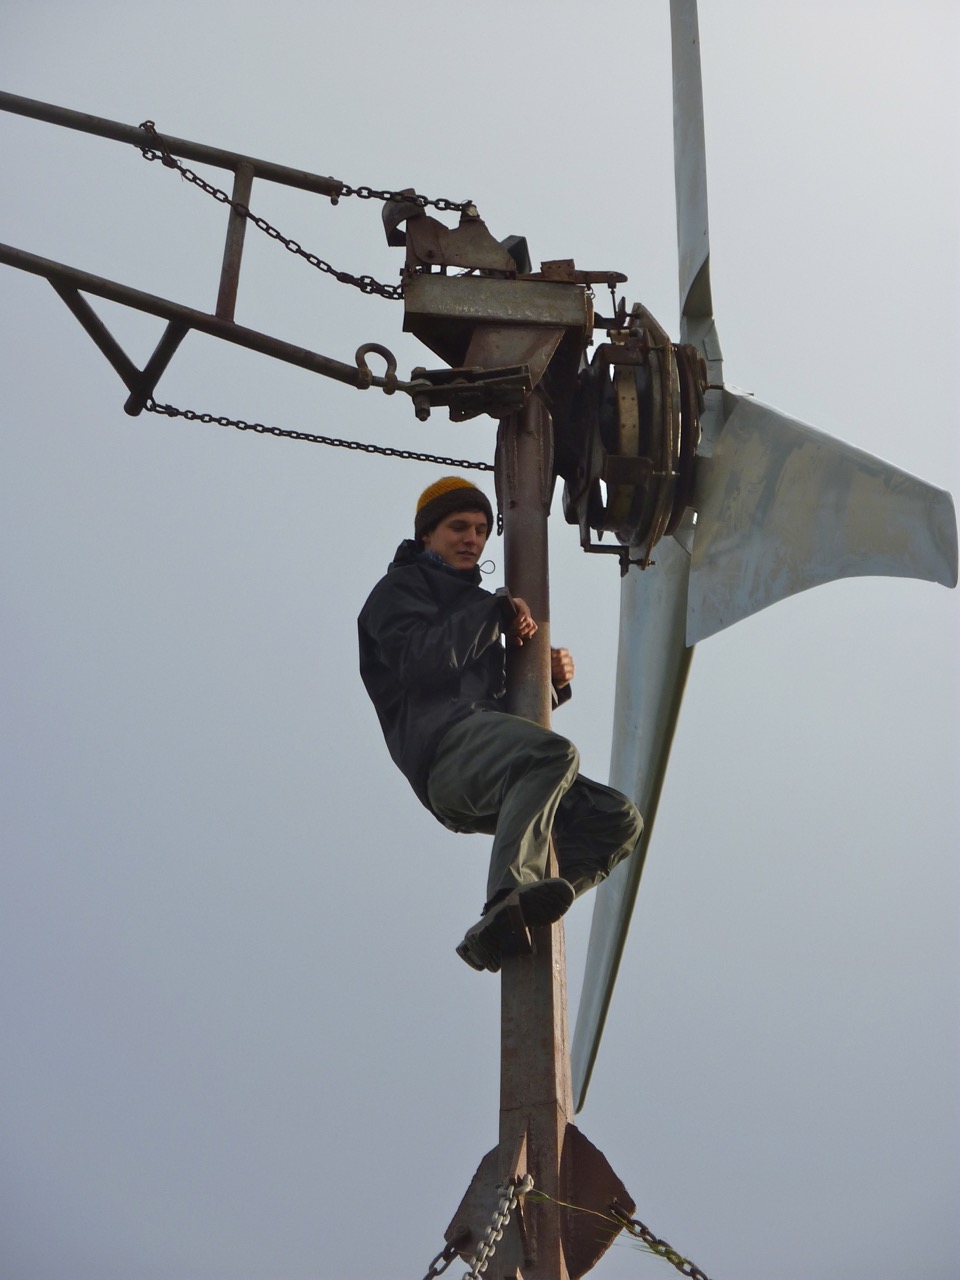
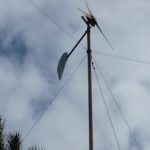
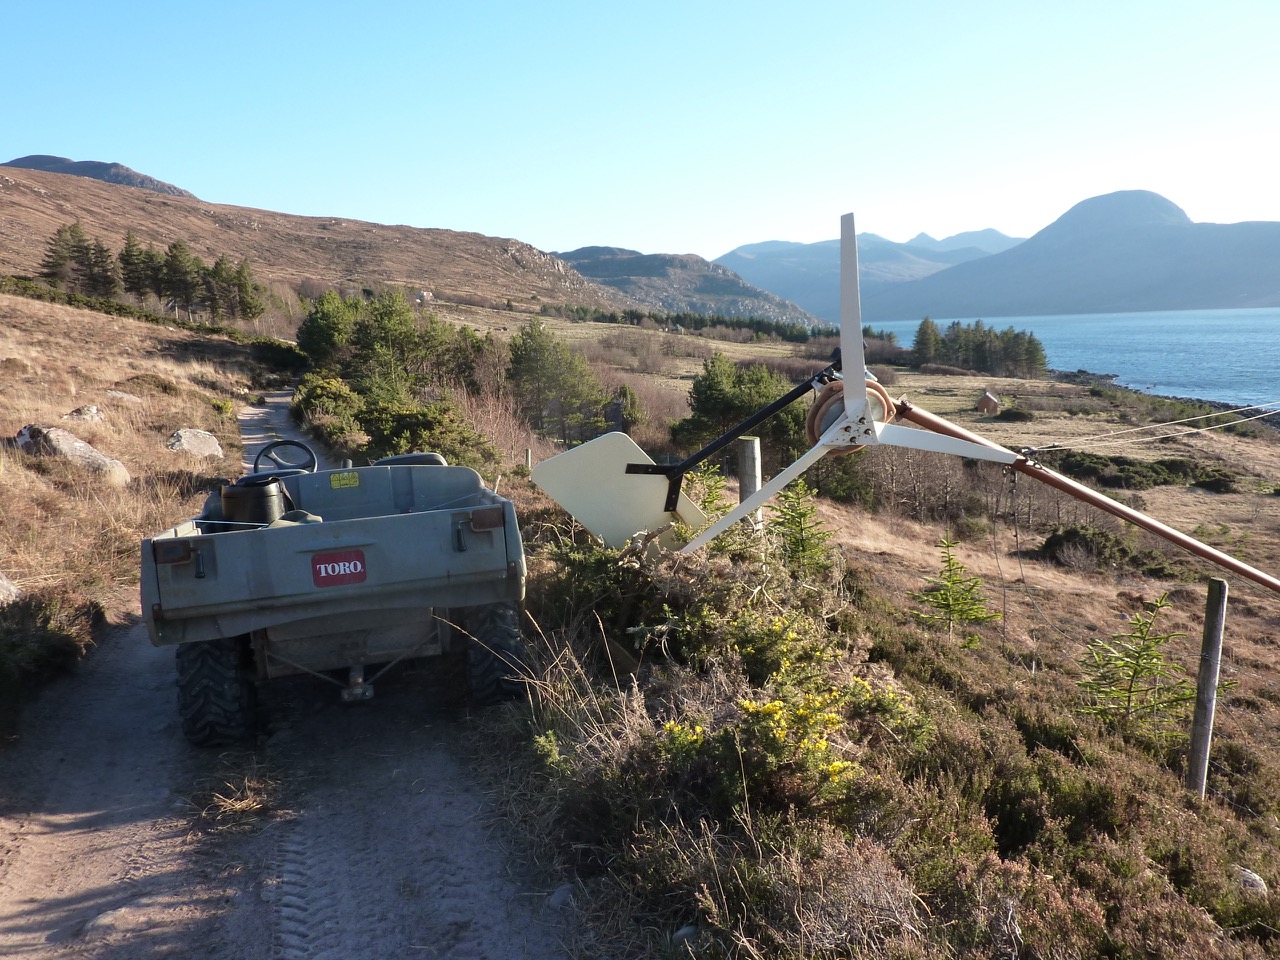 Turning slowly as if on the brake. It’s a few years old and I thought most likely the flexible wiring inside the tower had got twisted up a bit and somehow shorted out, although the wires did not look that bad a ground level.
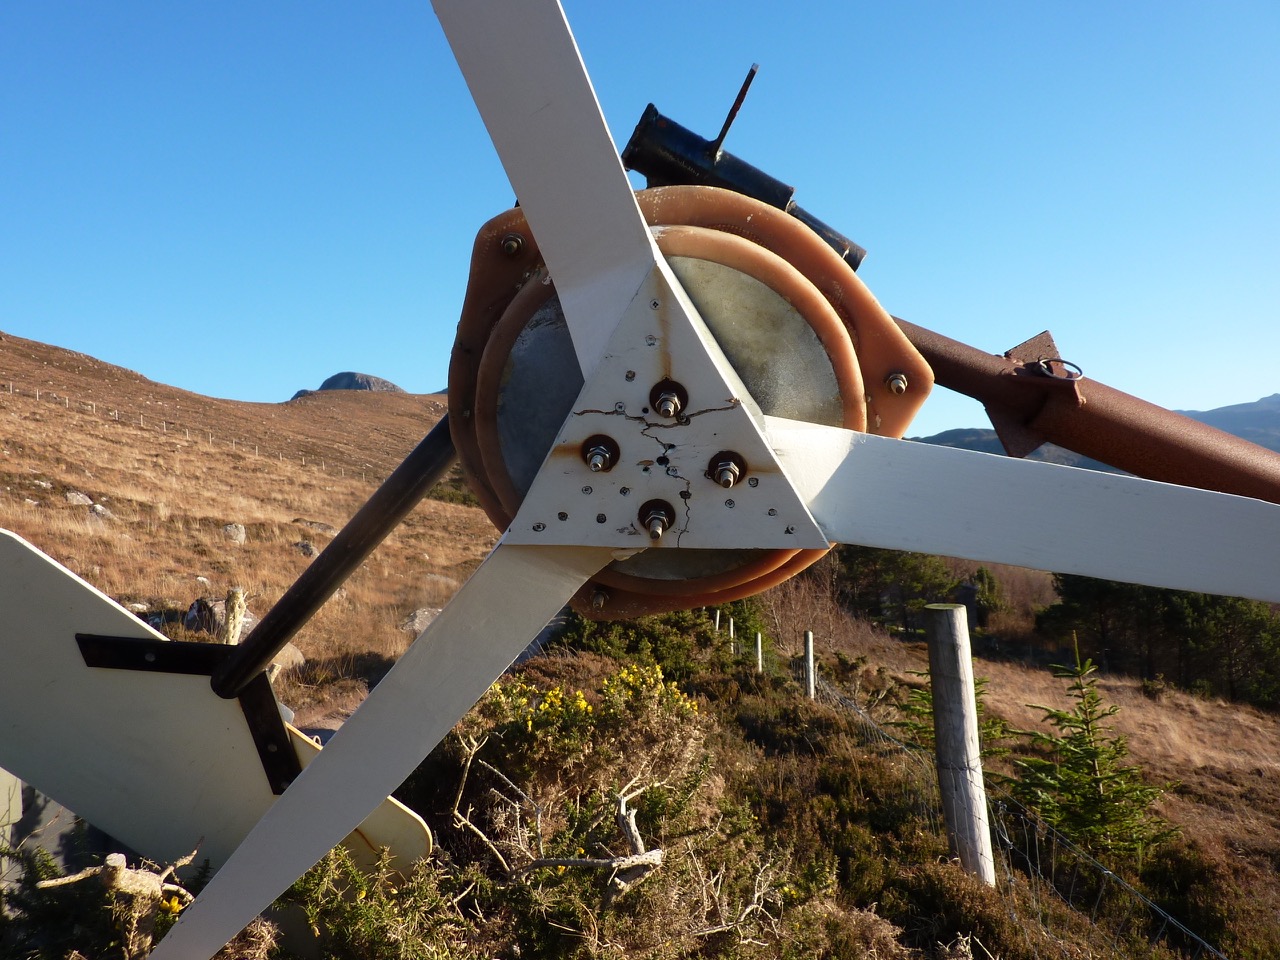 Birch plywood is very strong, but I suppose I was pushing it a bit to use 9mm ply here. It’s not the oldest 2F on Scoraig using that plywood but it definitely taught me something. Always more to learn!
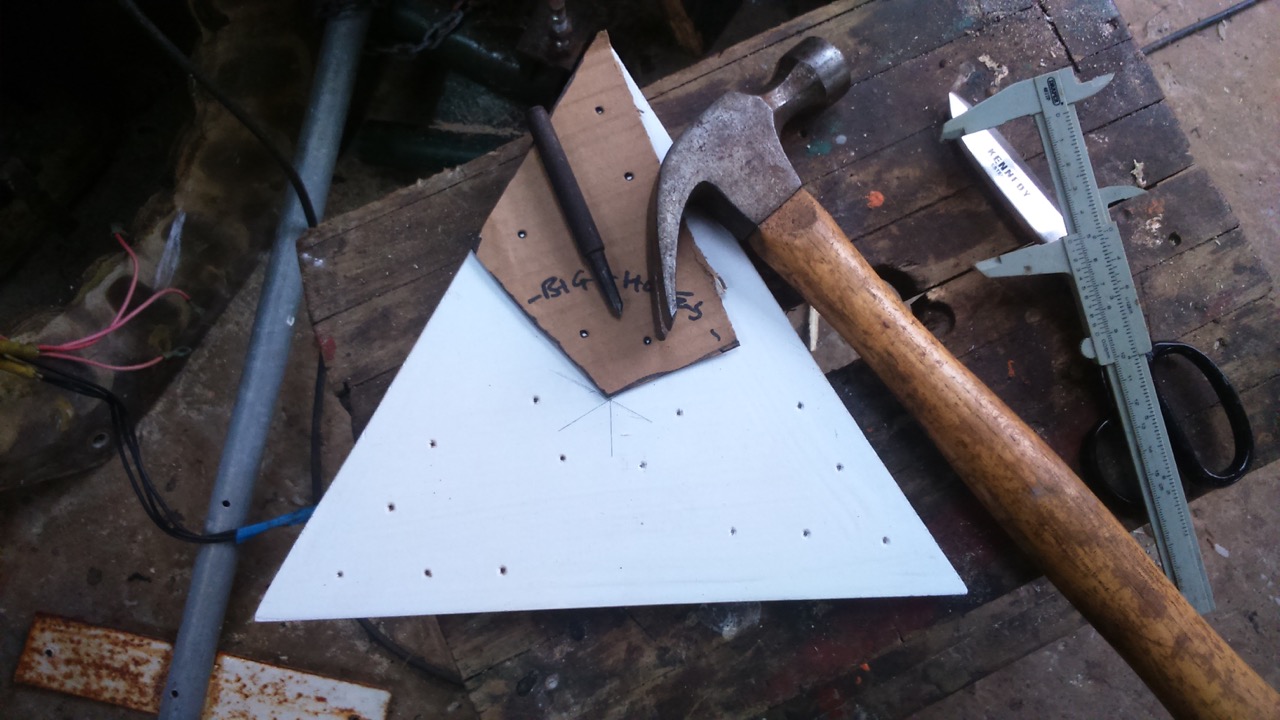
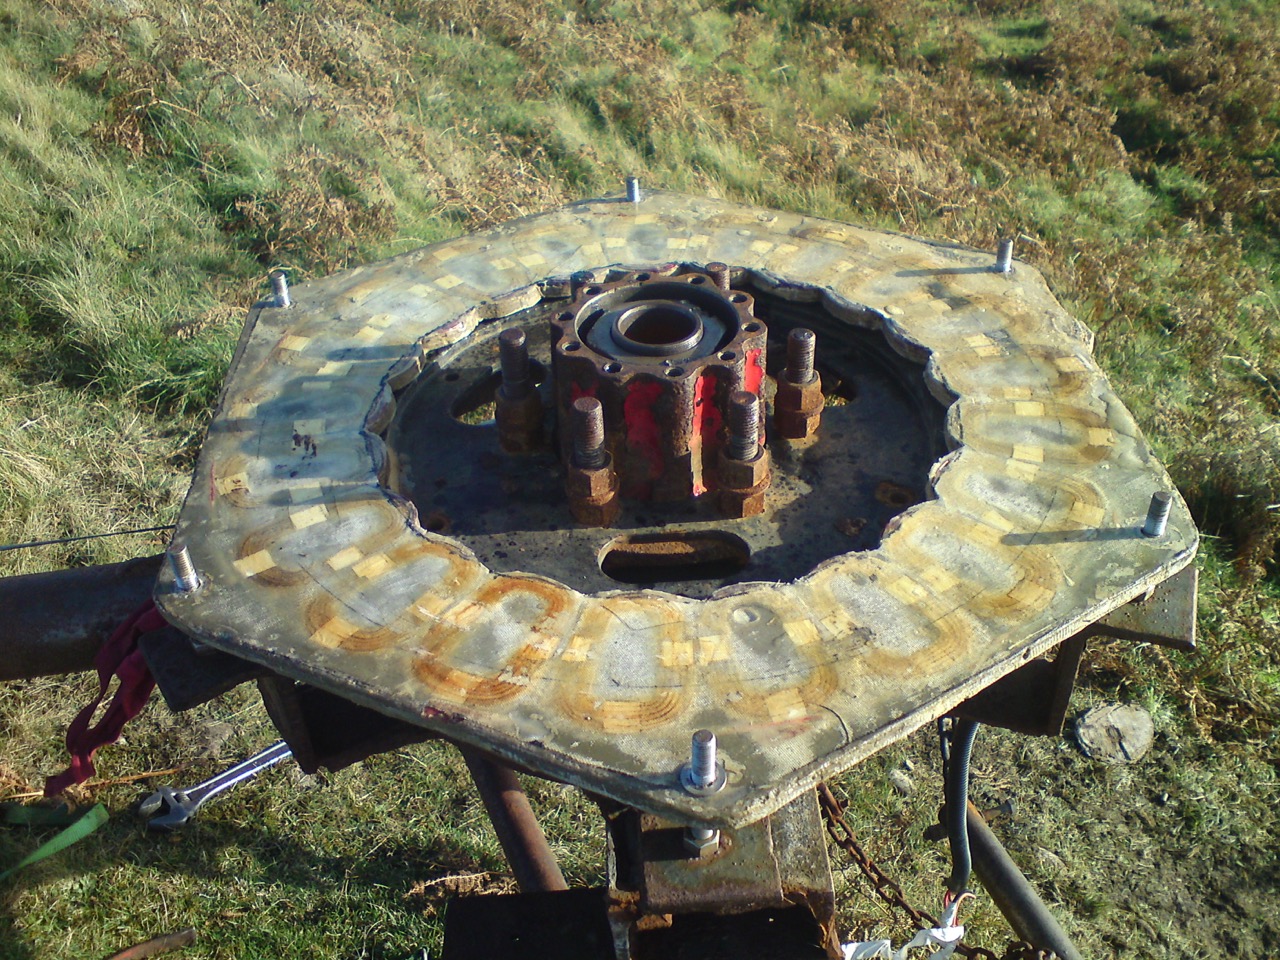
 and a photo that I miraculously found of the stator before it was cast (back in 2013).