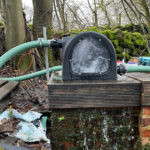
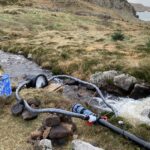
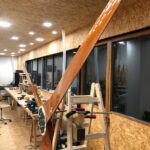
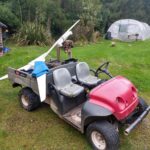
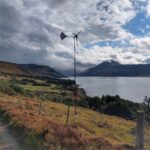
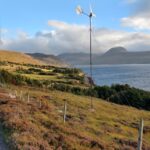
A few of my customers’ installations over the last six months or so. As ever these are mostly a work in progress, and may look a bit messy, but will get tidied up in due course. The exciting thing is that they are all producing power for their owners.
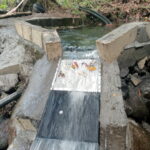
Some good photos from a recent installation trip to a Pacific Island by Michael Lawley and his son Edward show best practice for installing their Coanda intake. Water is impounded in a small pool behind the intake so that it spills over the rounded crest, over an acceleration plate that keeps the flow adhering to the surface in an even layer at a good velocity to optimise the function of the Coanda screen.
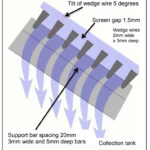
So often I see coanda screens with water flying right over them or poured in a jet onto the middle or submerged in slow flow. Correct installation is the key to getting the benefits of this type of screen, with its specially shaped bars that use the surface tension of the water to separate it from solid particles.
Preparing the Coanda site. Lugs on the side of the tank are set into concrete.
Intake in operation. Water flows over the coanda in a smooth layer at the correct speed.
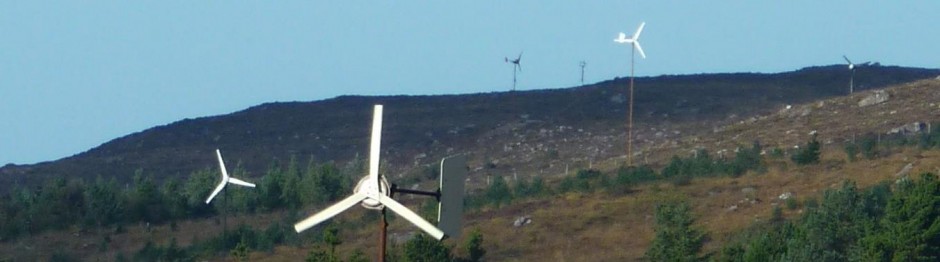
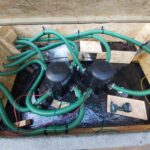
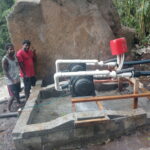
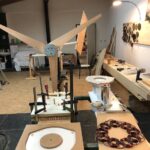
Turbines ready to roll.
Michael Lawley of Powerspout with Ed Lawley
The Coanda screen uses the Coanda effect, which is the phenomena in which a jet flow
attaches itself to a solid surface and remains attached, even when the surface curves away
from the initial jet direction.
I just did a wee video about methods of estimating head and put it on Youtube. It’s a bit rough in places, but I hope it helps.
Shown in this video are the following methods:
Using a contour map (in this case an ordnance survey map taken on streetmap.co.uk)
Using Google Earth Pro to make a track with an elevation profile
Using a Johnson Sight Level that you can buy on eBay or wherever
Using a “clinometer” app on your phone
Using a pressure gauge on a pipe full of water
I did not mention that you can also use the clinometer to measure the angle of slope, and a long tape to measure distances, and thereby you can calculate the drop based on the triangle calculation for each step of the way. This can also work well if the device is calibrated. It also gives you an accurate pipe length.
An accurately calibrated aneroid altimeter can be a possible method on high head sites, but be wary of using GPS altimeters as they are not likely to be very accurate. Nor is Google Earth, to be honest. Each of these methods just gives you another rough indication which is why you should use several of them if possible and see if they agree at all with each other. There are more methods for sure including laser levels and tubes full of water but these are ones that I actually use.
In the end you just need this head measurement to satisfy yourself that your hydro site is going to delivery useful energy. As a ballpark figure, the output in Watts might be about 5 Watts for every metre of head and litre/second of flow. So if you have 100m head and 2 l/s flow then you can likely make 5 x 100 x 2 = 1000W or 1kW of power, which after 24 hours adds up to 24kWh units of electrical energy per day. More than an average home uses.
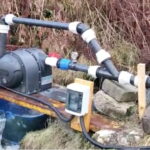
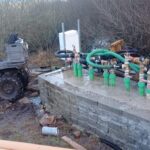
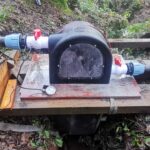
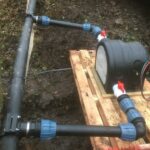
80W off grid with 5m head.
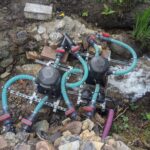
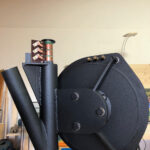
Wins a prize for the most creative manifold.
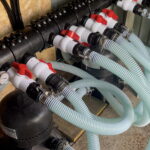
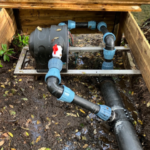
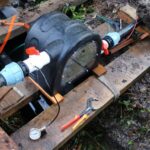
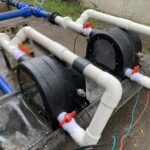
380W off grid with 6m head. Note the heavy galvanised grating as turbine base.
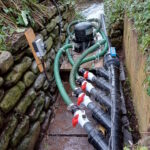
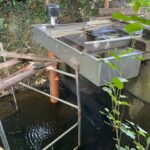
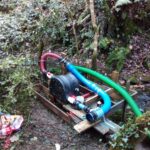
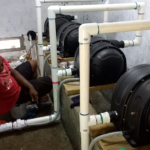
660W off grid
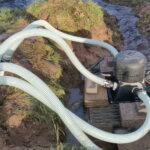
1500W grid connected
This one is not so DIY, installed on a Pacific Island. 4 x PLT turbines running at 1750W each, flat out.
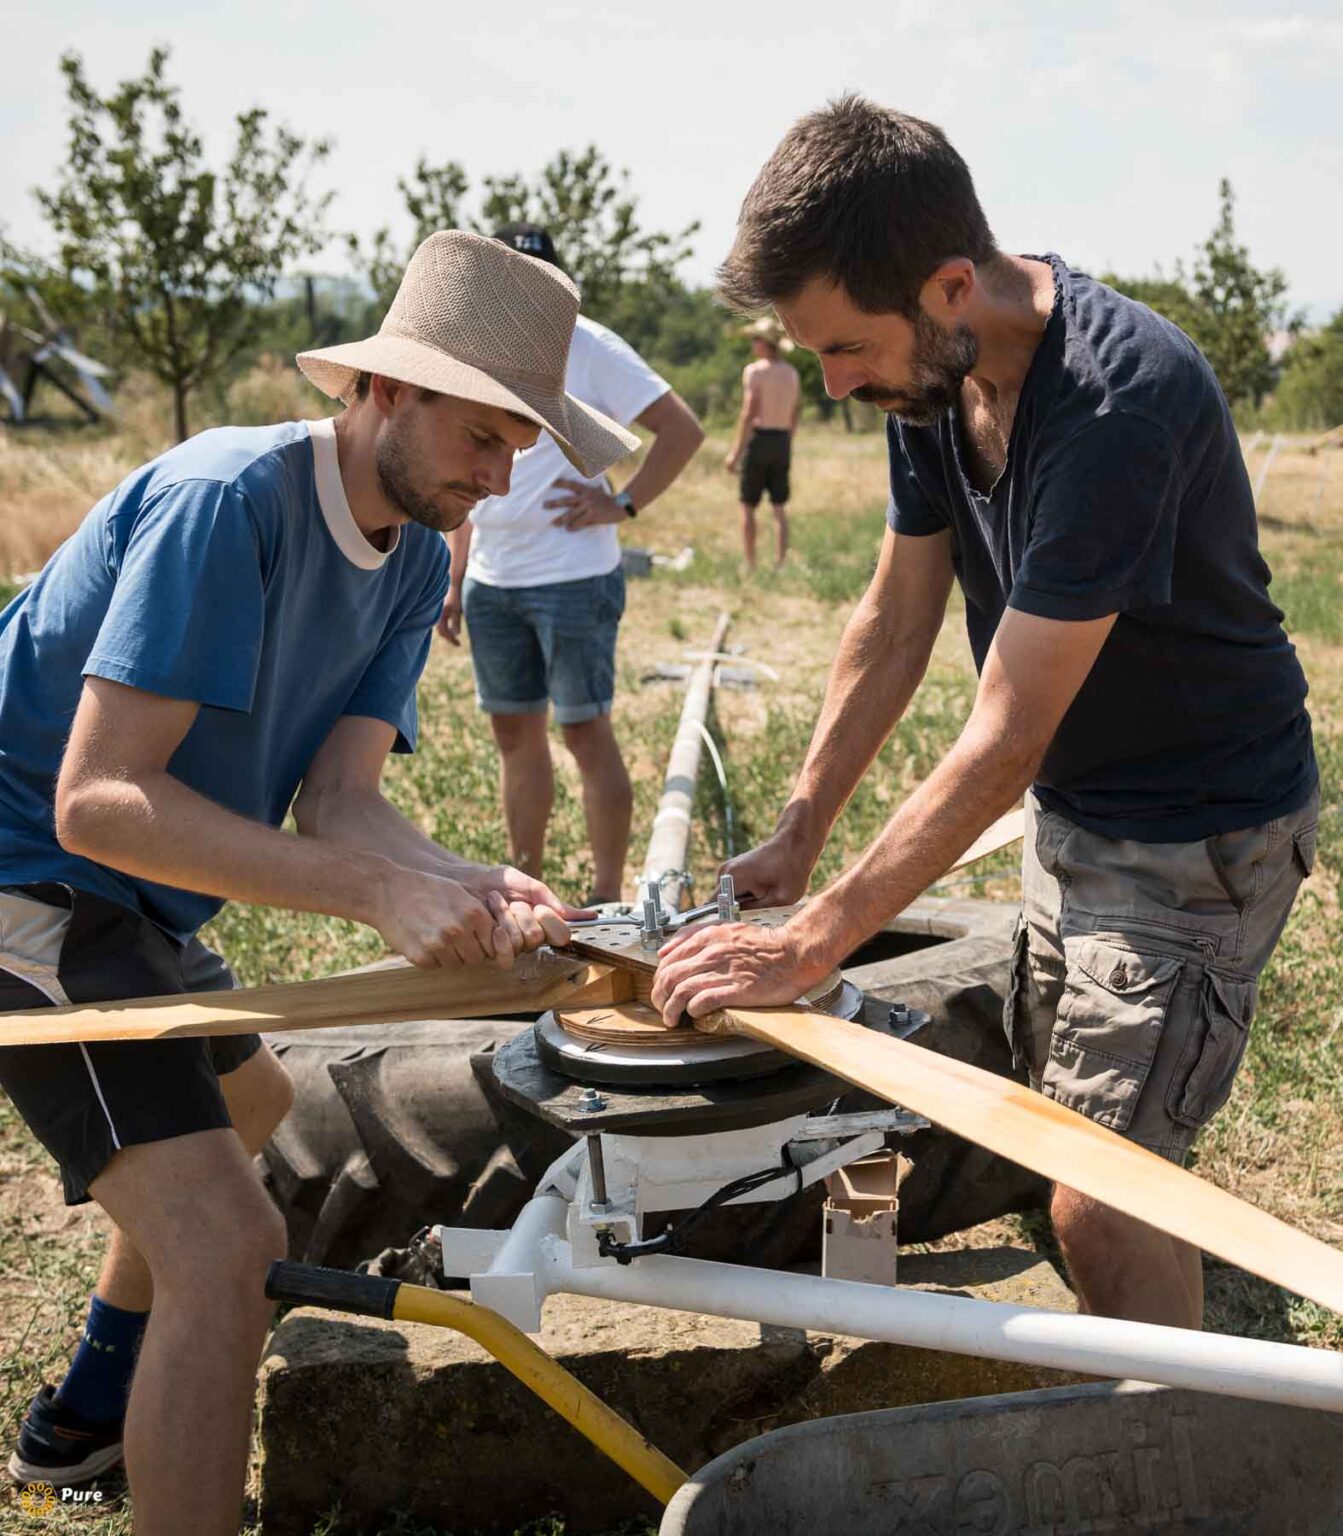
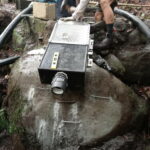
Some recent installations that I have helped with remotely. The owners of these turbines were kind enough to share these glimpses of the installation process, and of course they went ahead and tidied them up afterwards, but I rarely get the pictures of the final result.
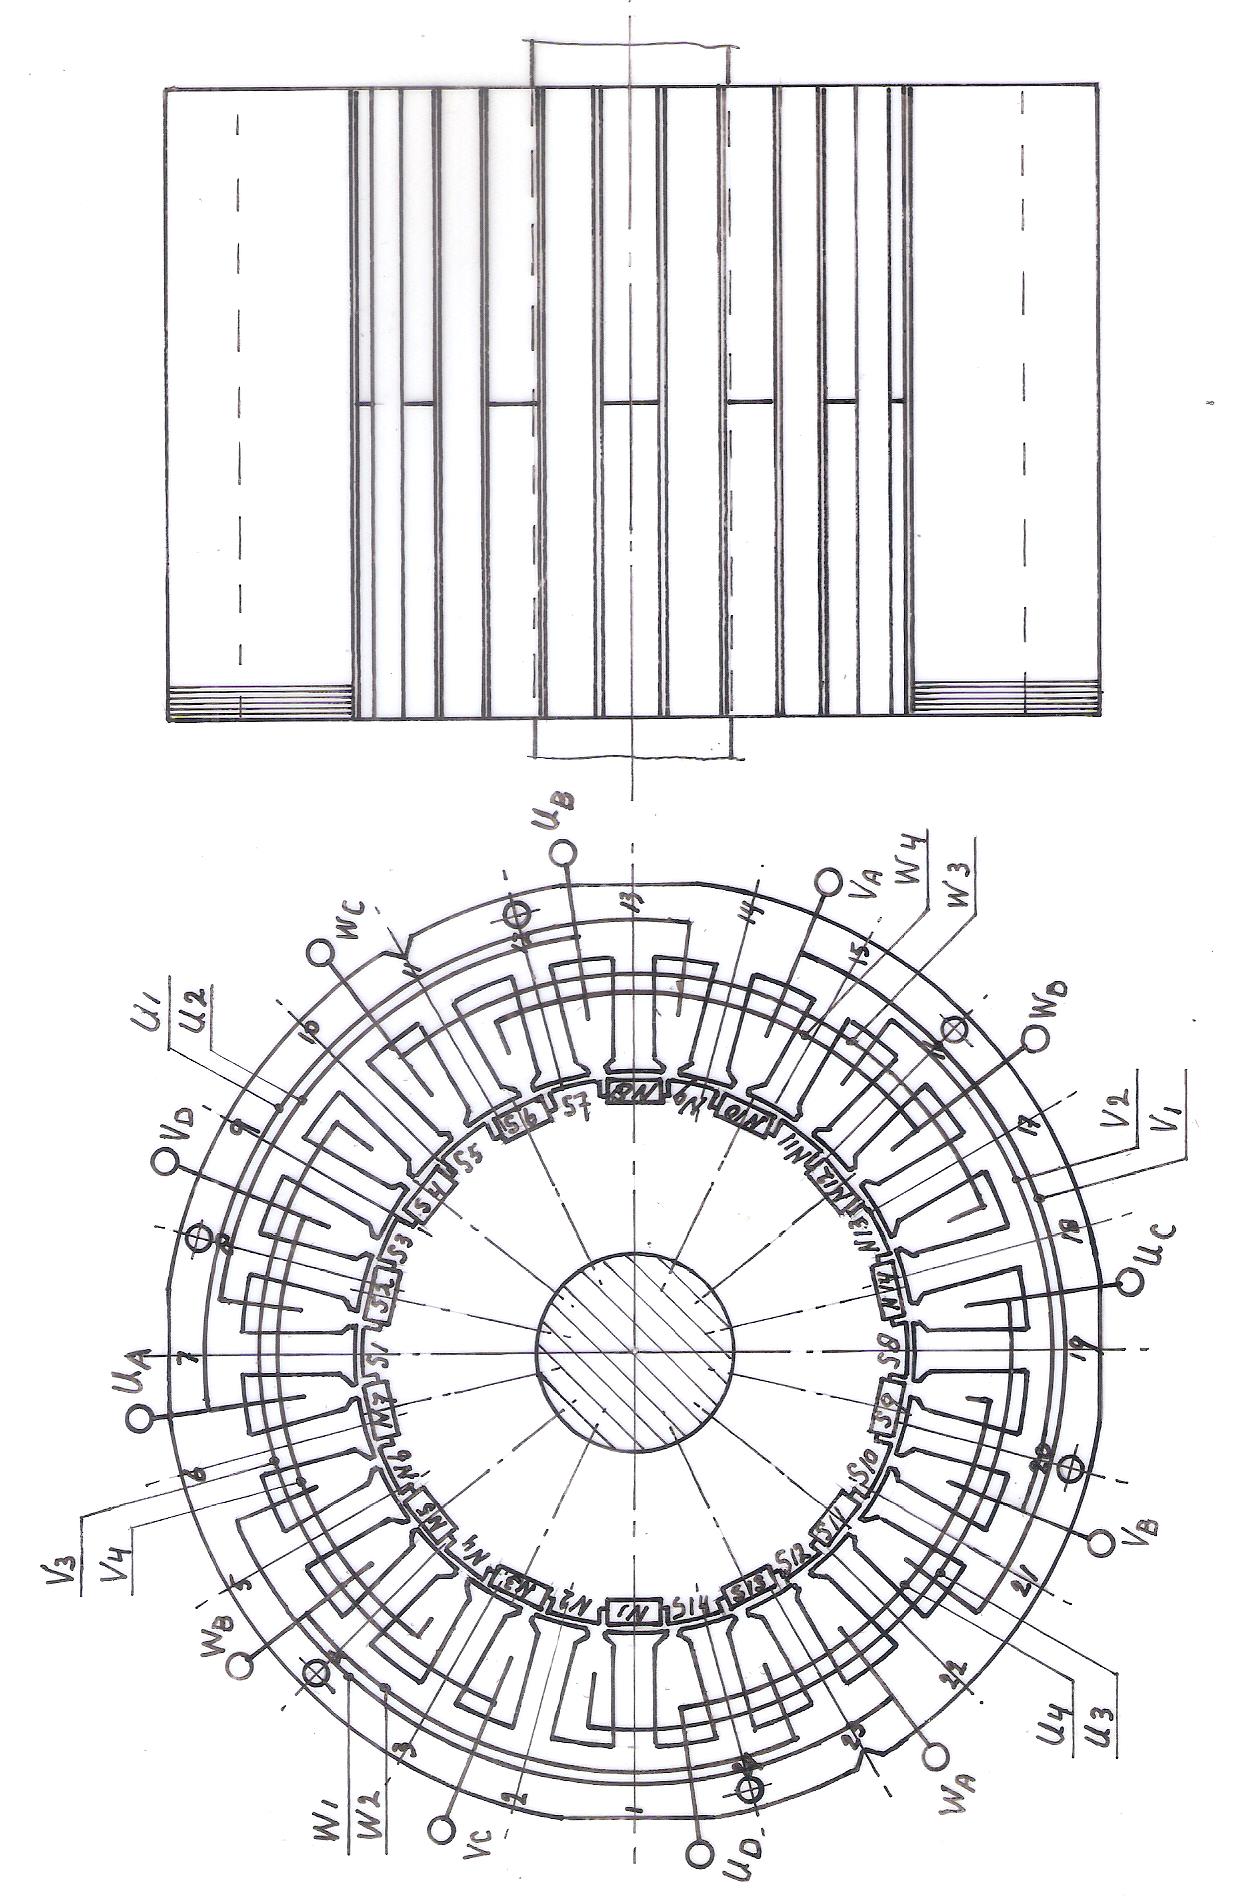
Report KD 730 can be copied for free from my website: www.kdwindturbines.nl at the menu KD reports. The title of this report is: “Ideas about a 28-pole, 3-phase permanent magnet generator using the housing and winding of a 4-pole asynchronous motor frame size 80”. This generator is using 28 neodymium magnets size 40 * 7 * 3 mm and the magnet costs only about € 25. It is expected that this generator can be used with the original 230/400 V winding for 24 V battery charging if the winding is rectified in delta.
I have added figure 1 out of this report as an attachment and you can use this figure in a blog about this message.
Nice days
Adriaan Kragten
ADDED 16th January:
Hereby I want to draw your attention to two KD-reports about rectification of an AC current.
Report KD 340 describes 1-phase, 3-phase and 2-phase rectification. Originally only star en delta rectification of a 3-phase current were described but recently I have added chapter 3.2.3 about rectification with three separate 1-phase bridge rectifiers. This way of rectification results in a somewhat higher voltage and power than star rectification but the rectifier losses are higher as the current always flows through six diodes.
Report KD 712 describes 5-phase and 9-phase rectification. Originally only 5-phase rectification was described but recently I have added chapter 6 in which rectification of a 9-phase winding is described. It appears that there are two ways to rectify a 9-phase winding and the way which is described in chapter 6.2 is favorable because this results in the highest power. The winding is split into three, 3-phase windings which are rectified separately. The three, 3-phase rectifiers are connected in series. The advantage of 9-phase rectification is that there is almost no fluctuation on the DC voltage and the DC current. This is of interest if the wind turbine is grid connected by a 3-phase inverter because it eliminates the need of using capacitors to flatten the fluctuations.
Both reports can be copied for free from my website: www.kdwindturbines.nl at the menu KD-reports.
Several people have admired the finish on the turbine in my recent post about Ivan Juretic’s turbine, so I asked for details. Here is what he told me:
Hi Hugh!
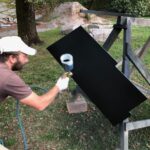
The blades and wooden parts of the tail are painted with a transparent polyurethane bi-component glossy varnish “Wood gloss” of Veneziani company.
I have been using this product for many years and I have a really great experience with it. It intensifies the beauty of wood and is extremely resistant to atmospheric agents over years, but is quite demanding for the application.
It is recommended to be applied in many coats, we’ve applied 10 times with brush, and in between coats the surface need to be over and over abrade with fine sanding paper.
All metal parts are galvanized and then yet protected with two layers of high quality coating based on modified epoxy “Hempel’s Selecta Metalni Efekt DTM”.
This paint is easy to aplicate with air spray, and the painted surface looks great with some twinkling sheen. We applied this paint also on the plywood part of th tail.
Some may say it’s all together too much, an exaggeration, but like what you said, and I believe, attention to the detail is always paying off.
In the attachment I’m sending to you Data sheets of both paints what we used and some additional pictures of the painting job!
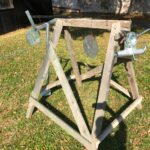
In 2108 I reported a turbine build in Croatia by Ivan. It’s based on my ideas but Ivan added some engineering refinements. He just wrote to report that it is still going strong without problems.
That turbine works perfectly, for the third year in a row. And as I report to you in the mountains where it works there are really extreme conditions.
Cold, snow, ice, rain, hail, extreme turbulent wind, I don’t think it can get any worse.
But, no problems at all! It is just working.
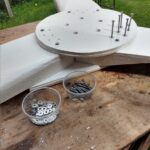
After almost 20 months of constant operation we put it down this spring, because we just wanted to check everything and make regular maintenance.
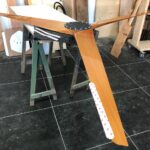
There was little damage just on the blades leading edge, actually in the beginning I stick too short 3M protective tapes (just 30 cm) and now I repainted everything with 3 more layers of the amazing Veneziani Wood Gloss PU protective paint (use to be used for yachts) and sticked twice longer tapes.
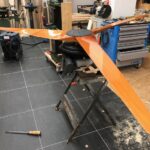
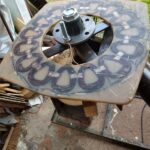
Overall, the blades were in very very good shape, you can see it on the attached photo taken before I start reparation. The blades were made from larchwood.
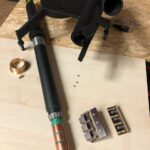
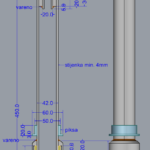
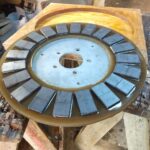
The only other thing we had to change was the bronze bearing ring (blue in the drawing / bronze in the photo) on the bottom of the head because it was quite worn out. Now we’ve made it out of Teflon, and we’ll see how it behaves.
Also, the electrical system and control with your Tristar follower works really great, stable, reliable!
Again, thank you very much for all your help, and support for this amazing project.
From: Mike Allen
Subject: Re: A Wind Turbine Recipe Book
Date: 12 April 2013 10:53:18 BST
To: jytte
I recieved the book yesterday and when it arrived I thought ‘this isn’t worth £12’.
But how wrong I was once I’d opened the envelope and settled down to read the contents with a cup of coffee. 3 hours later the coffee was stone cold and I was still reading the book.
Loads of info to be getting on with.
I’ll email Hugh when my terbine is up and running with some pics.