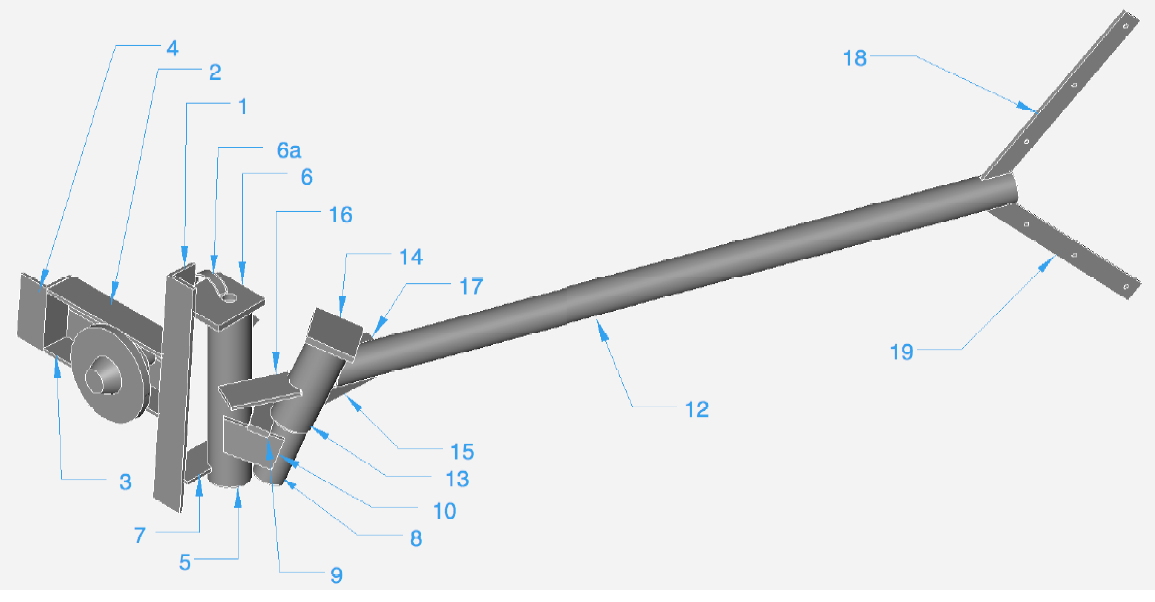
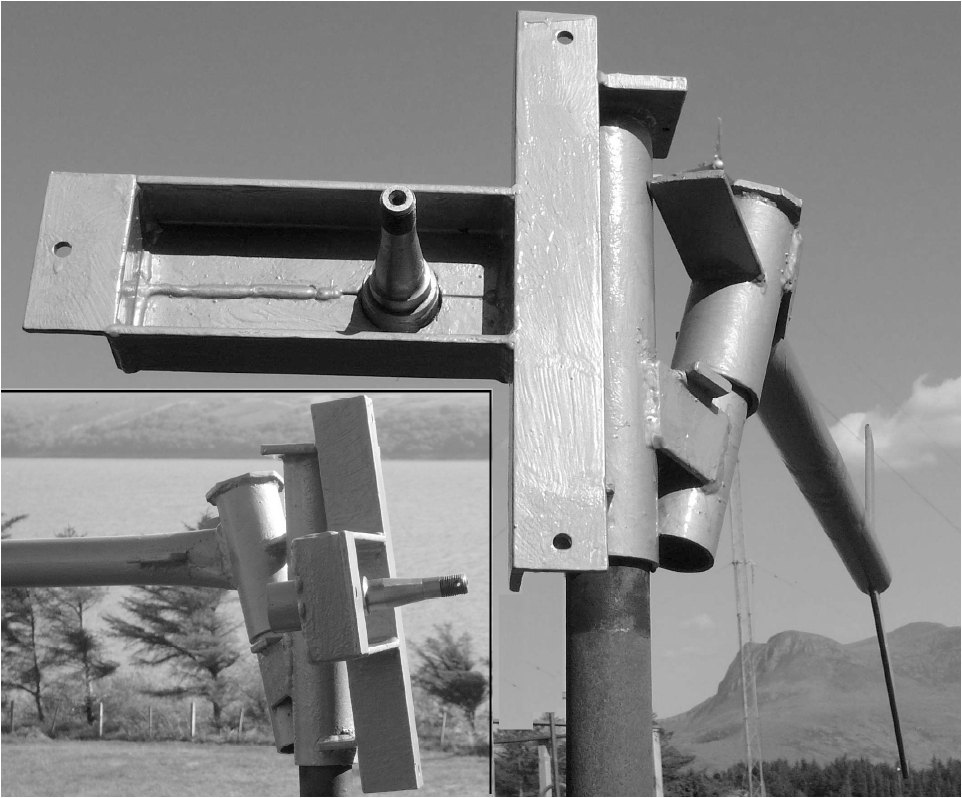
You can download it by clicking on the paragraph above. My Recipe Book has been updated enough, and I don’t want to make it bigger, and in any case I don’t have time to spell out this much detail for each of the six sizes, in both metric and ‘english’ units of measure. So I offer this as a supplement to those of you who choose the build machines of this specific size (an old favourite), and also as a source of ideas and clarification for people working on the other projects in the book.
The drawings show the actual length of each piece of metal, so you don’t have to look them up in a table amidst all the other sizes of turbine. I’ve also put in a couple of new hints and different ways to do stuff.
As ever I have been driven by trying to make the task as simple and cheap as possible whilst being strong and reliable. Of course there are any number of other ways to put it together using materials that you may have to hand, but this is based on a mimimal range of very standard steel sections.
Have fun, and feel free to send me comments and questions as always.


I AM TRIING TO MAKE MY FIRST WIND TURBINE, SO I NEED SOME HELP.
WHAT ARE THEY USING ON THE COILS TO MAKE A STATOR, I MEAN THE LIQIDE
THING THAS BECOME SOLID.
THANKS.
hi Saboor,
You can use polyester resin like for fibreglass boats. That works well enough.
cheers
Hugh
Hugh,
I have purchased copies of all of your books and attended a wind turbine class with Dan and Dan at their place outside of Ft. Collins, CO.
I am having trouble with the calculations in your Blade Design spreadsheet. I compared them with the calculations in the back of the Wind Power Worksop book and they appear the same. What I can’t figure out is why, when I change only the number of stations (10->20 or 10->5), the chord width changes at the root and tip. The drop at many of the stations is greater than the thickness. It would seem that the first and last stations would remain constant no matter how many stations I specify.
It appears to me that you are using the NACA 4412 blade design but I cannot find any other sources to help me inderstand why so much changes.
Any suggestions?
Thanks
Hi Bill,
The blade design process has a lot of variables so it’s not surprising to get varying answers. The tips however should be the same width whatever the number of stations. It is in my spreadsheet.
Drop is often greater than thickness. Thickness is not thickness of the piece of wood – it is the thickness of the actual finished blade.
Don’t get too bothered about the details of shape at the root station. Especially if you use a lot of stations, the root geometry goes a bit crazy in the theory, whereas it actually doesn’t matter much in the reality.
I have put some information about grid connection here
http://scoraigwind.co.uk/?p=1151
I’d like to get another book out but I seem to spend all my time writing posts on this blog! 🙂
Hello hugh,
I have built a few wind turbines of your design 1.2m, 2.4 and 3.6. I am very pleased with the quietness and robustness and power output of all three turbines.
I like the 1.2 because although it produces very little power in low to medium winds, it’s a great start for the DIY person, it’s easy to build, lightweight, tower can be simple and lightweight and good for getting to grips with the electrics. Basically it was a great learning toy. What I like best is it can be left on through storms a nice bit of power 7-12 amps, with spikes up to 18 amps, (safe and instructable)
It seems to me probably no need for a furling tail. The 2.4 turbine is now down and the 3.6 takes its place. I suppose the only regret if any, with this machine is that its not a 4.2.
I think it would be great if you had a section in a future book covering grid-tie connections with and without battery back up, and maybe a bit on direct heating.
Maybe you could point me in the right direction in regard to grid-tie connecting with wind turbines of your design.
Thanks for the advice you’ve given me over the past couple of years. I would like to wish you a very happy and windy new year.