
Homebuilt Wind Generators Workshop
Guemes Island, Washington • October 15-20, 2012
Instructor: Hugh Piggott, Scoraig Wind Electric, Scoraig, Scotland
Support staff: Ian Woofenden, Andy Gladish, Willie McWatters, Etc.
Projects: 12 foot diameter 48 volt from Recipe Book with neo magnets.
and 7 foot diameter 12 volt new design using ferrite magnets (350 watts)
-
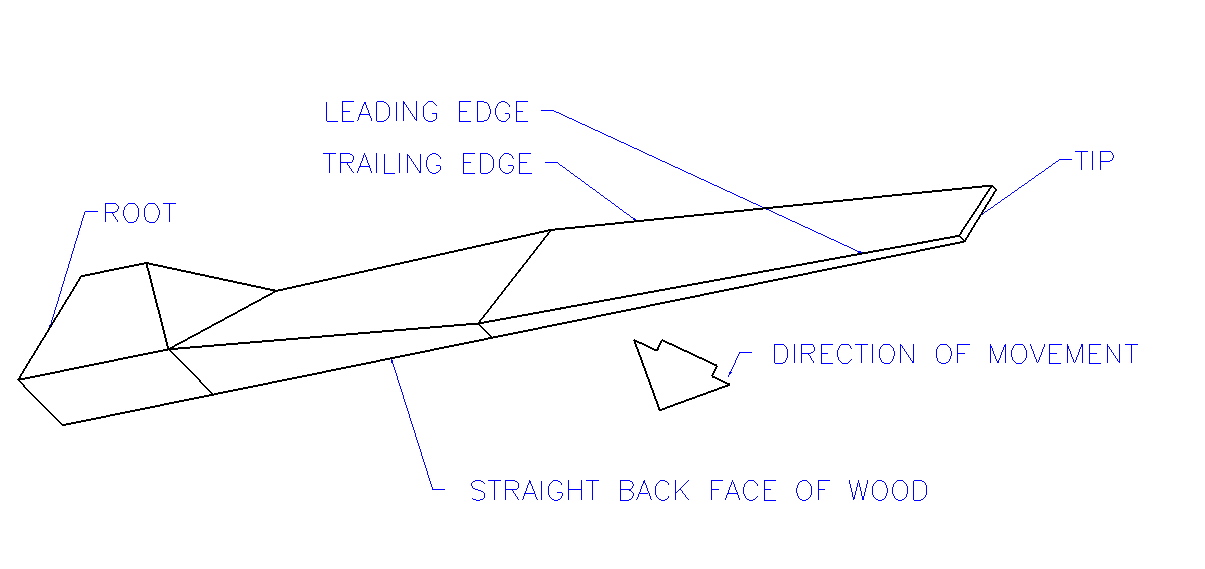
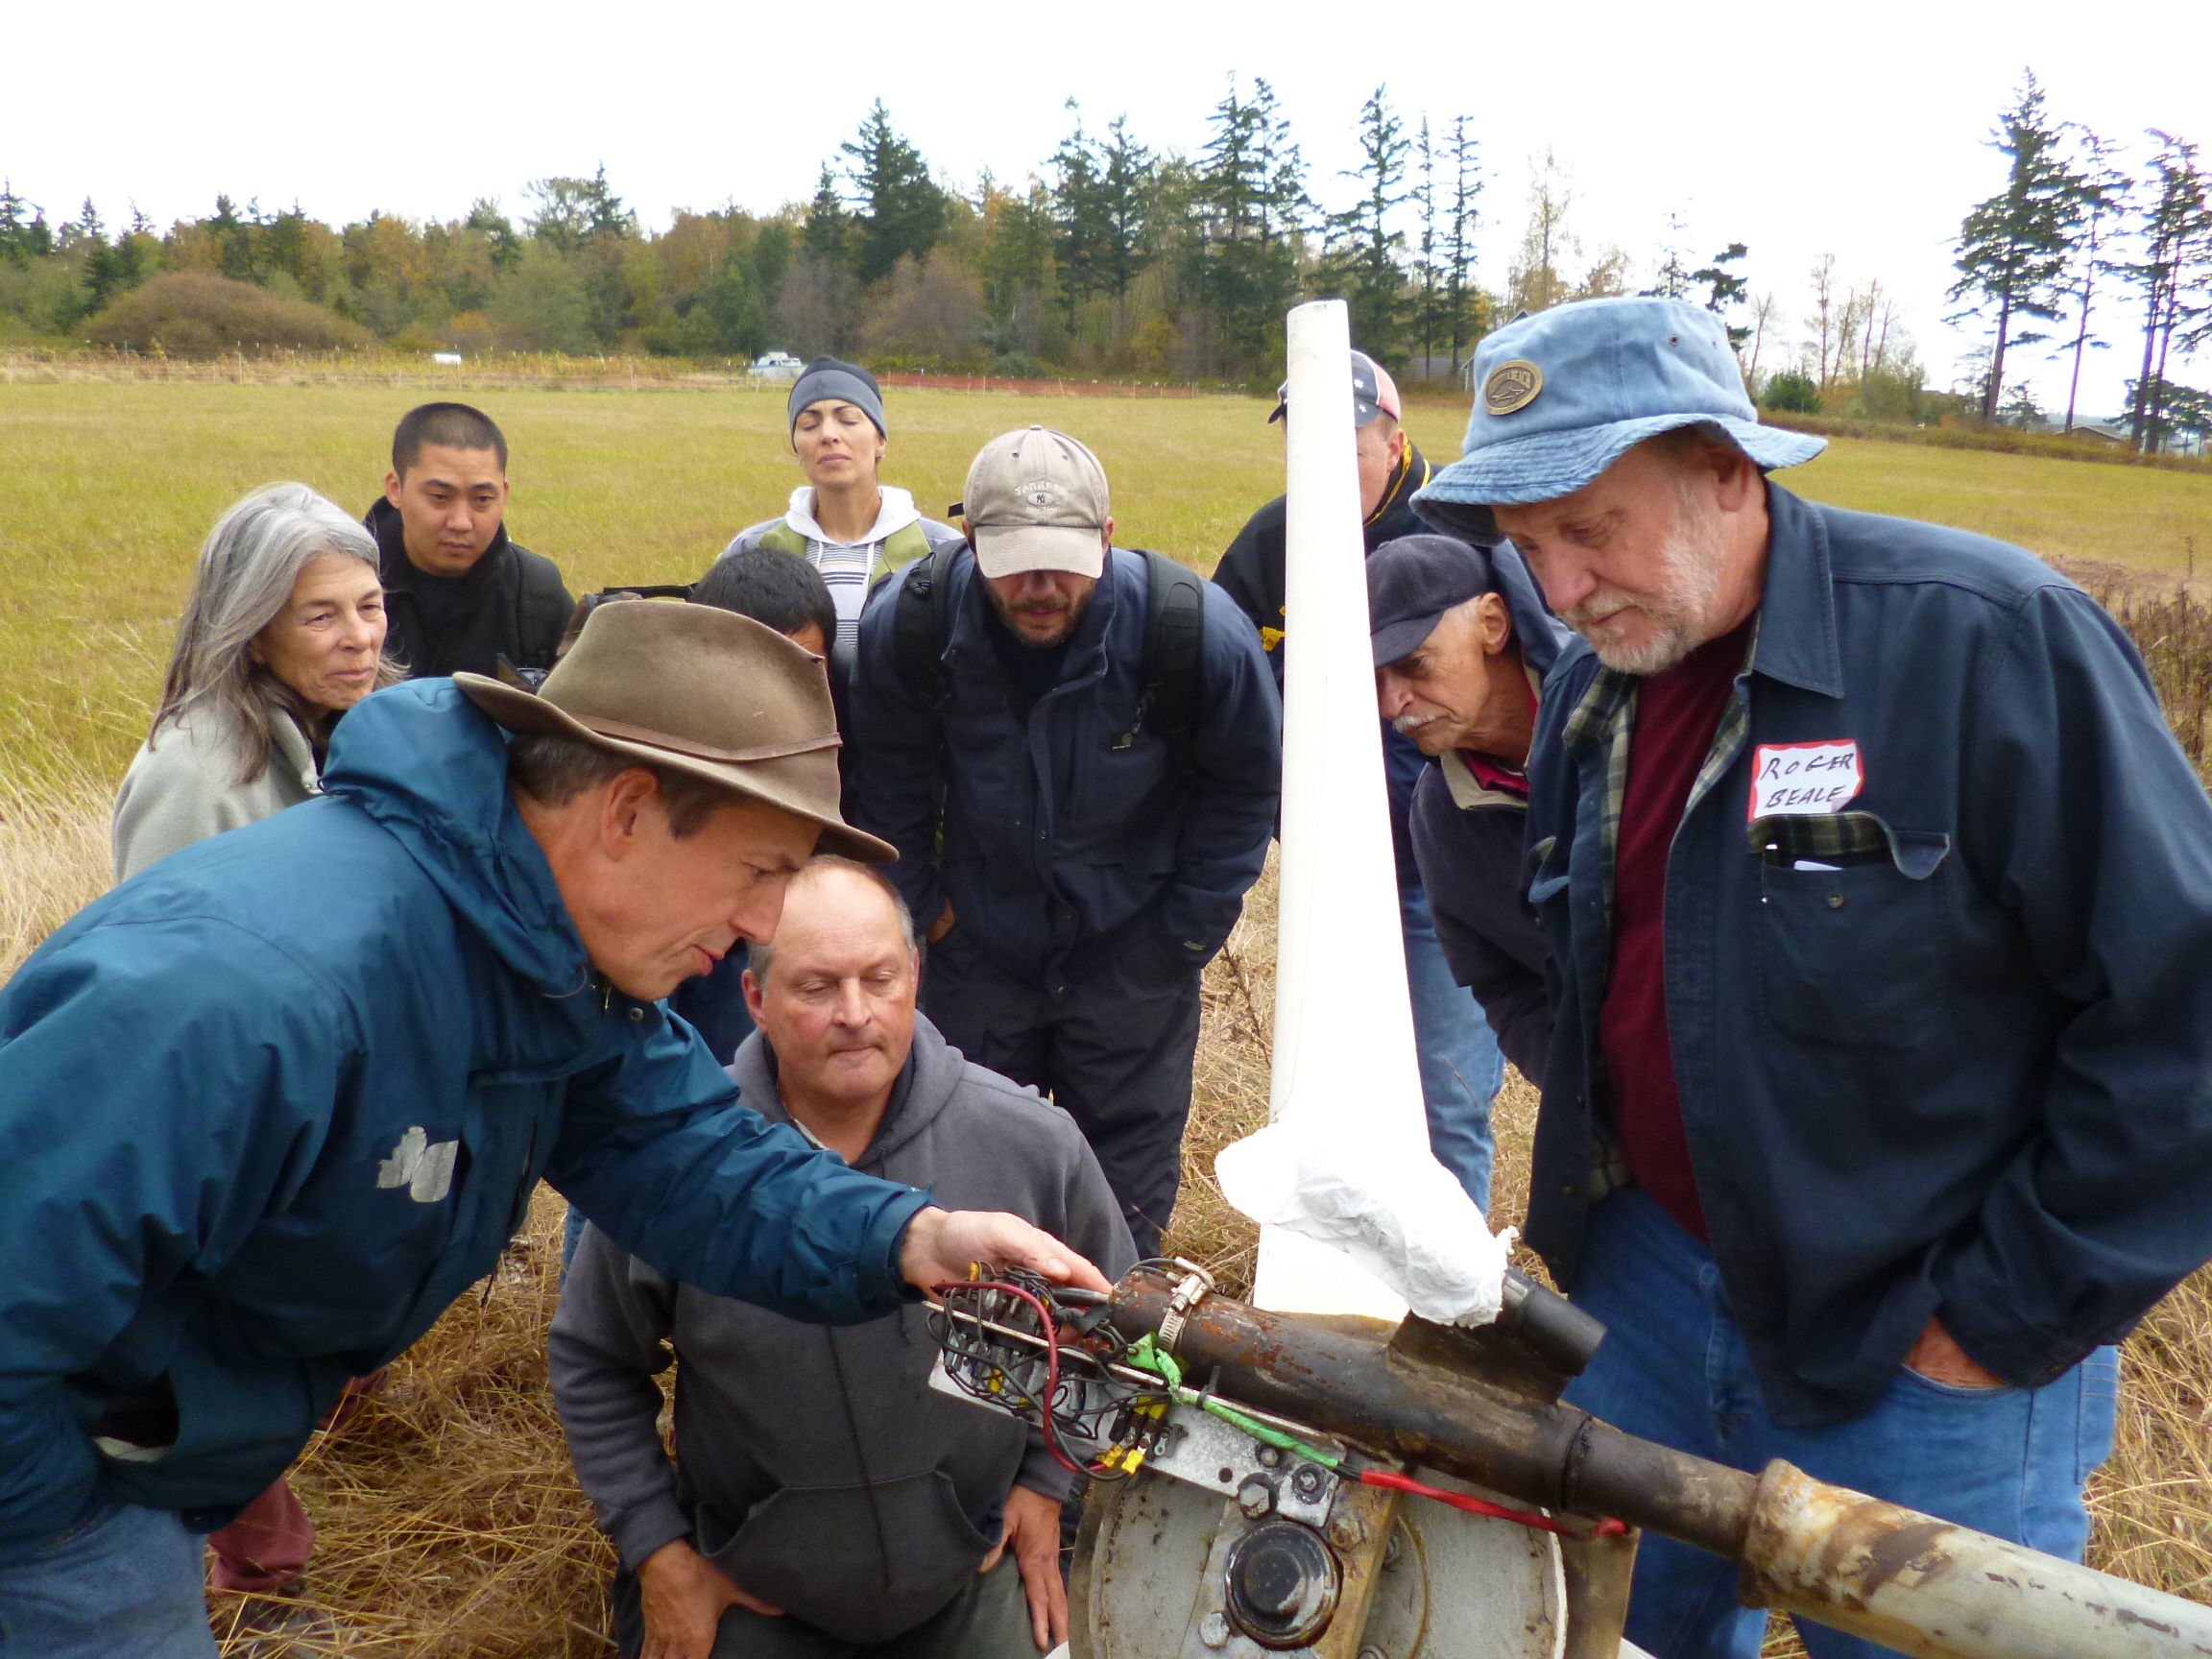
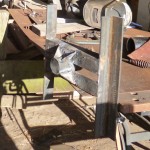
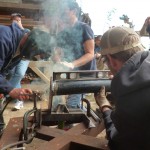
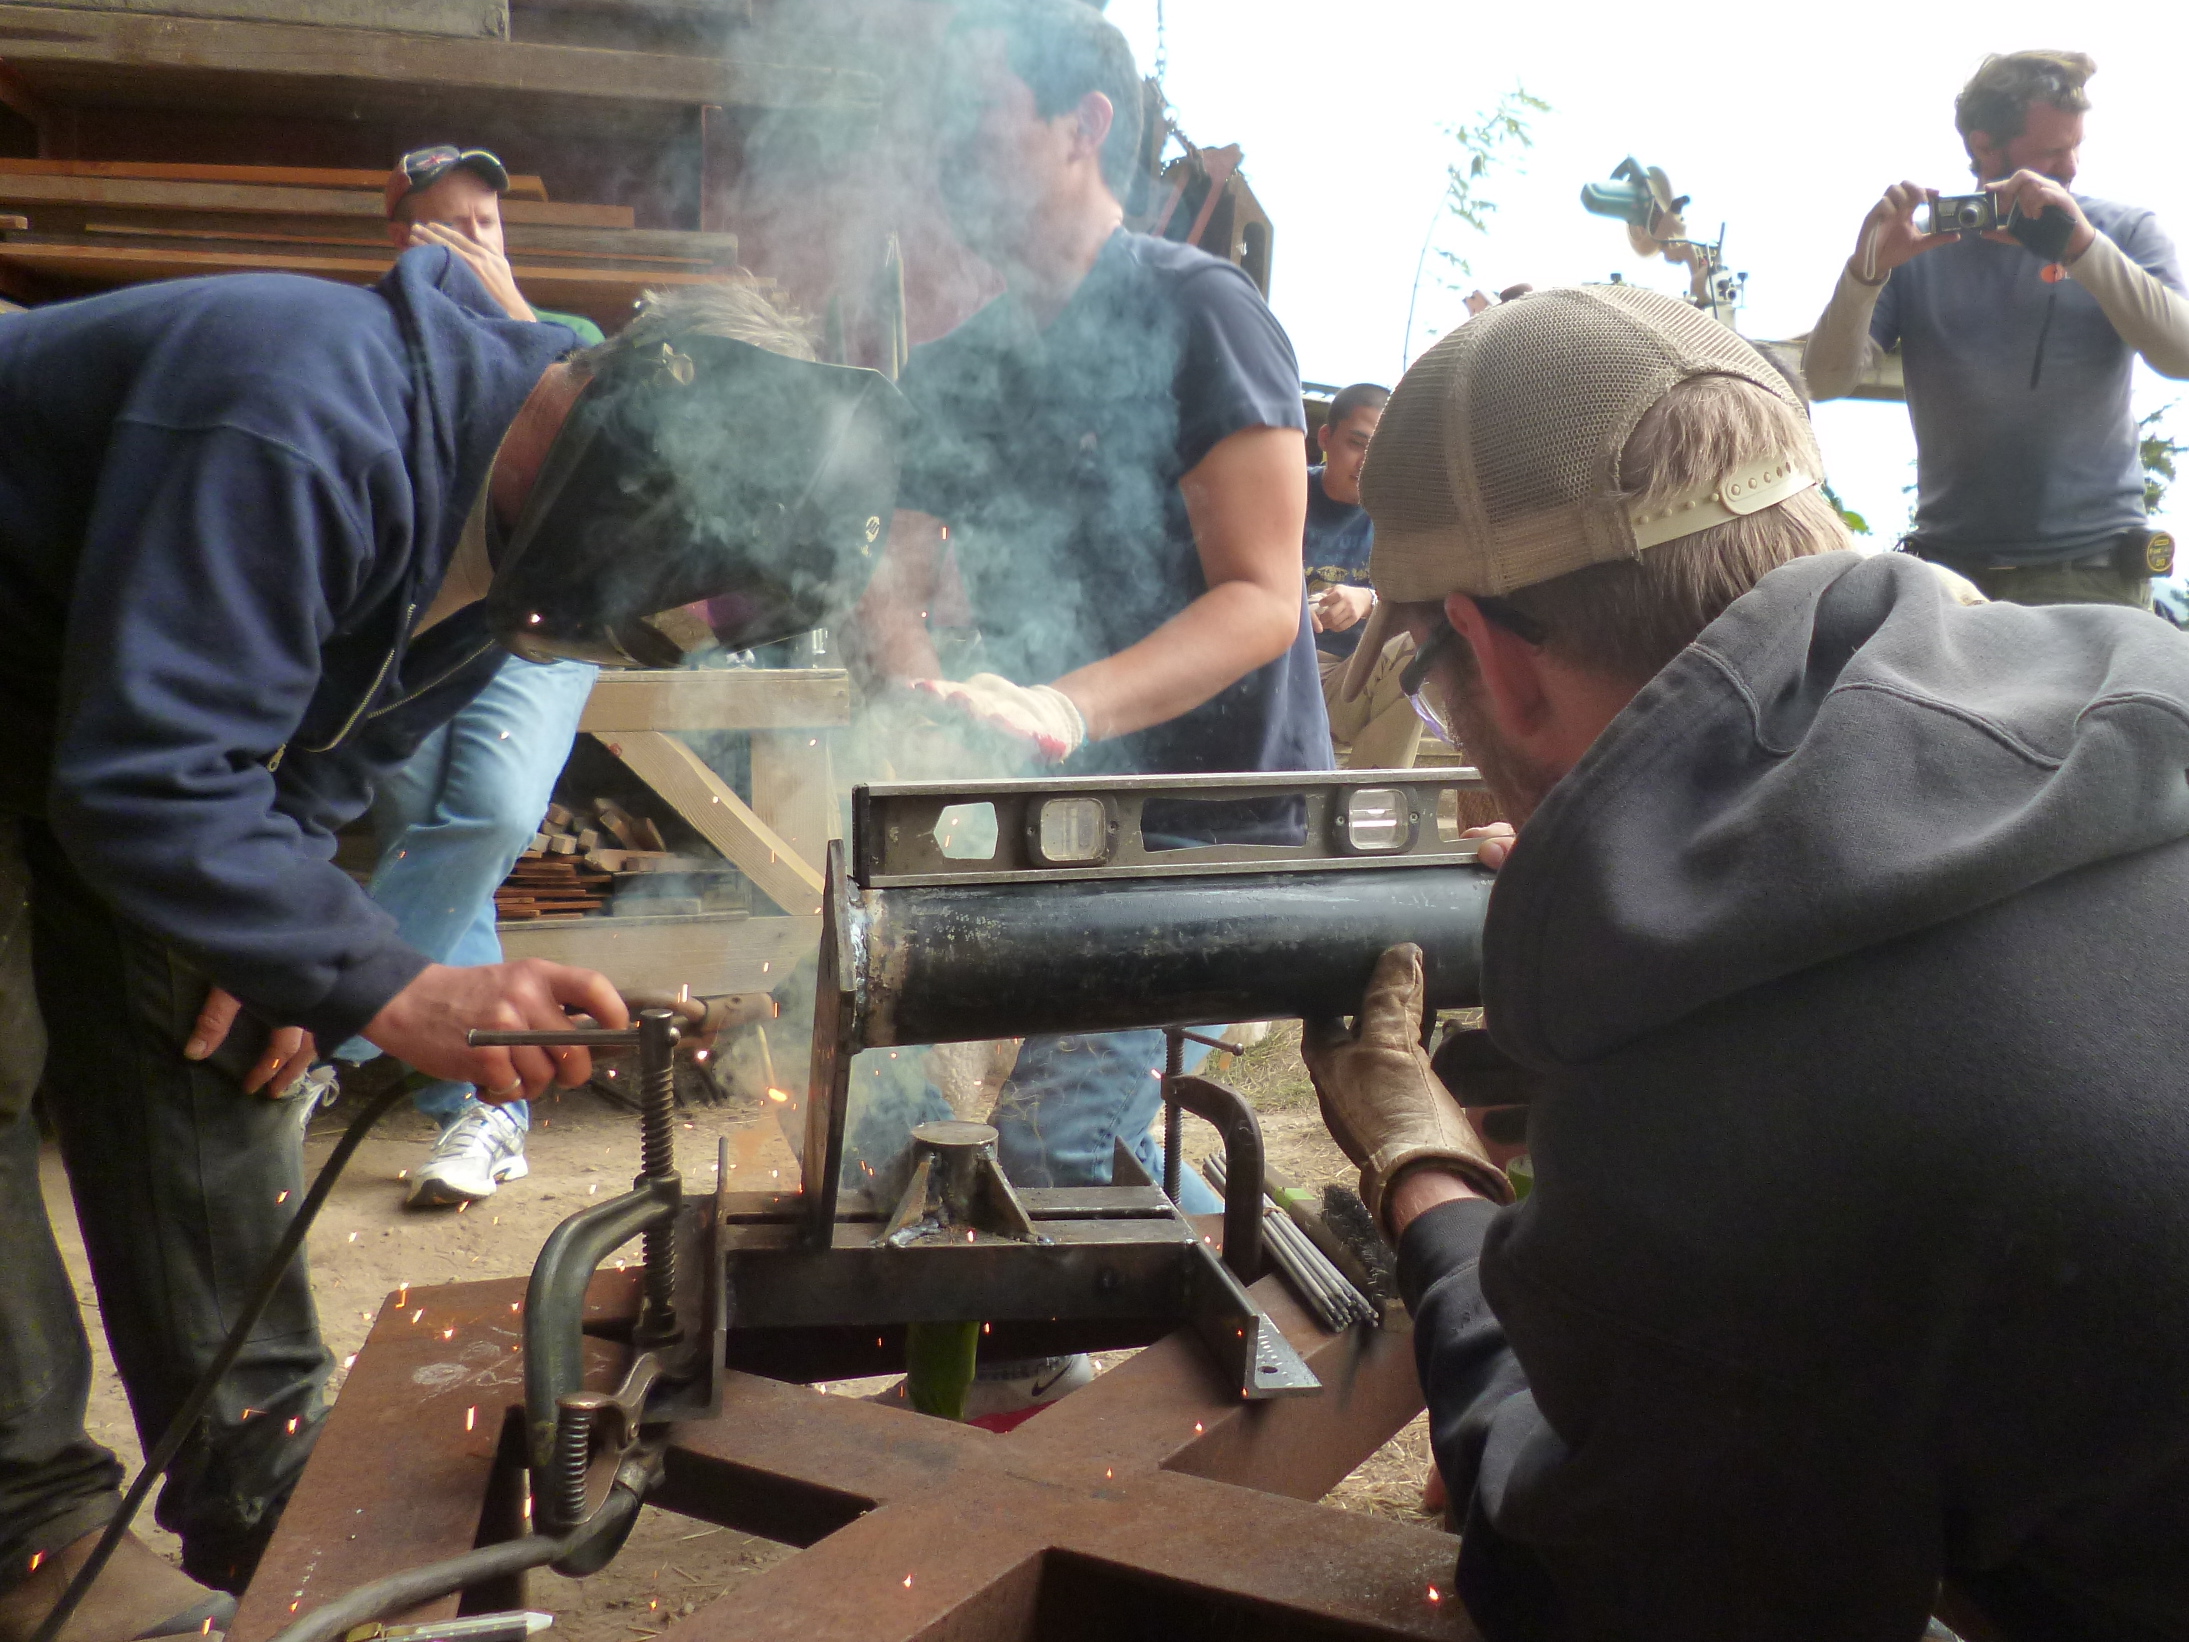
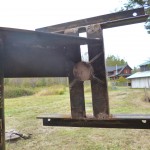
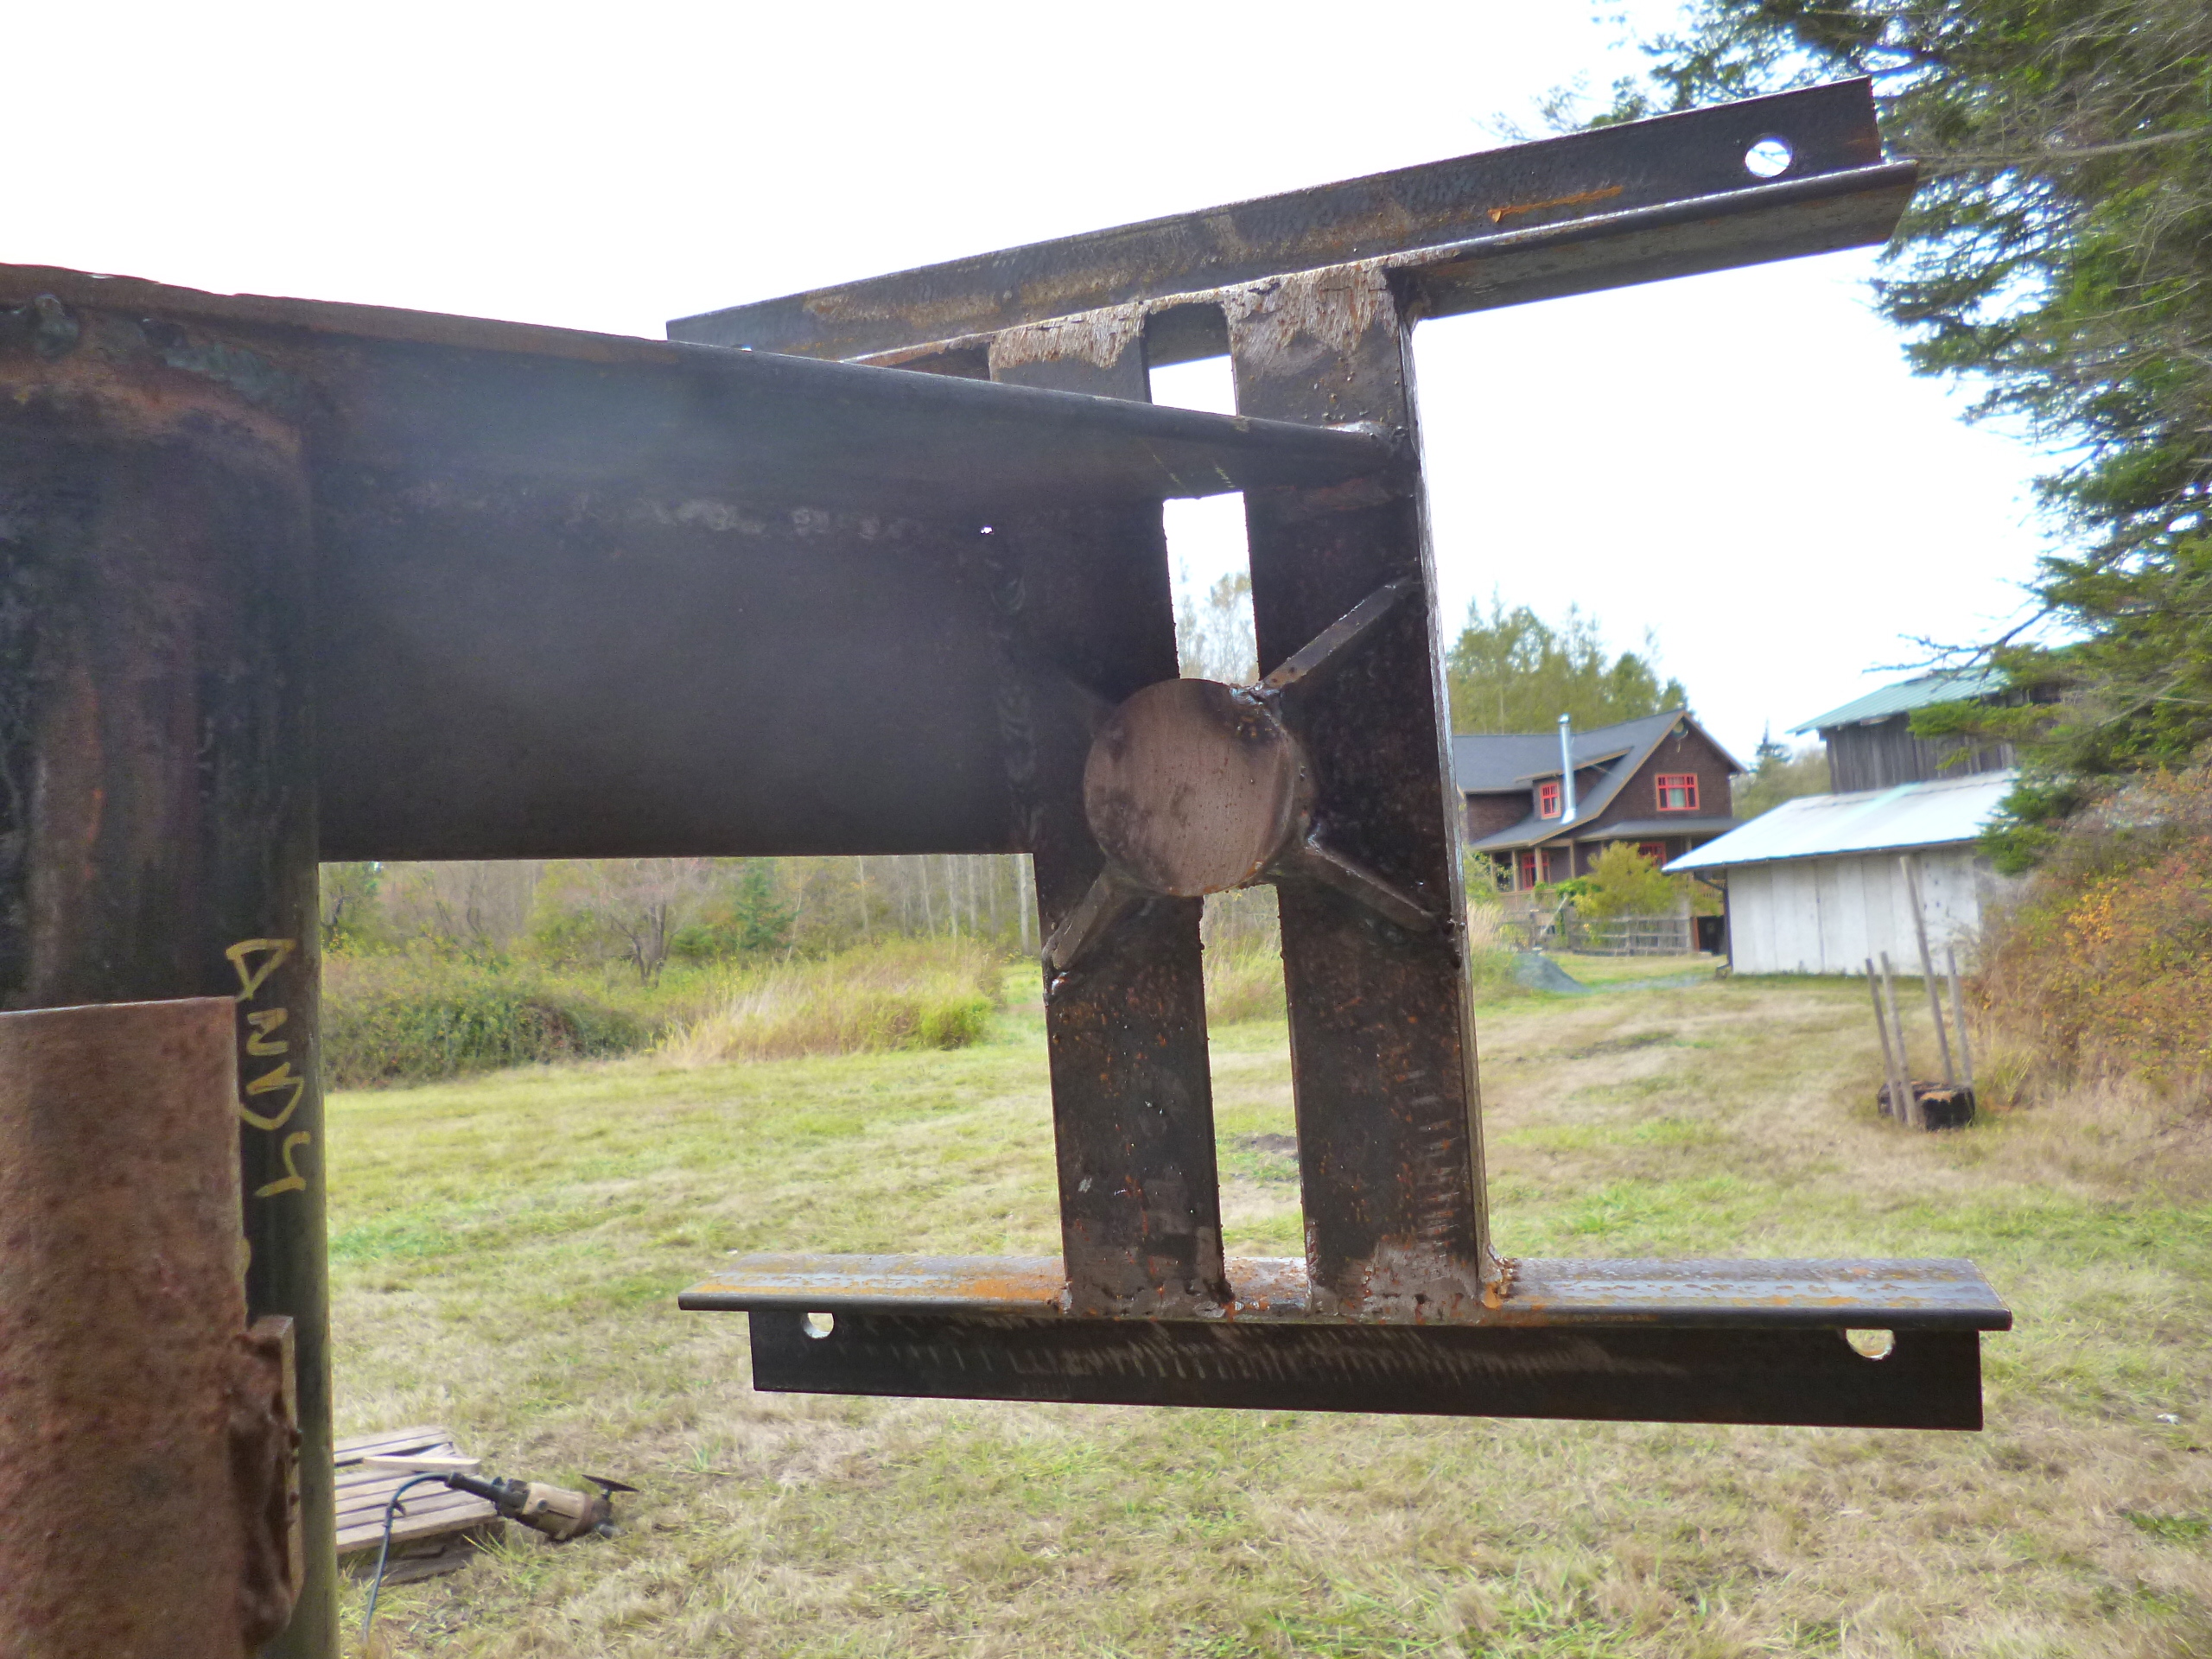
- 7 footer alternator frame
-
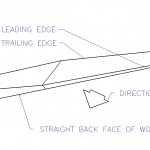
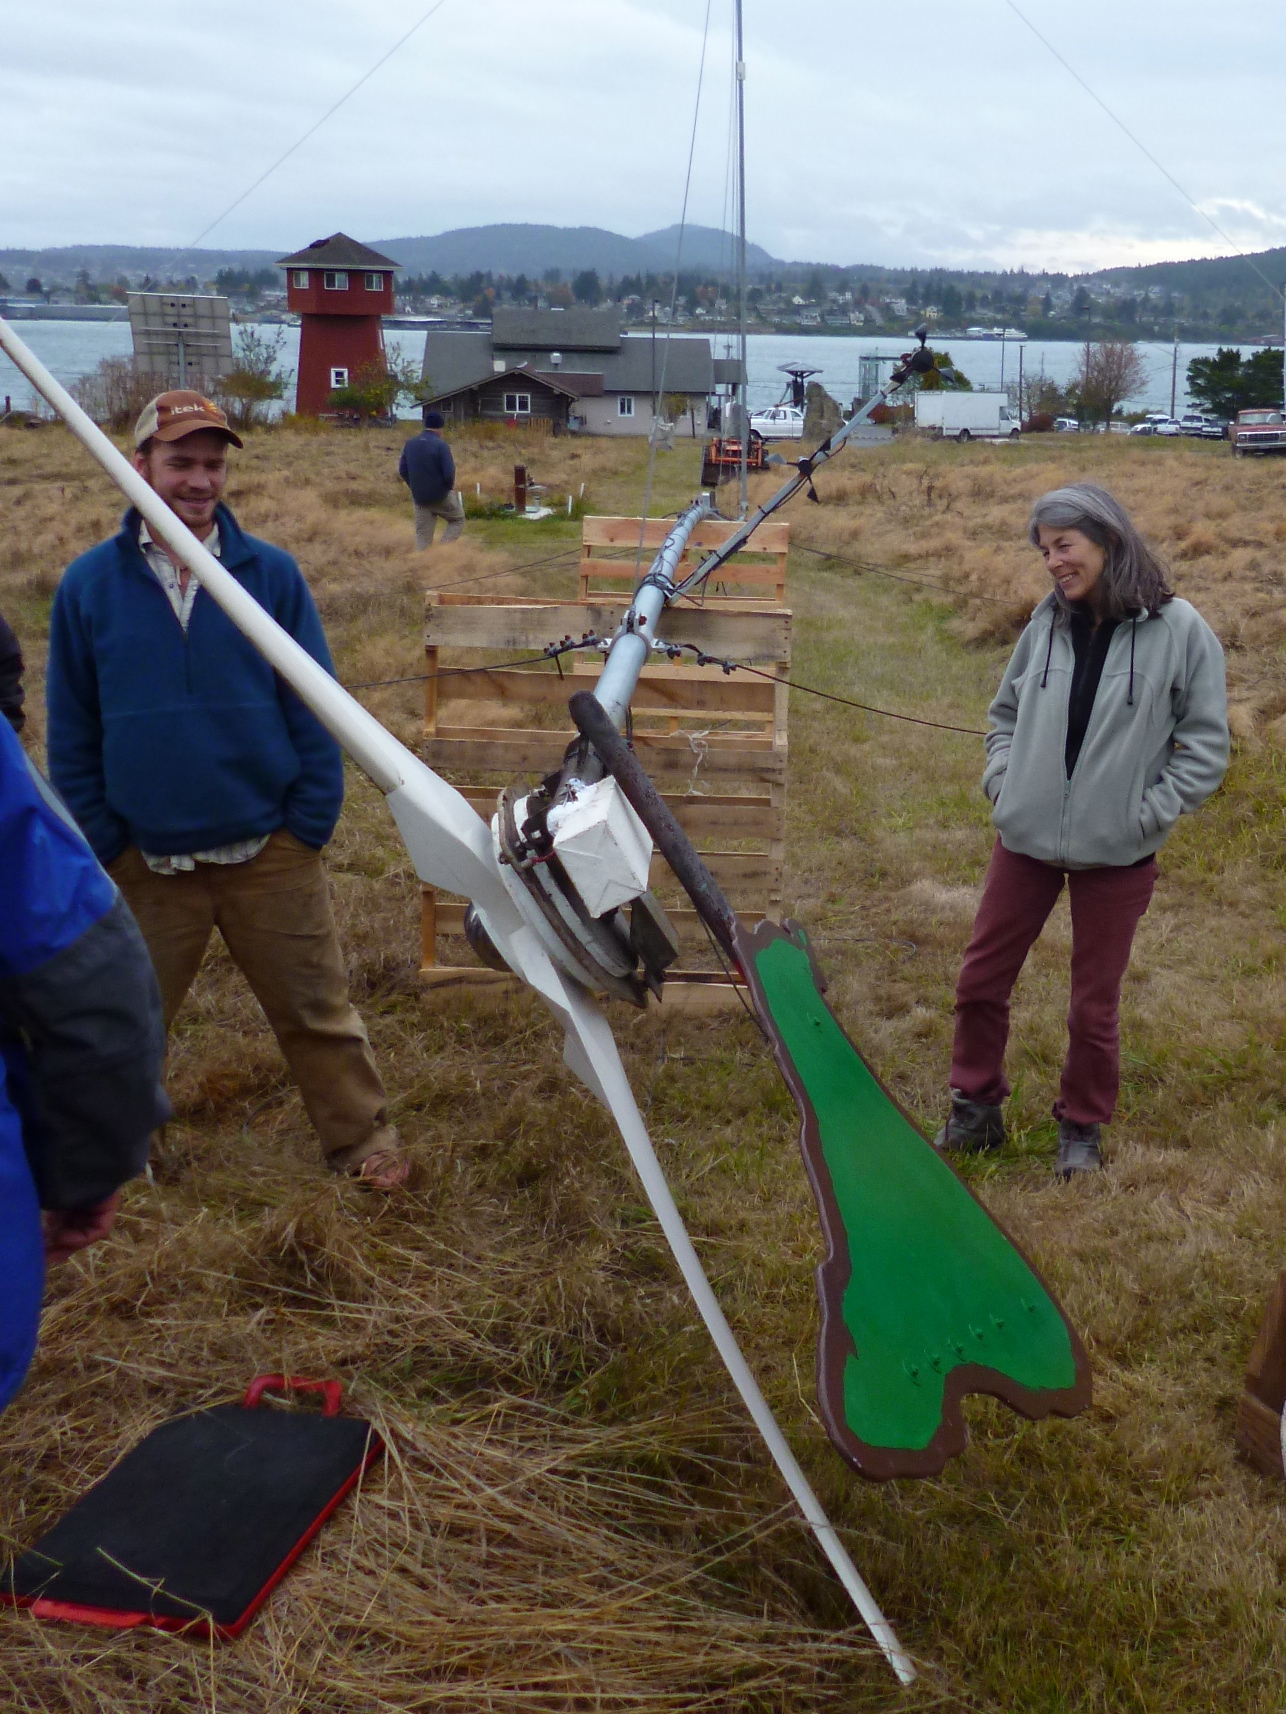
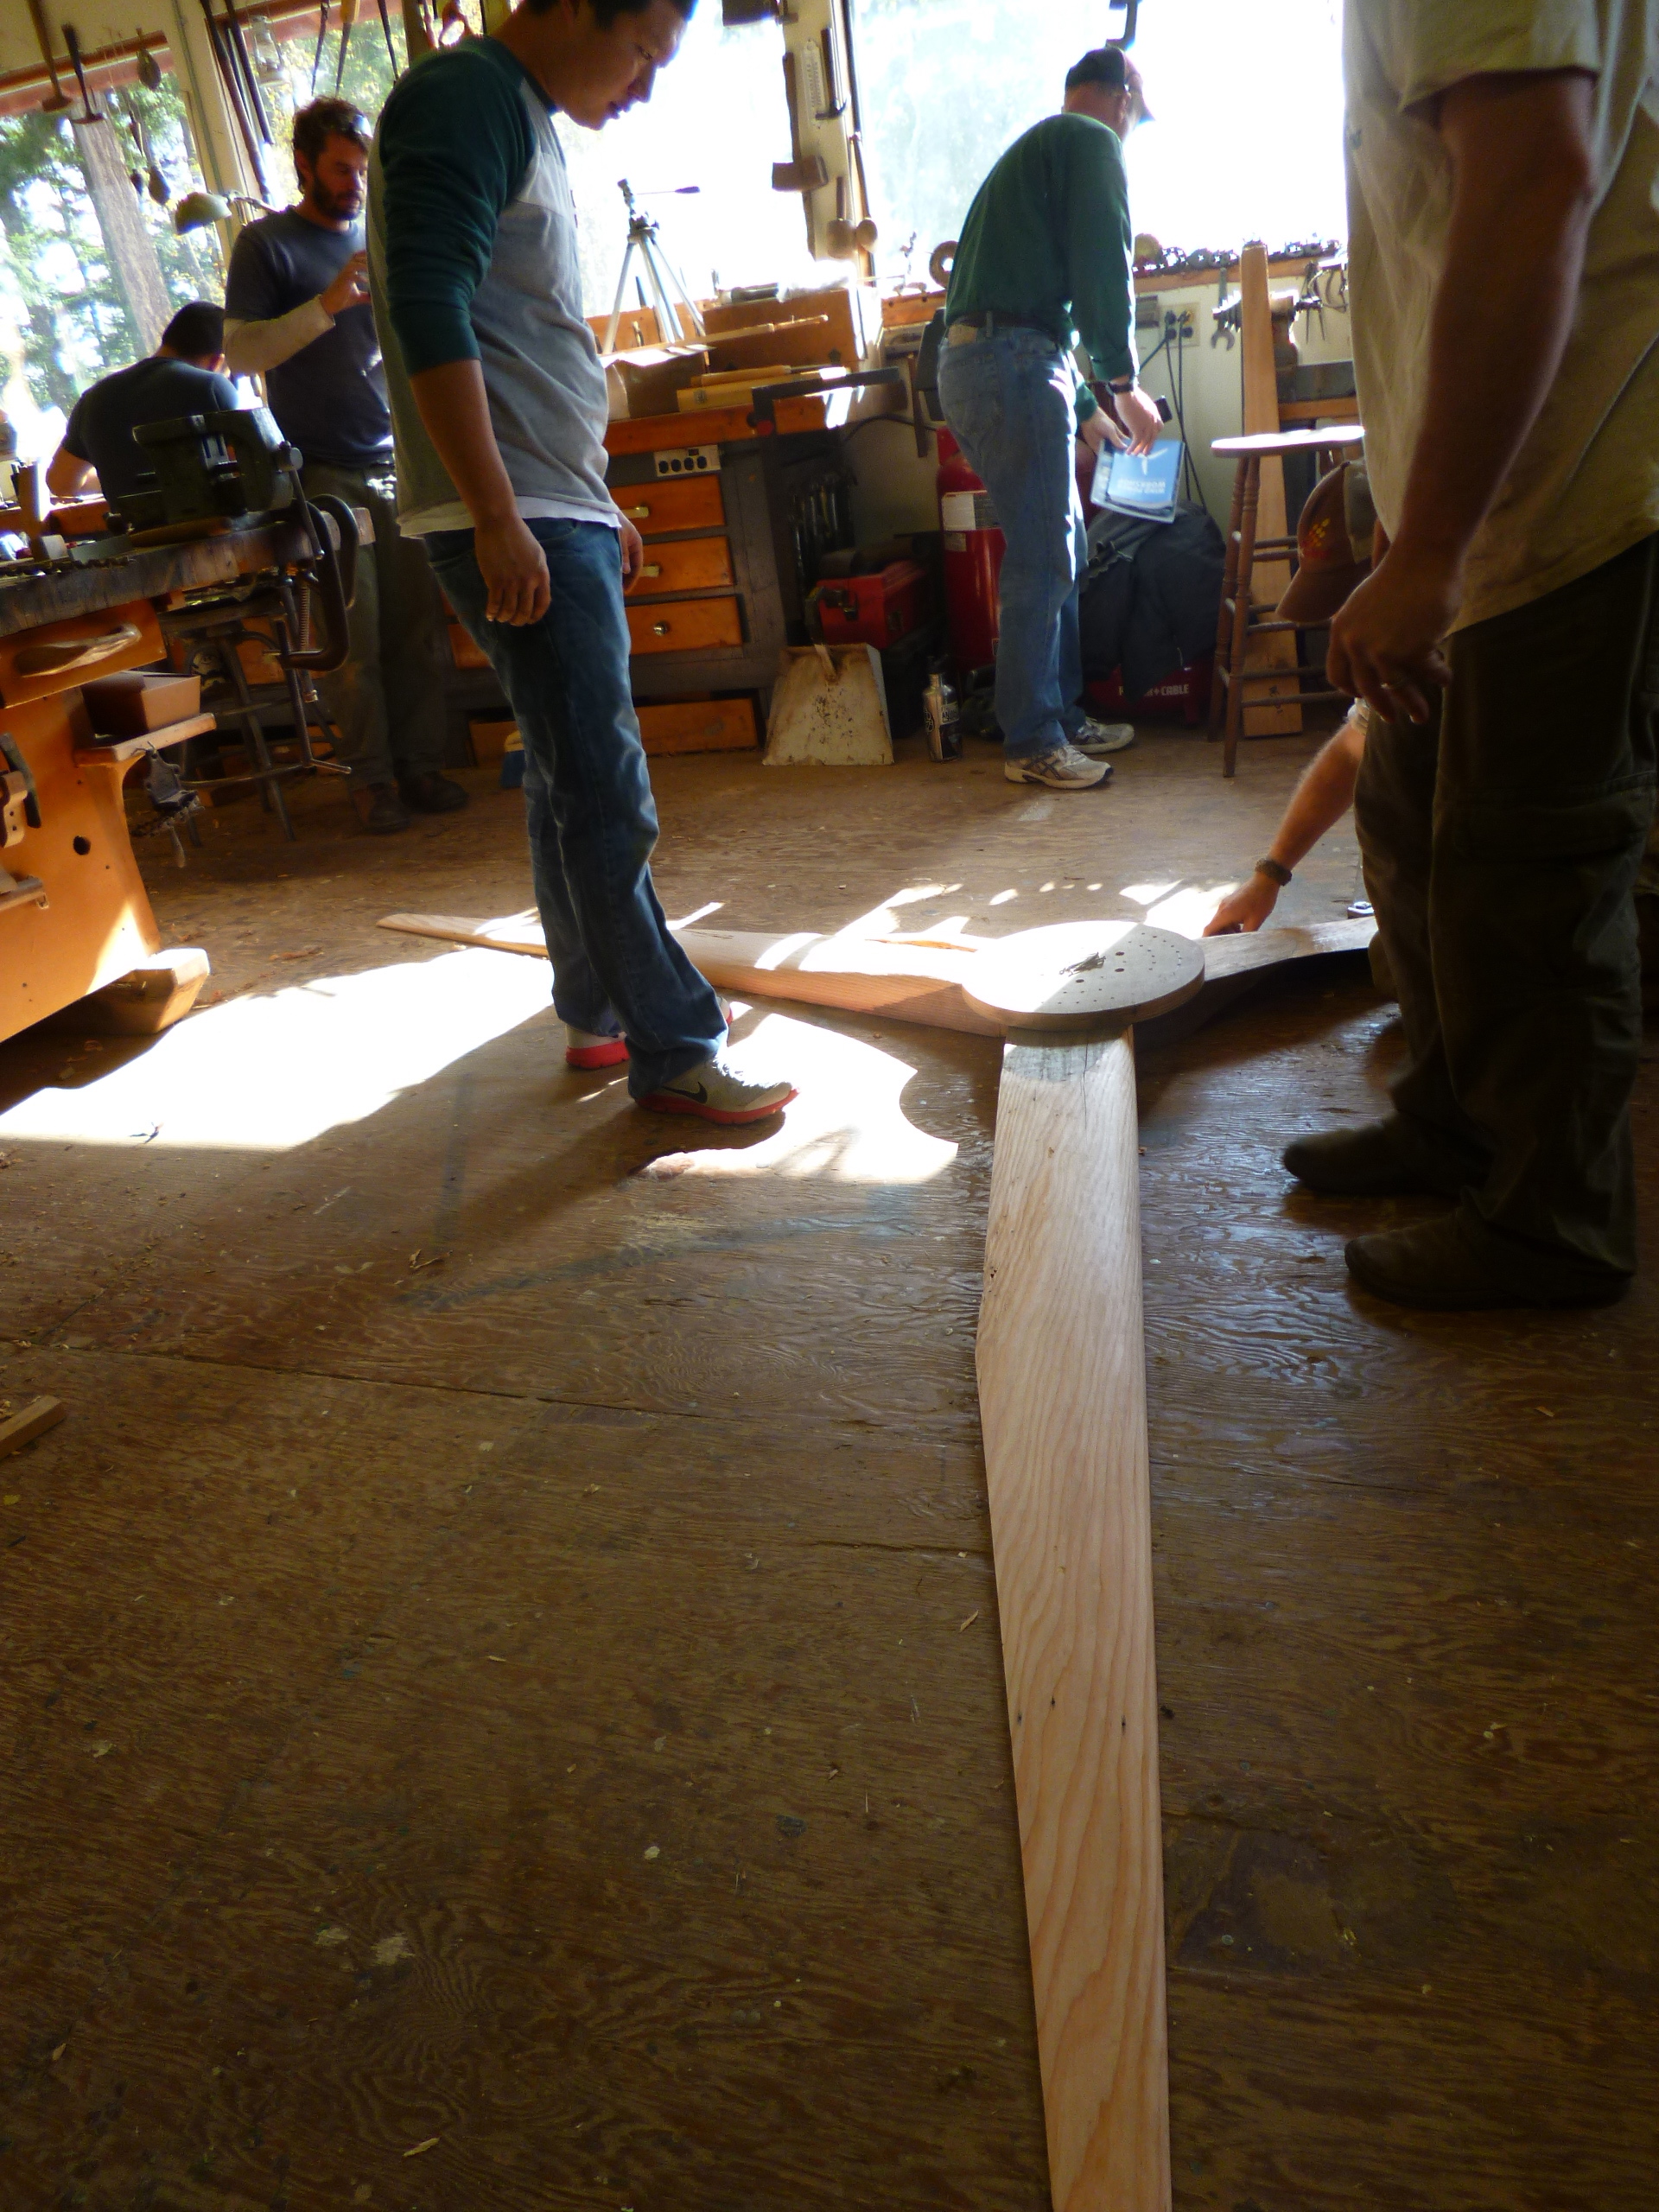
- 7 footer blade
-
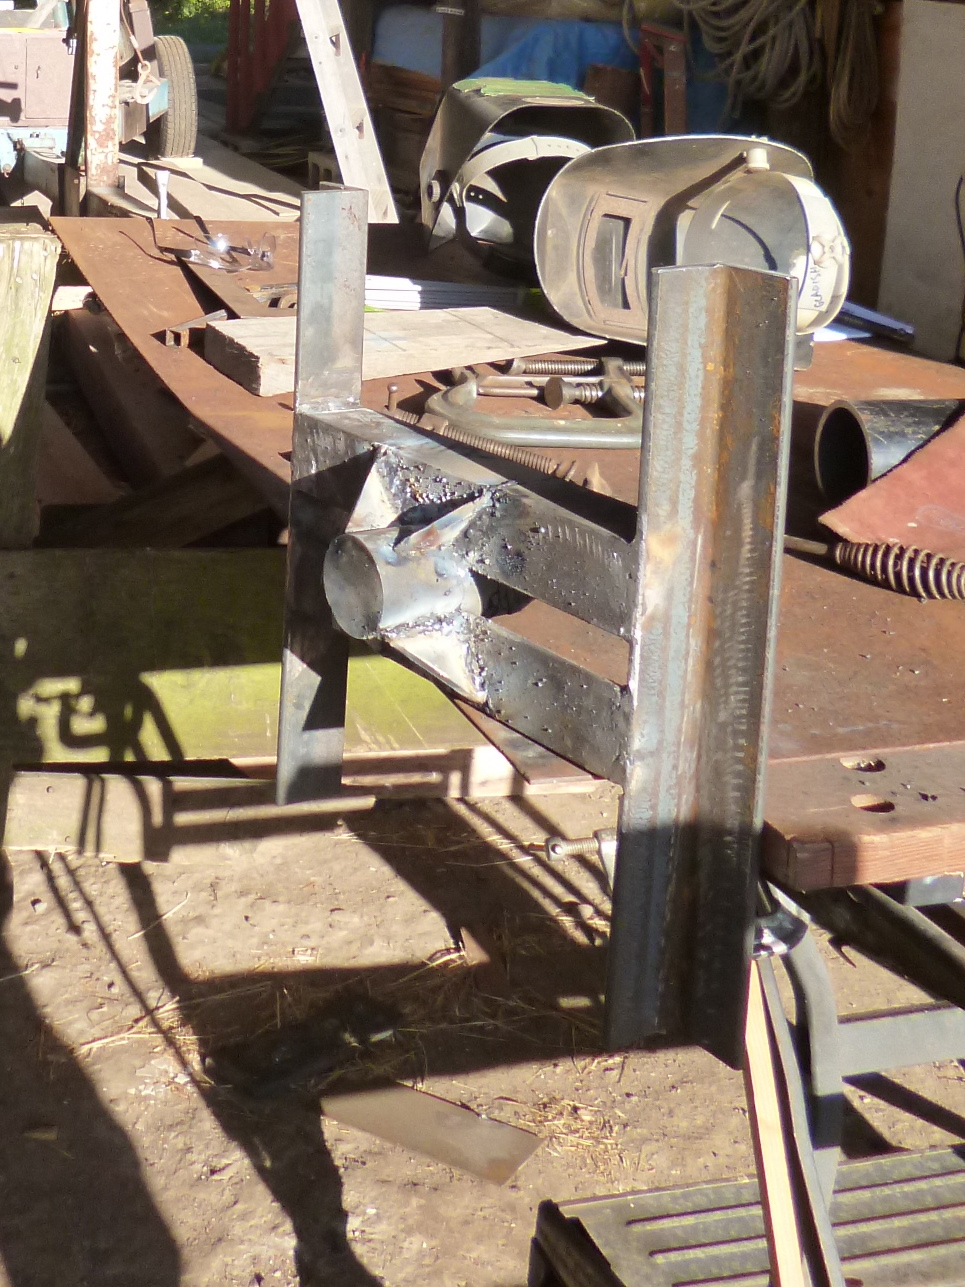
- 7 footer frame and yaw bearing

-
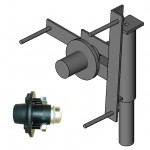
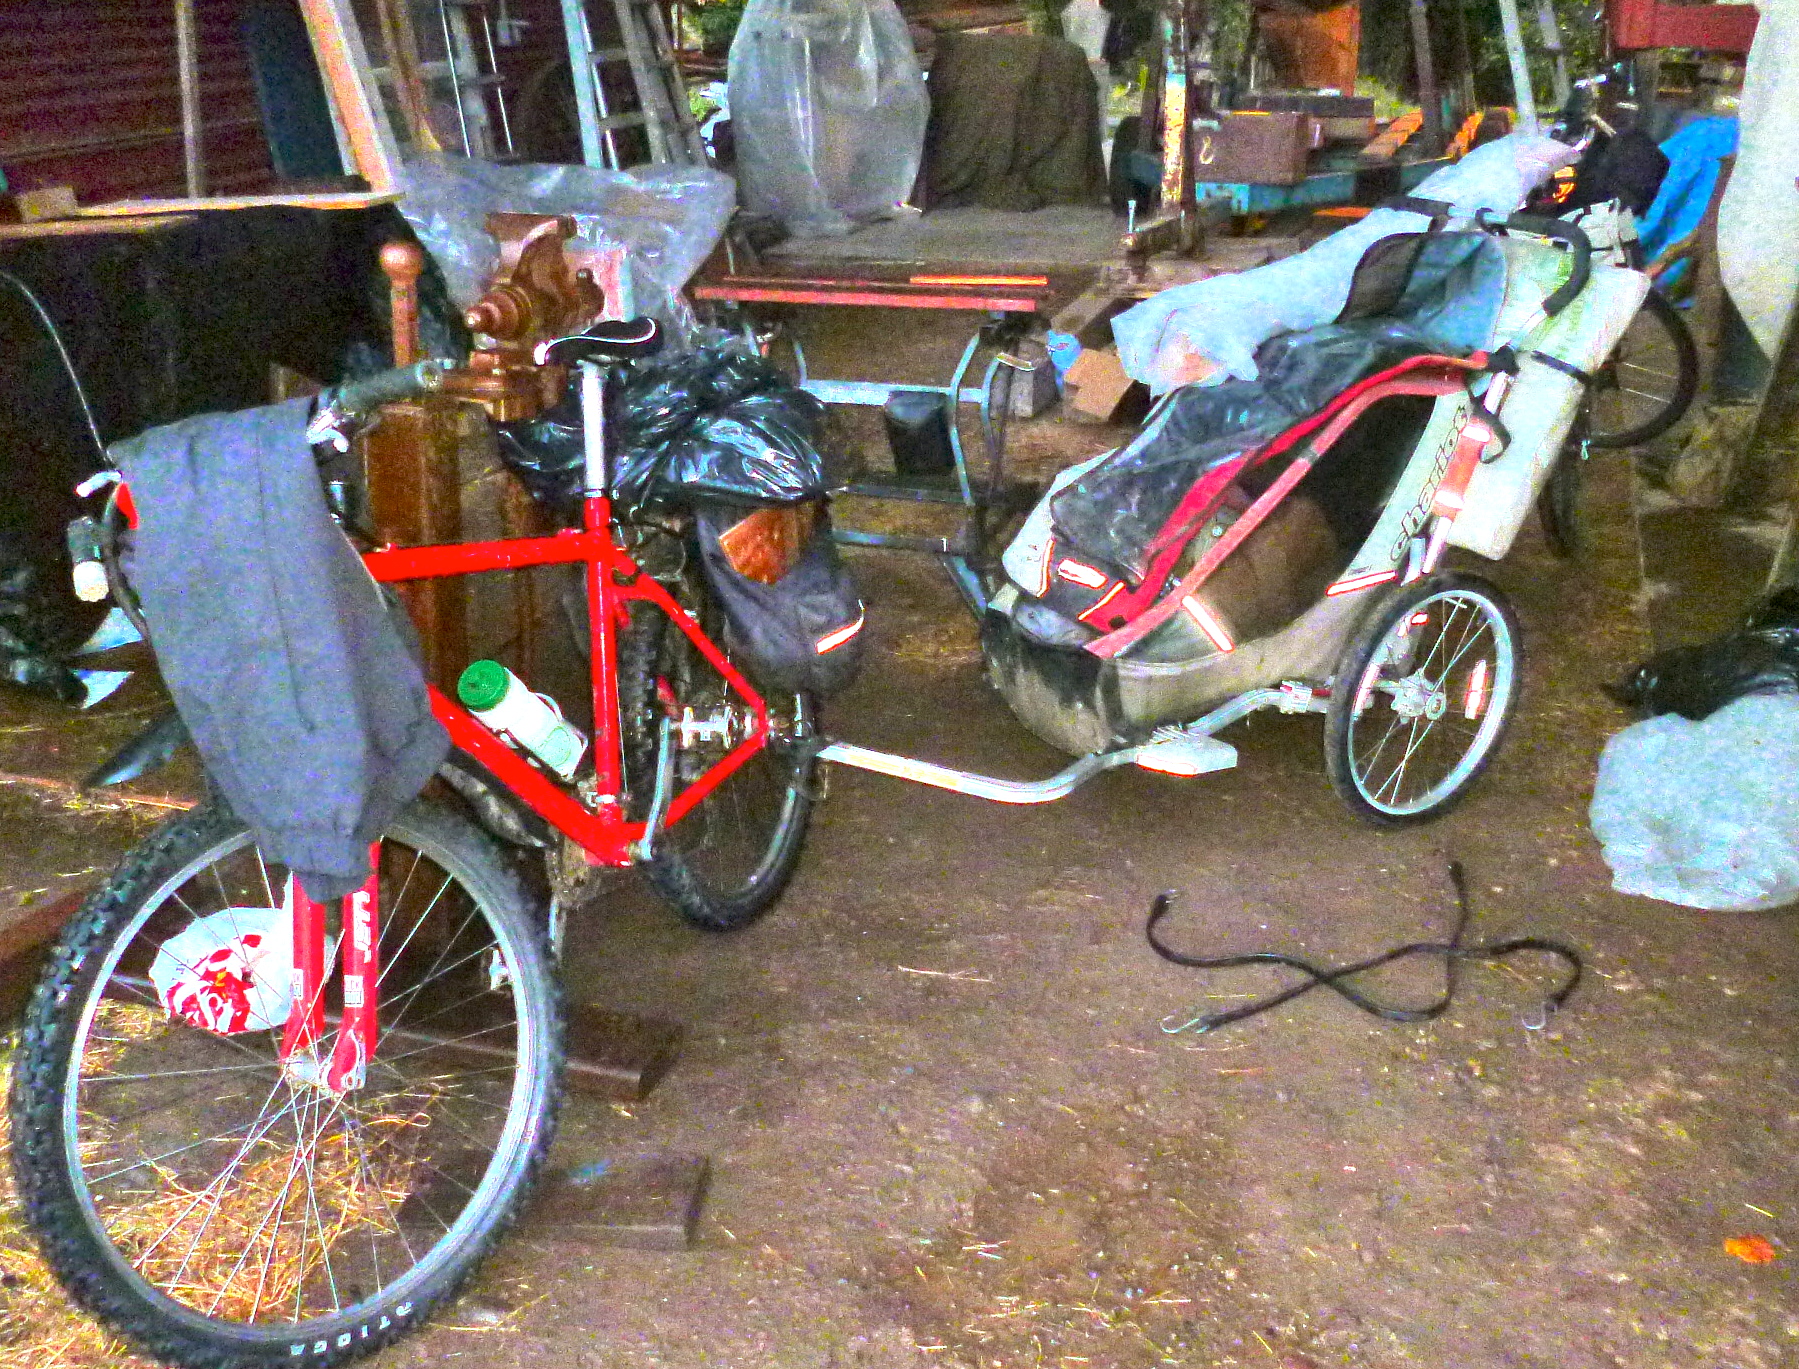
- 7 footer on its way to Canada by bike
-
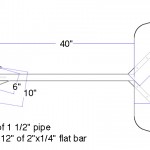
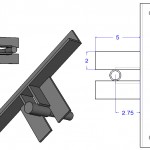
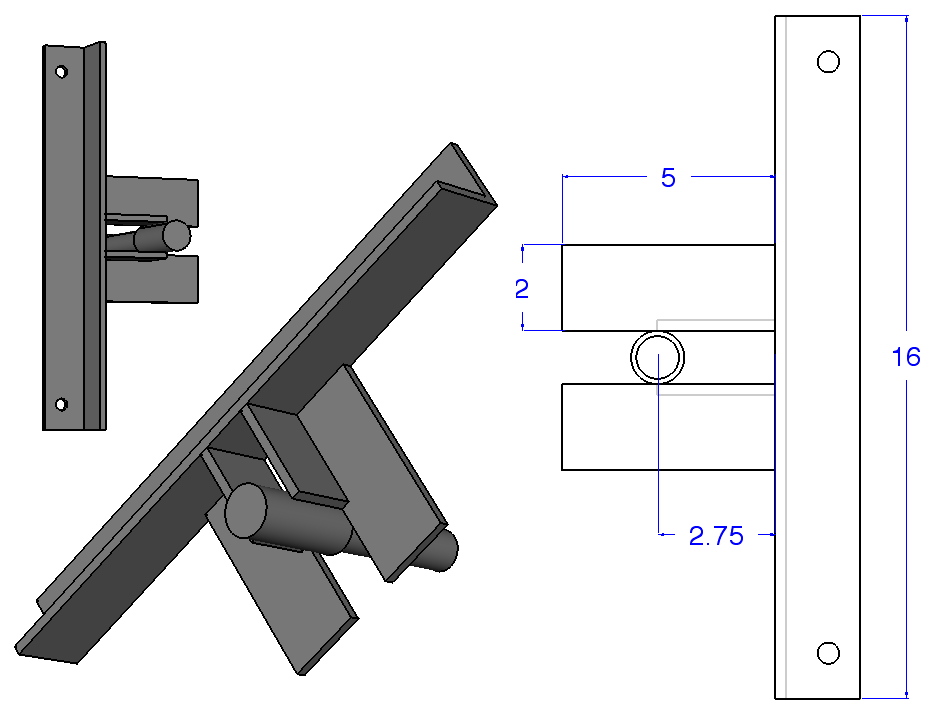
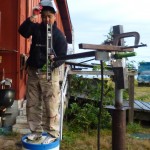
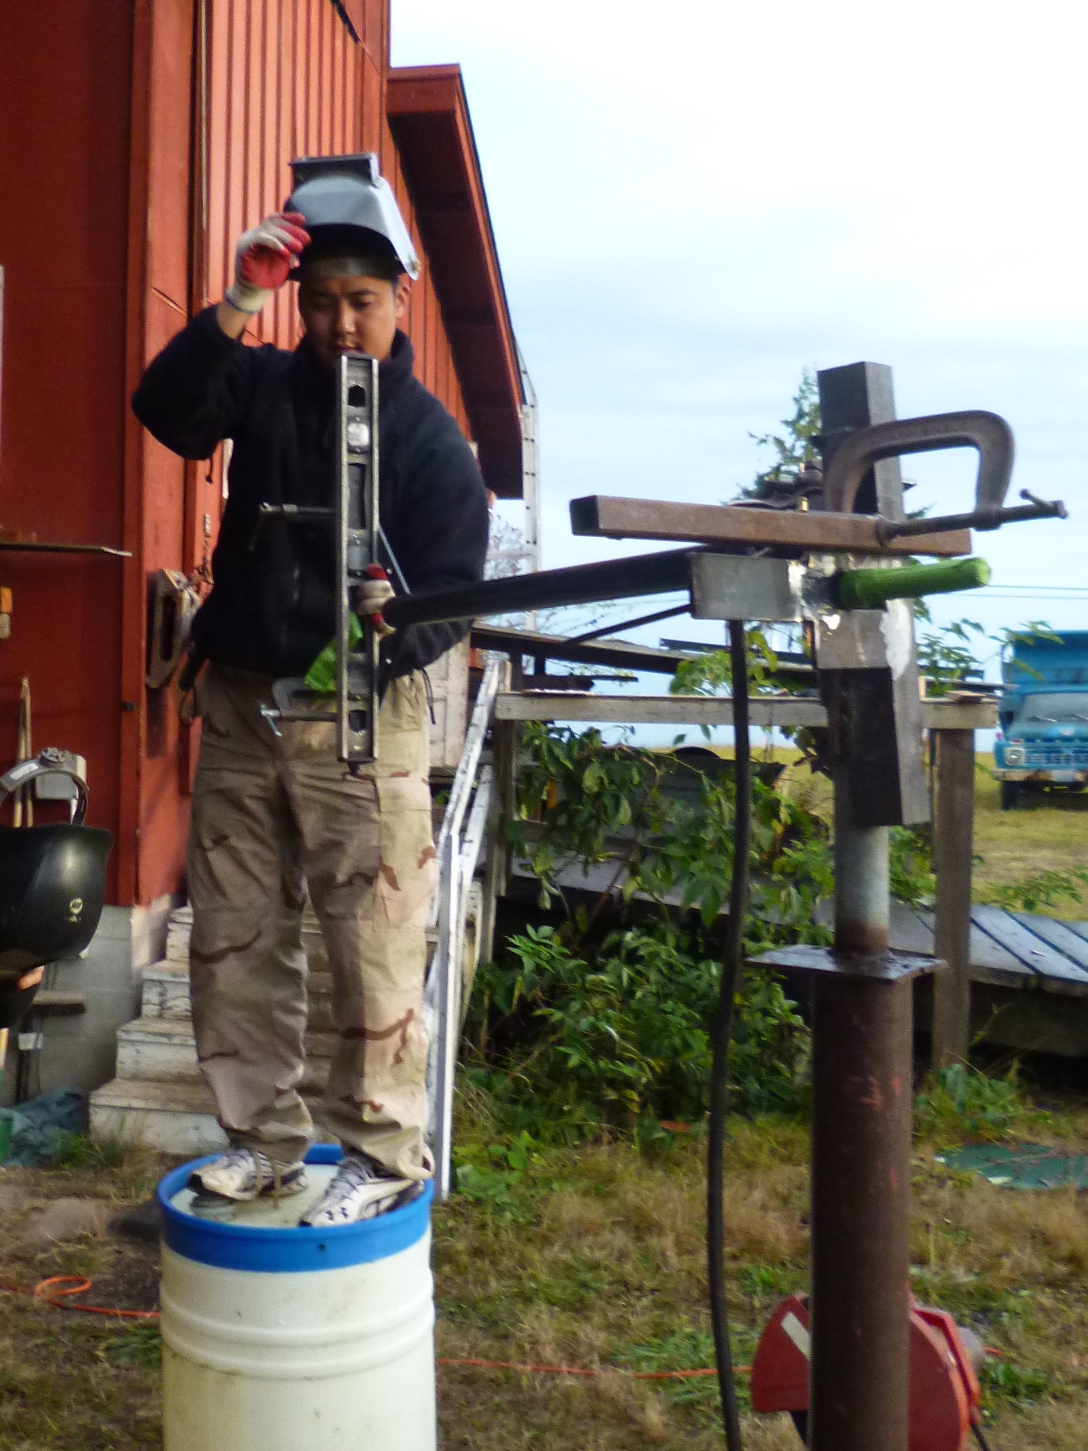
- 7 footer tail dimensions

-
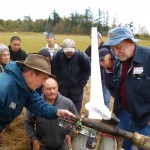
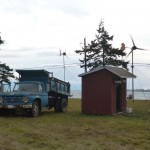
- Ian shows the group the Store turbine
-
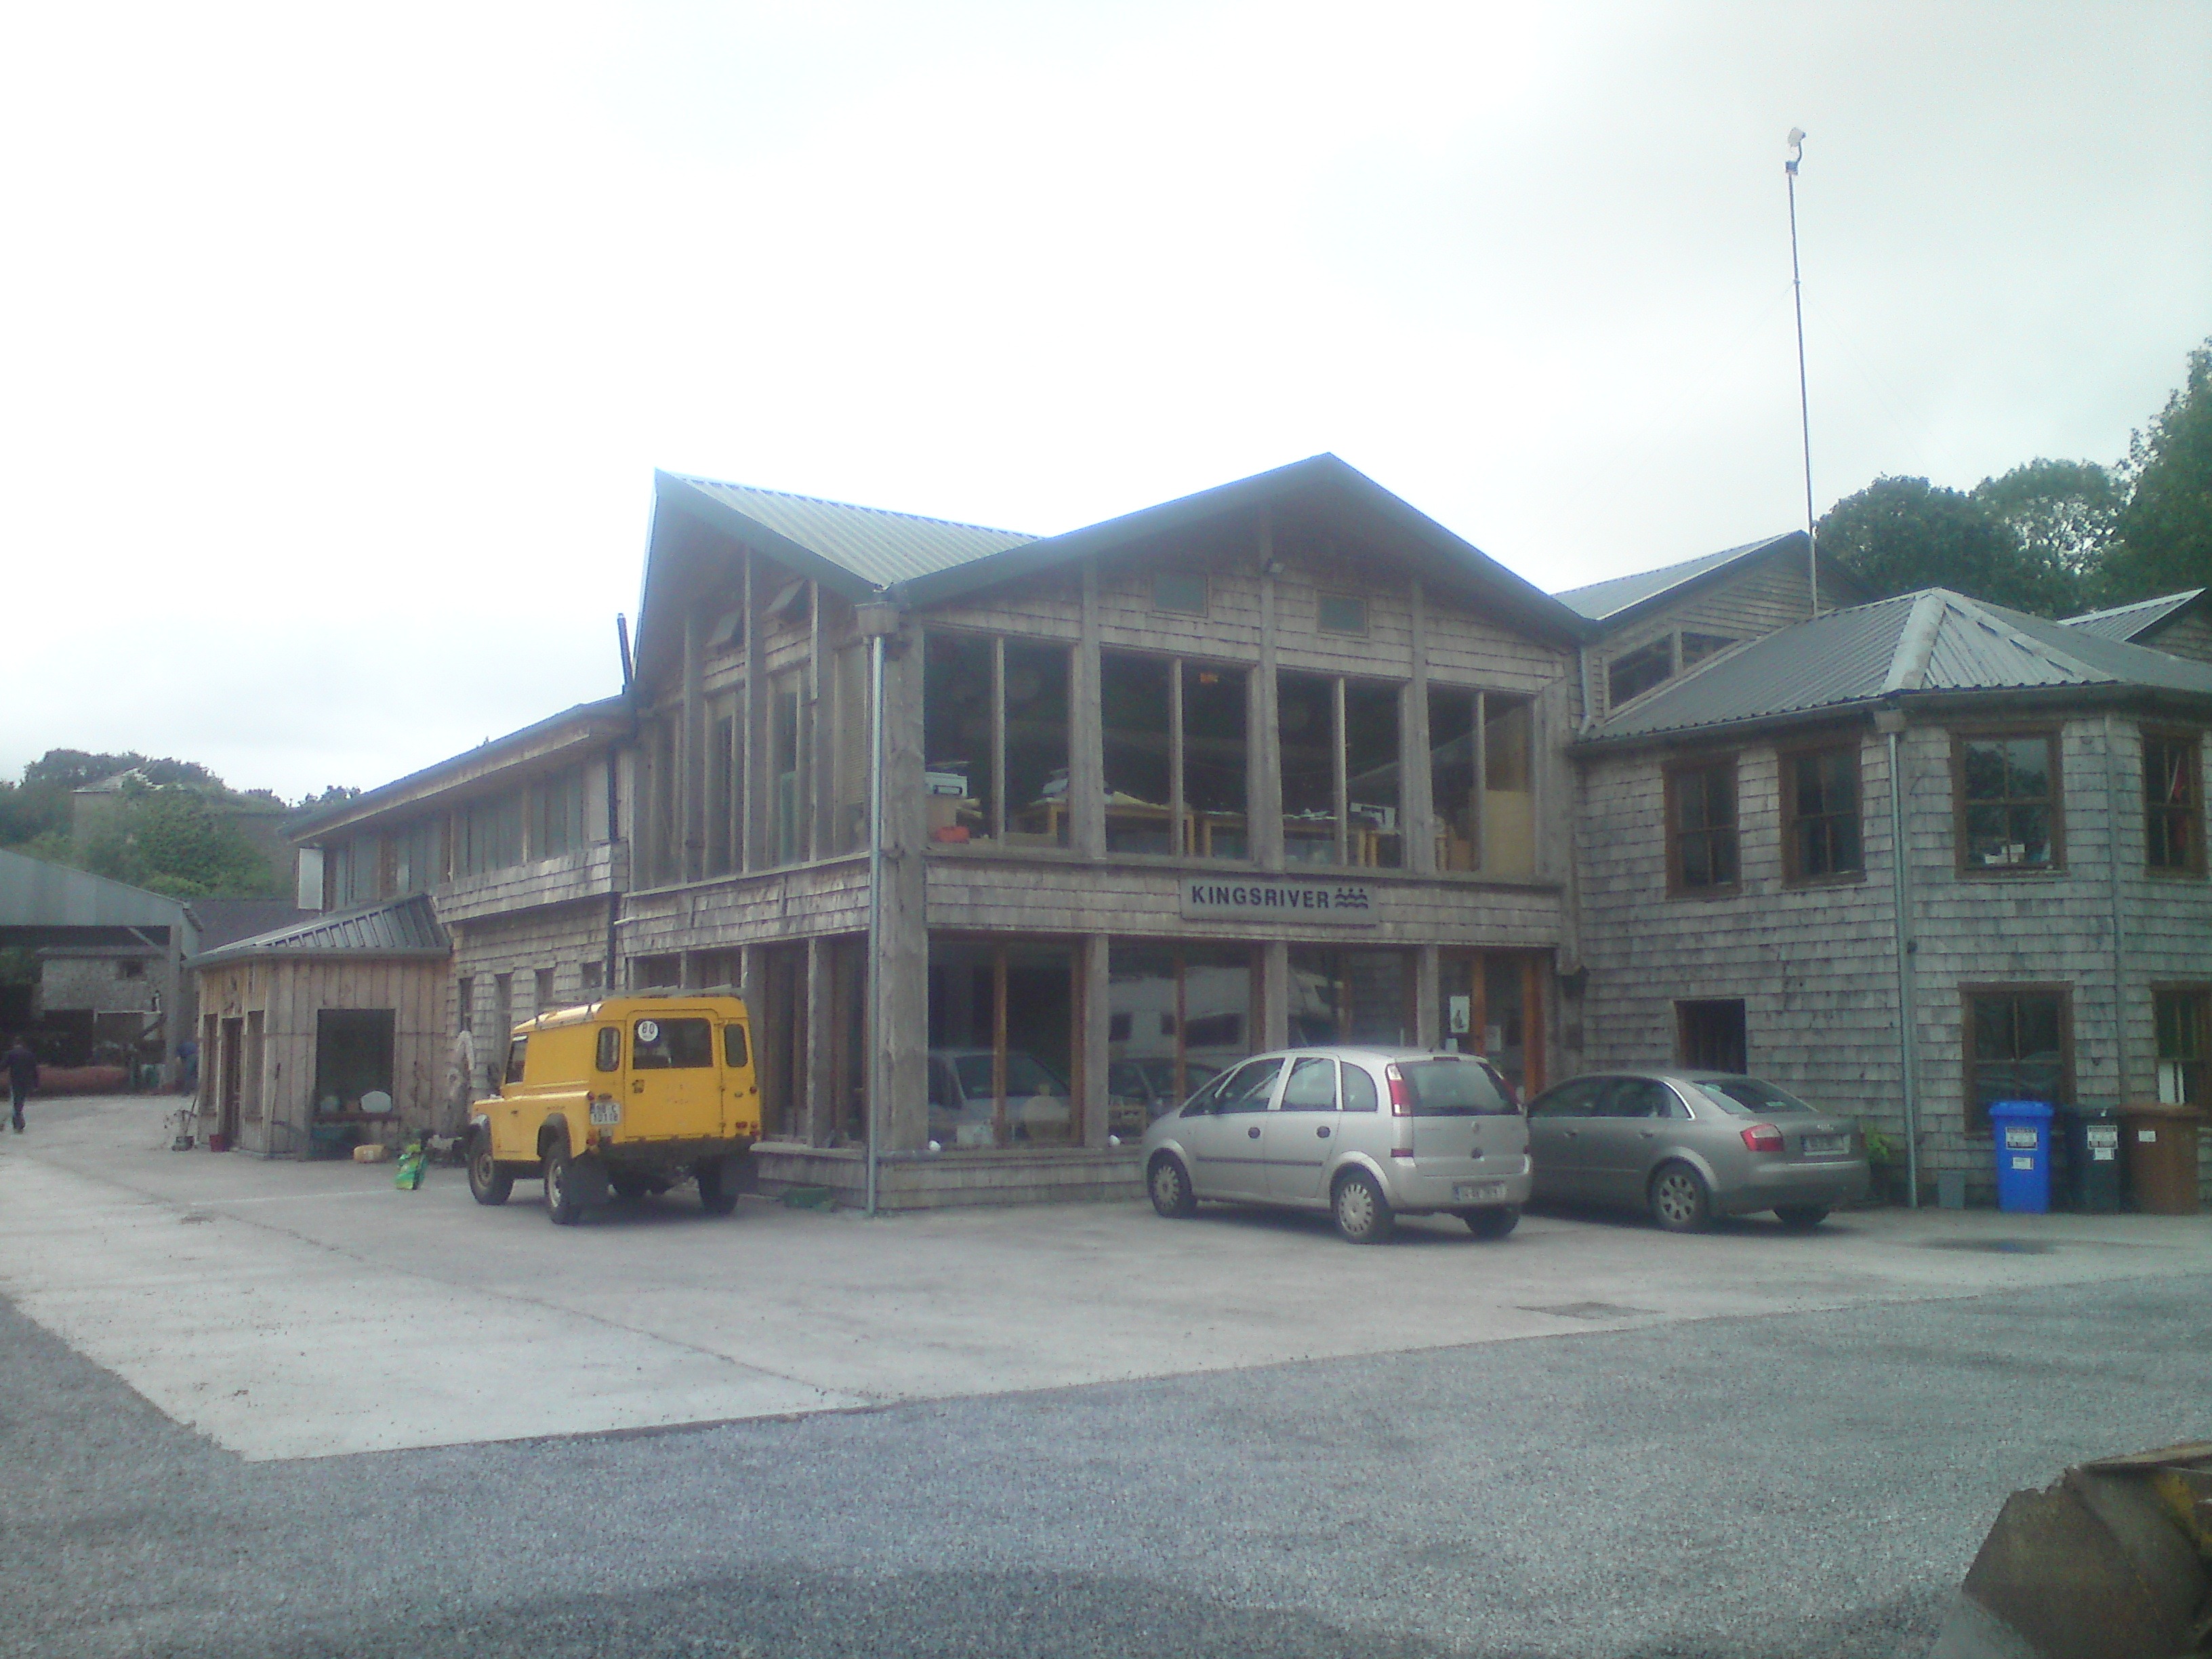
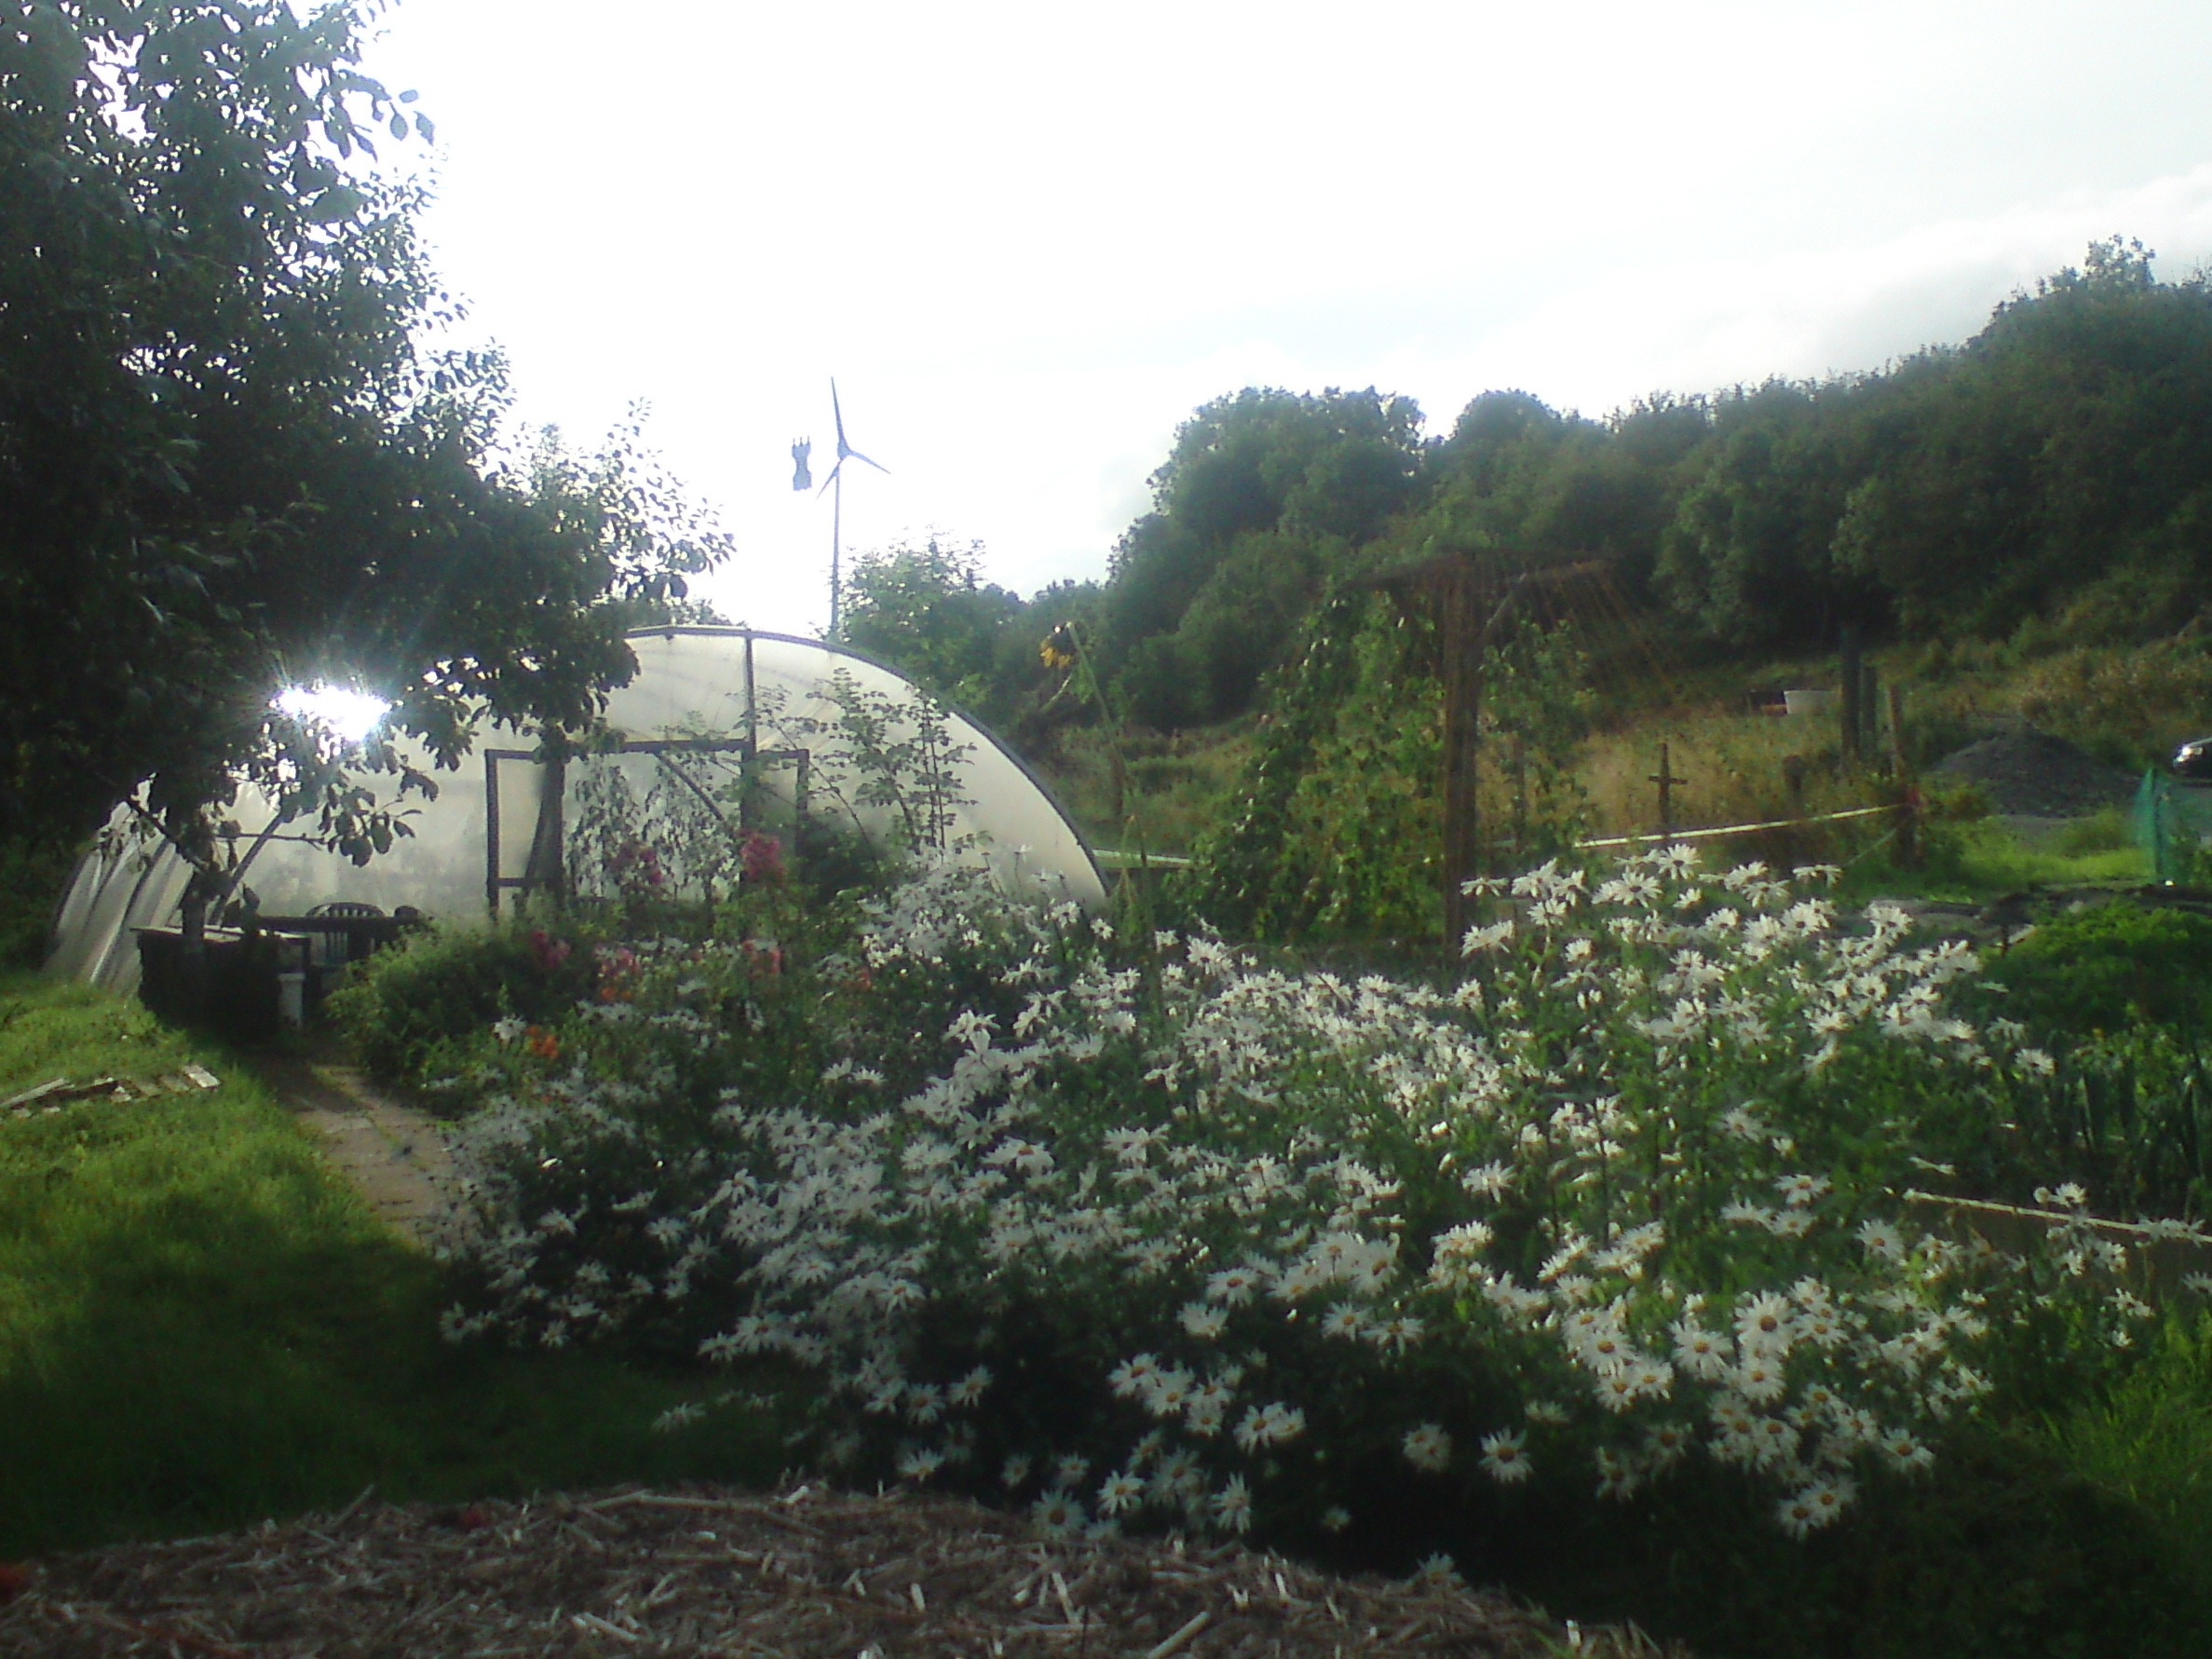
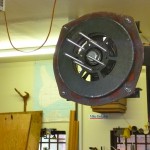
- the wind turbine at the Store
-
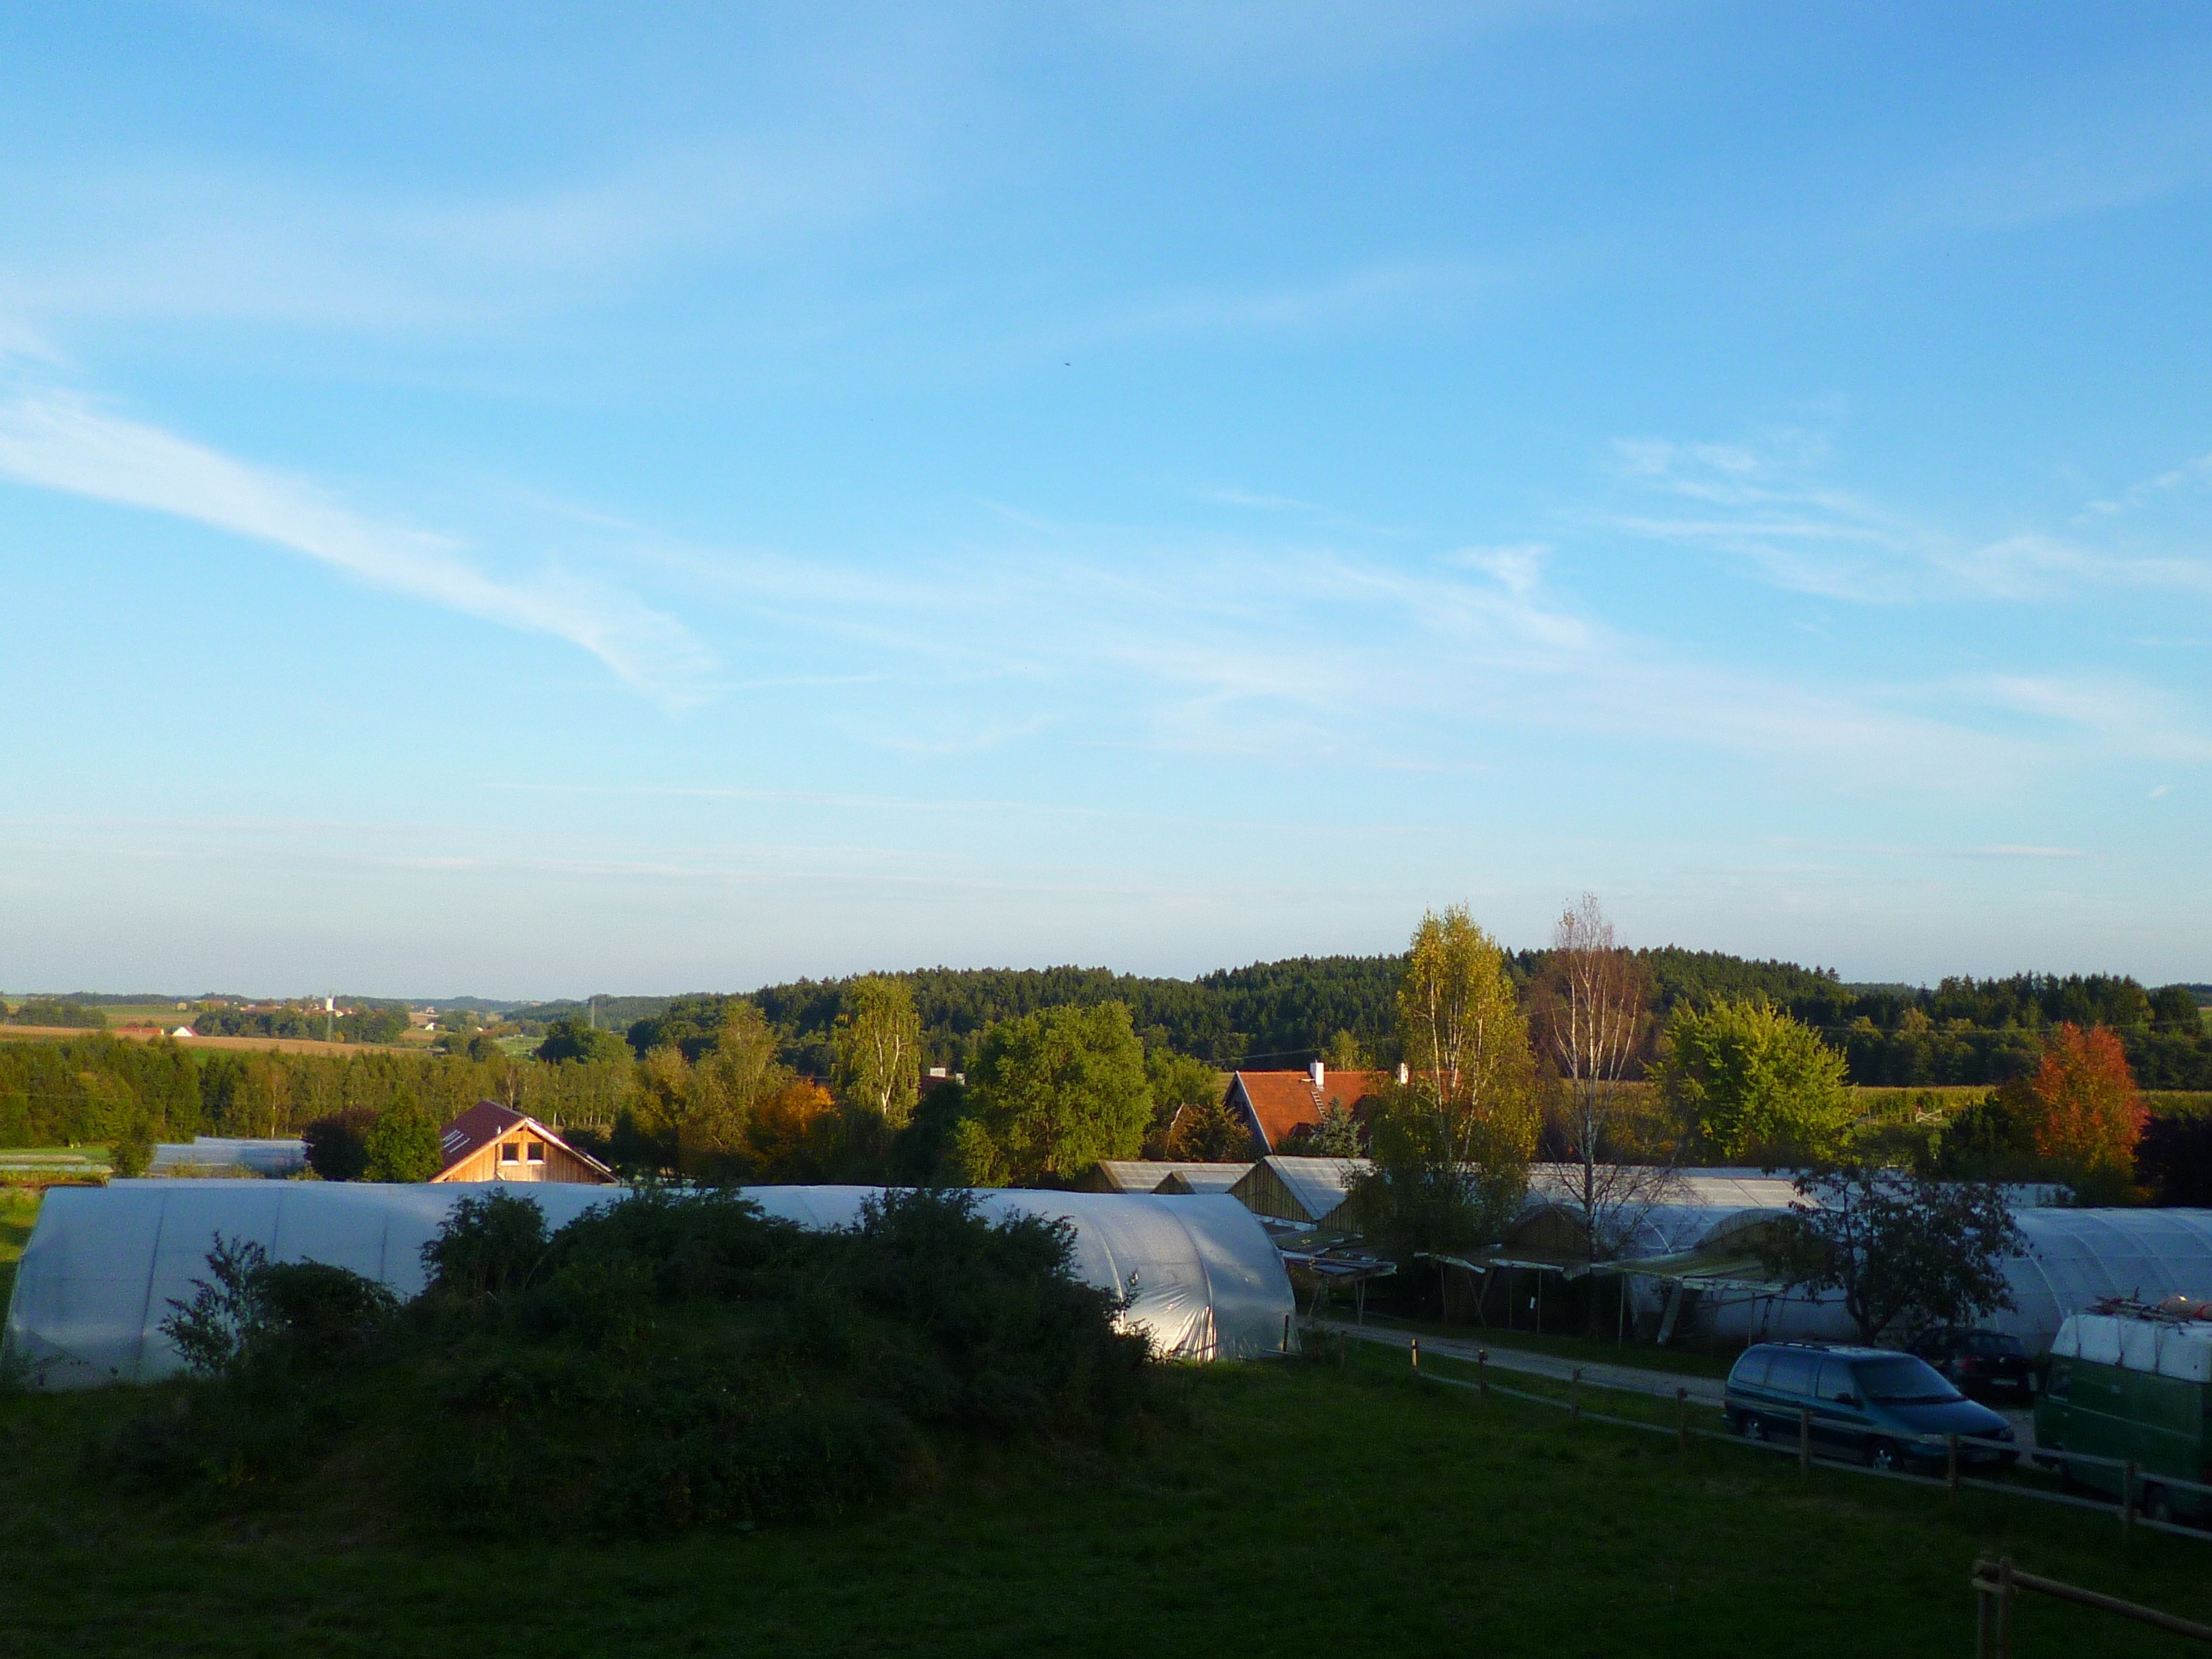
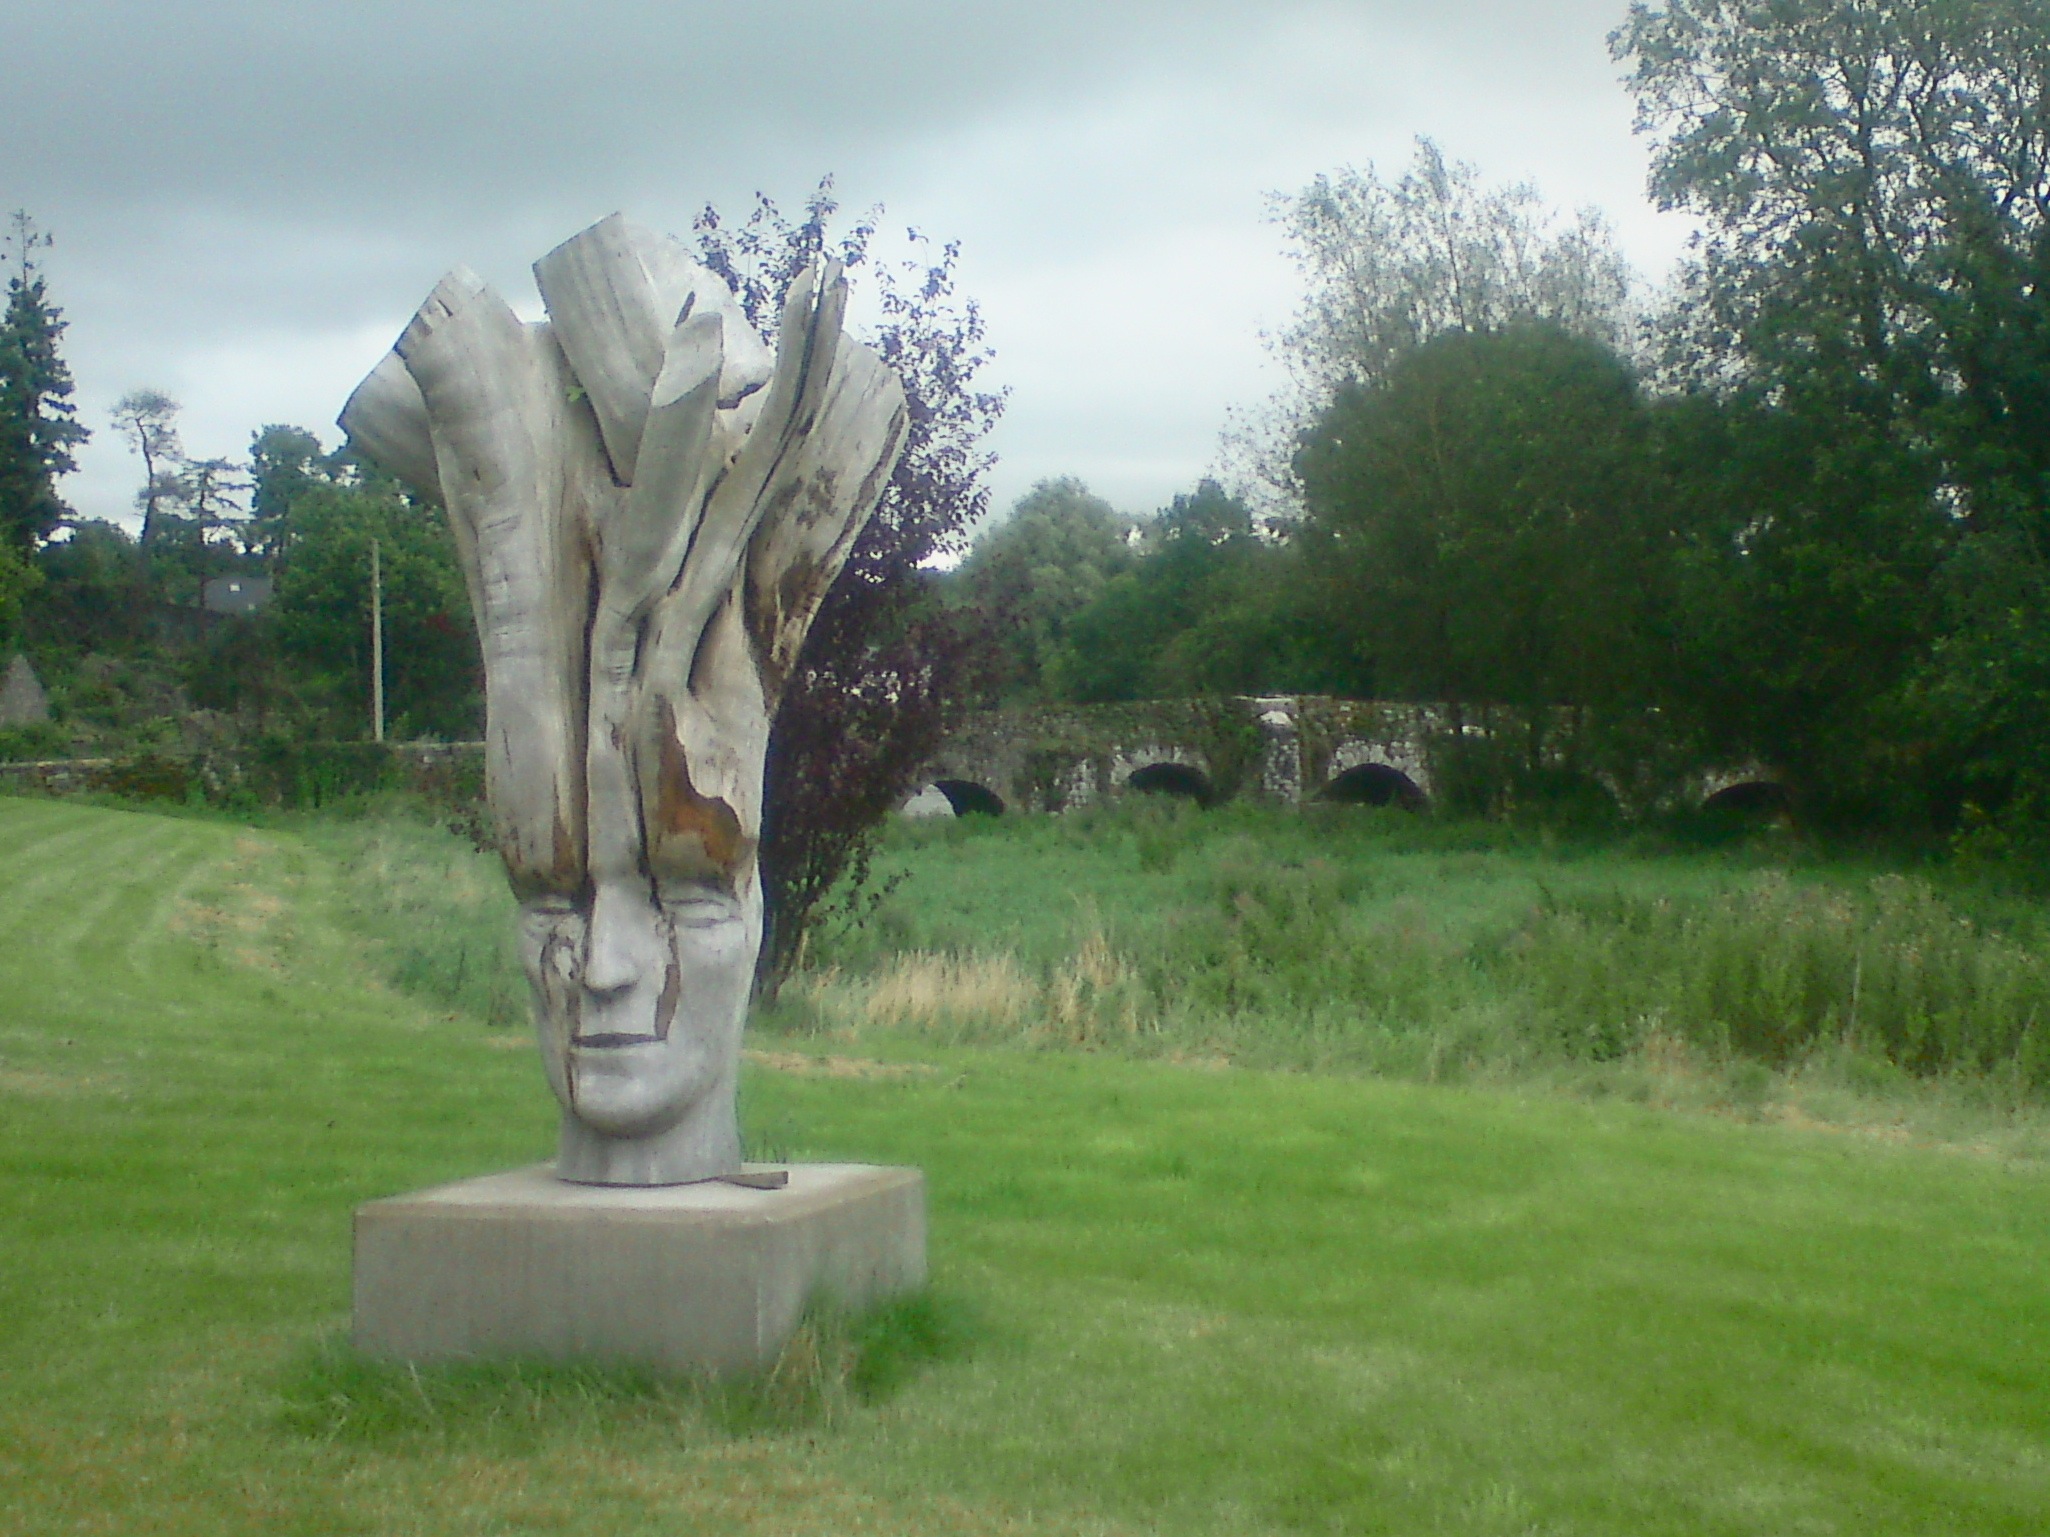
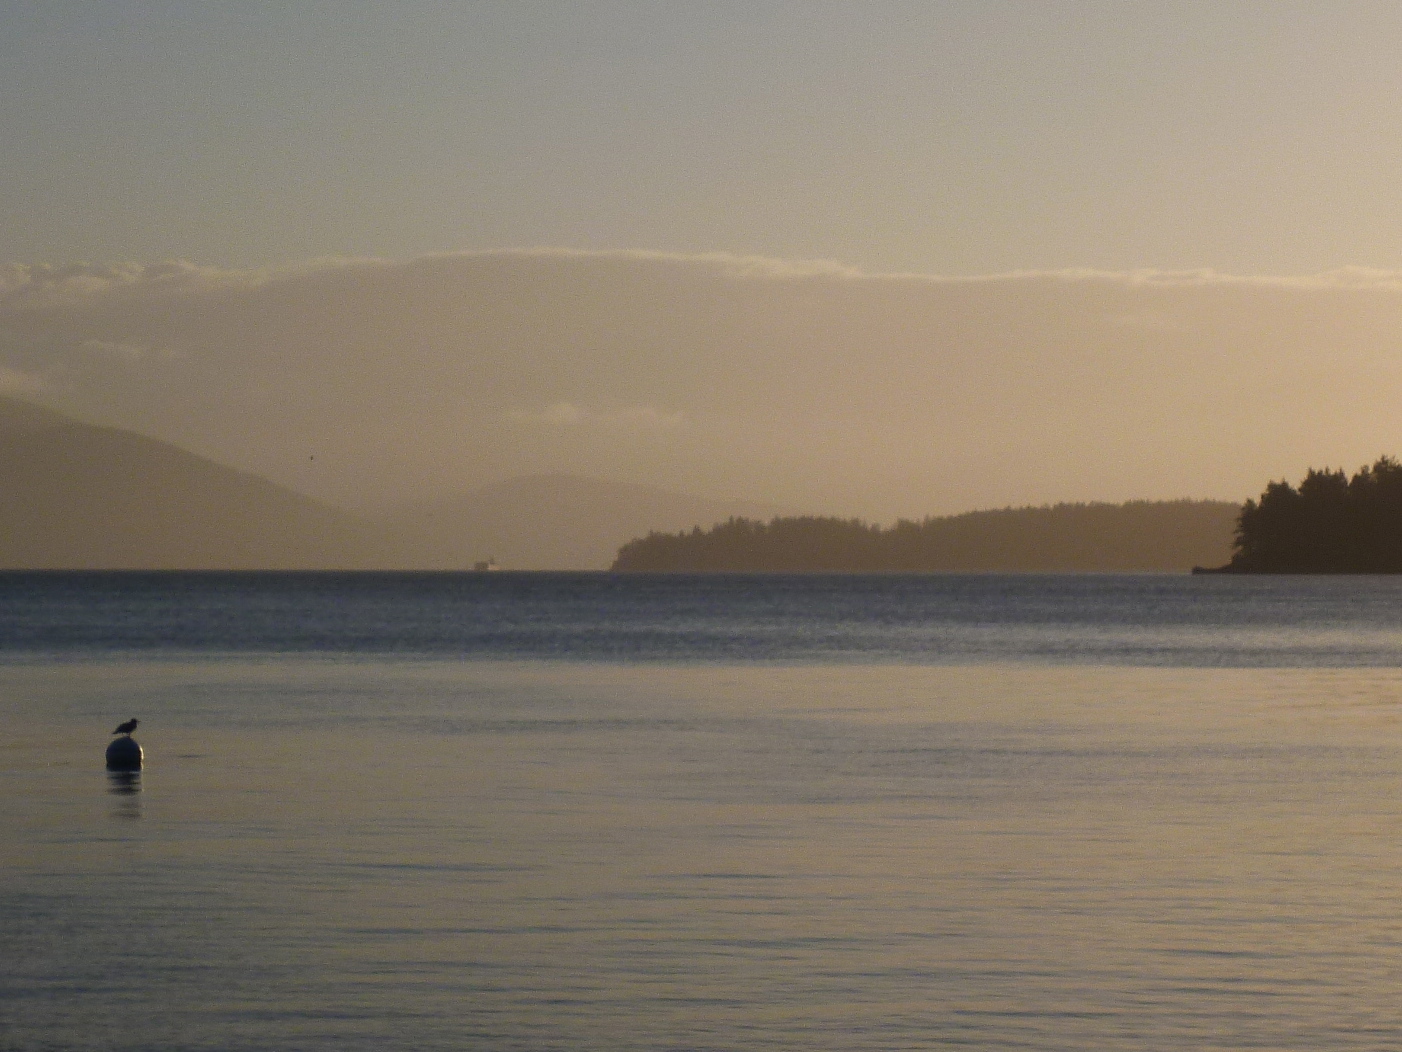
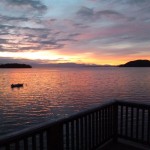
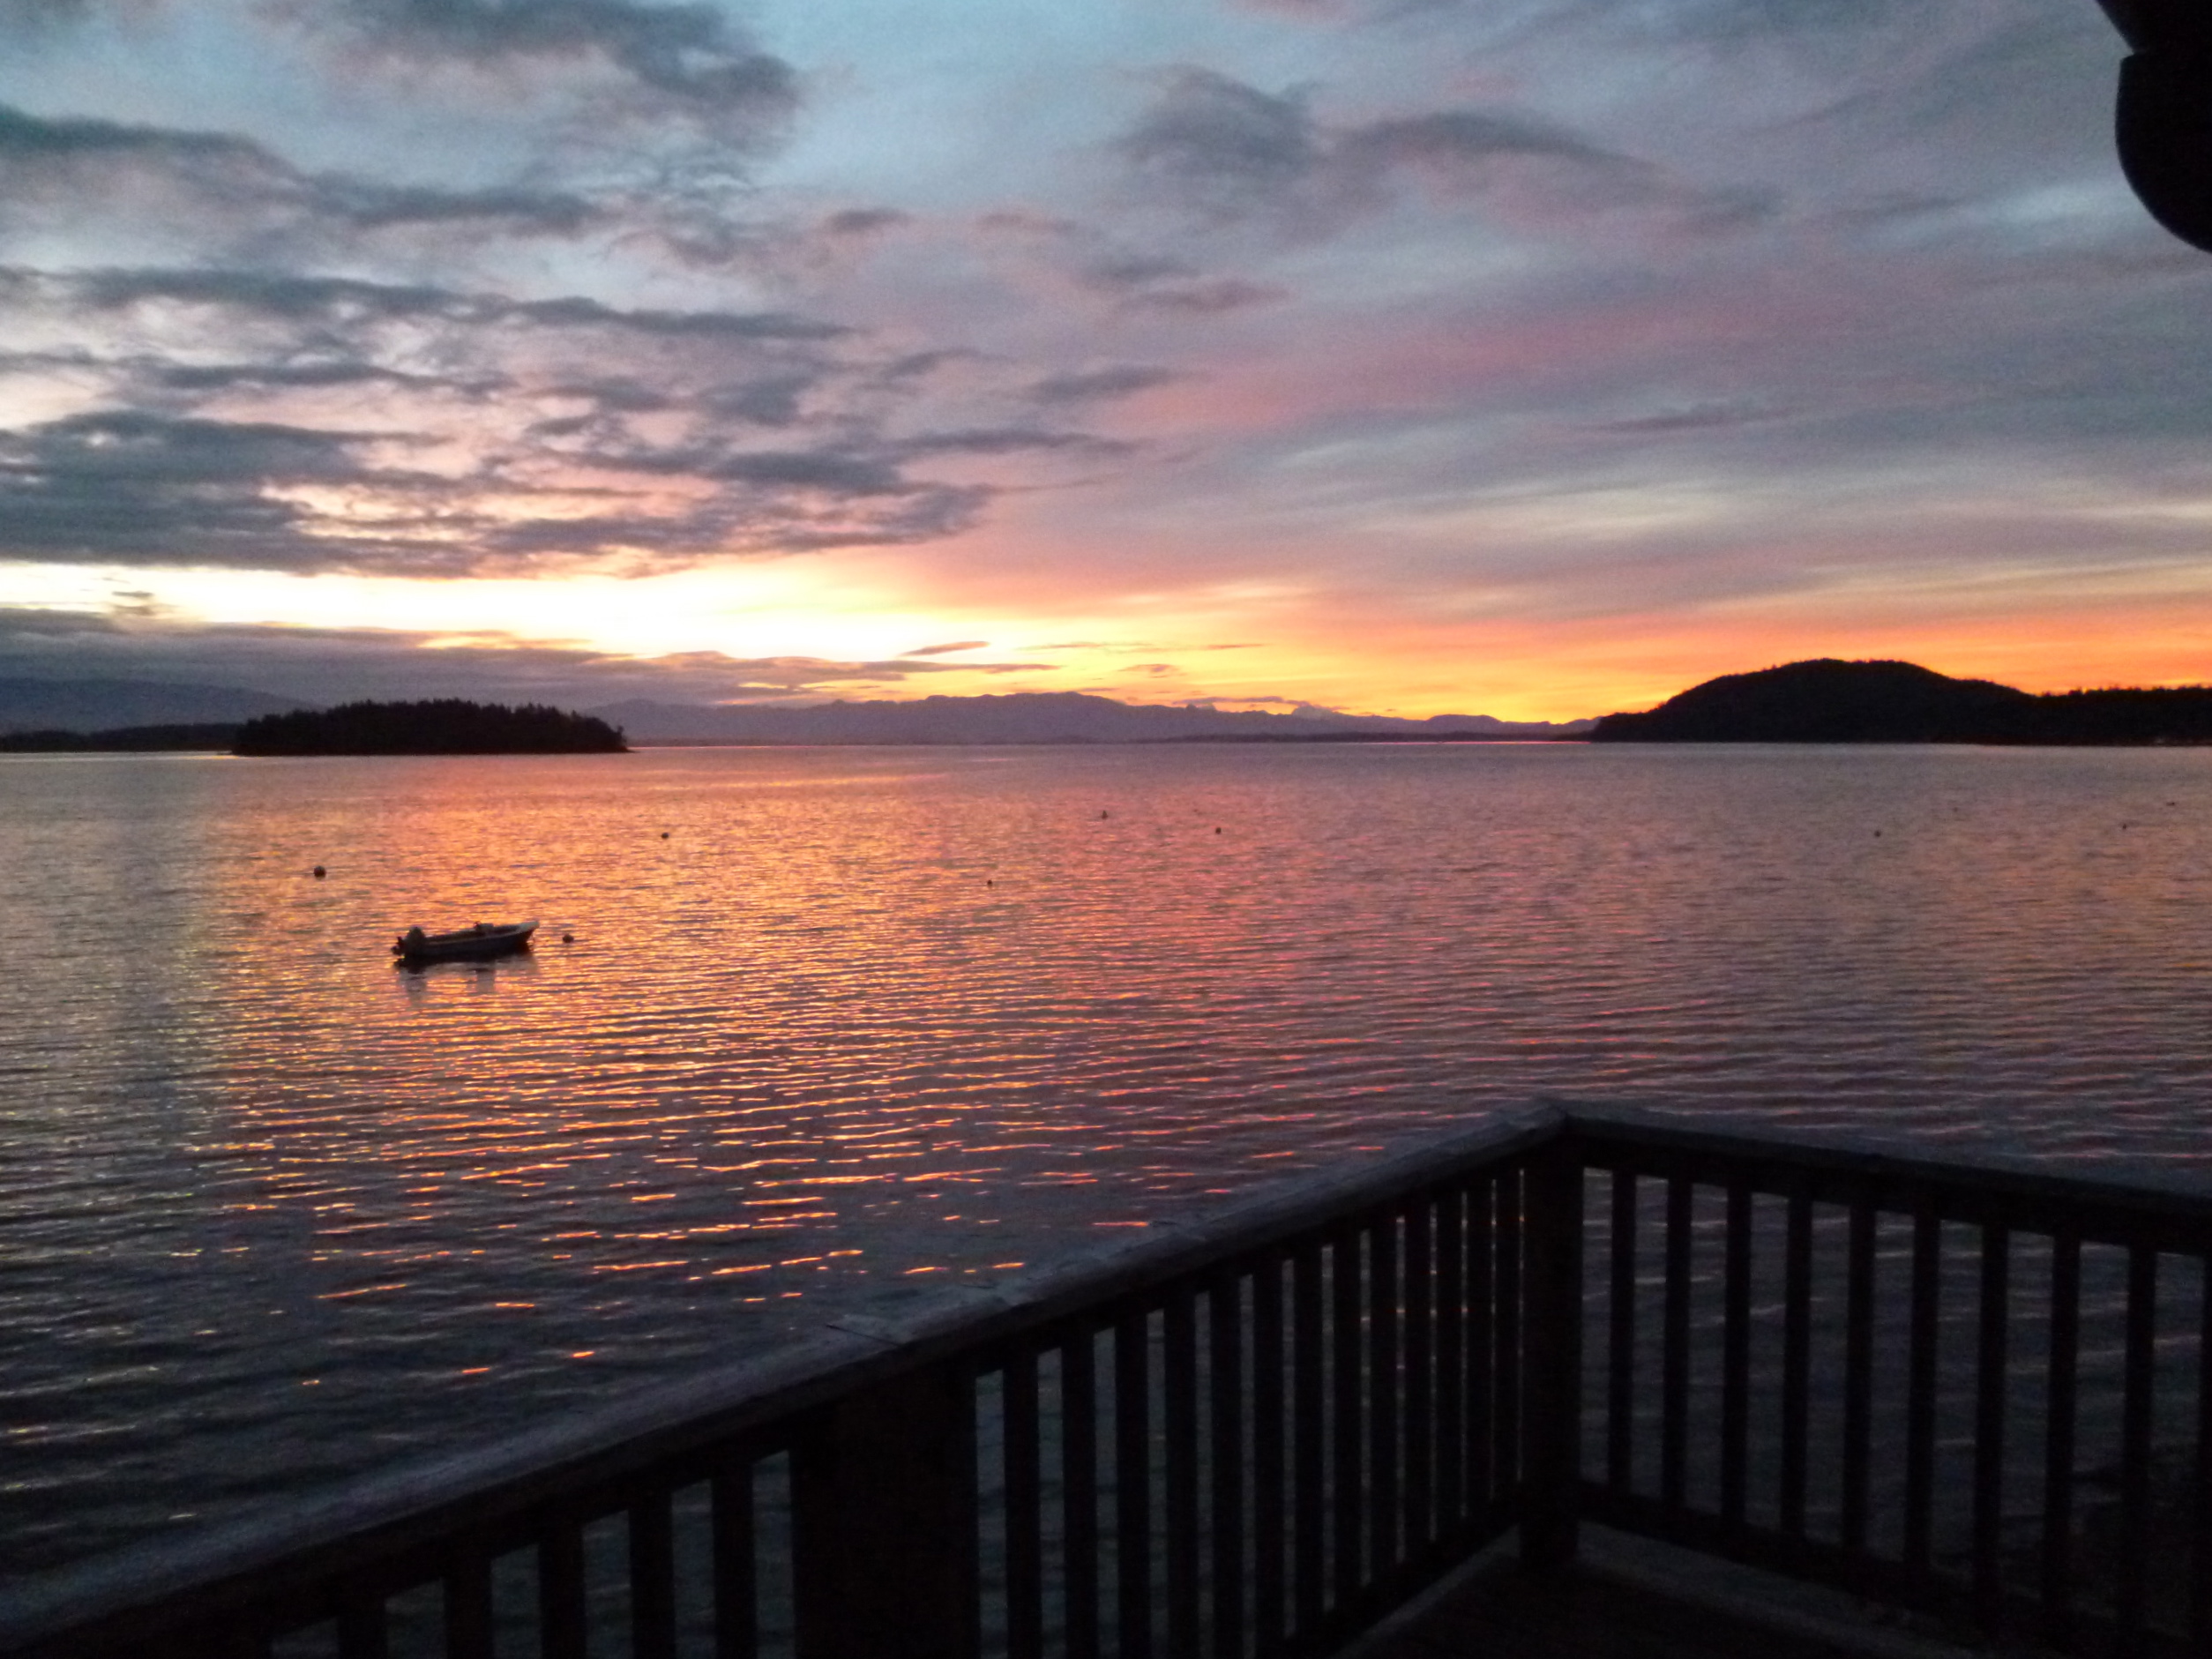
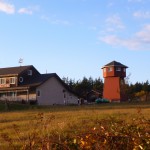
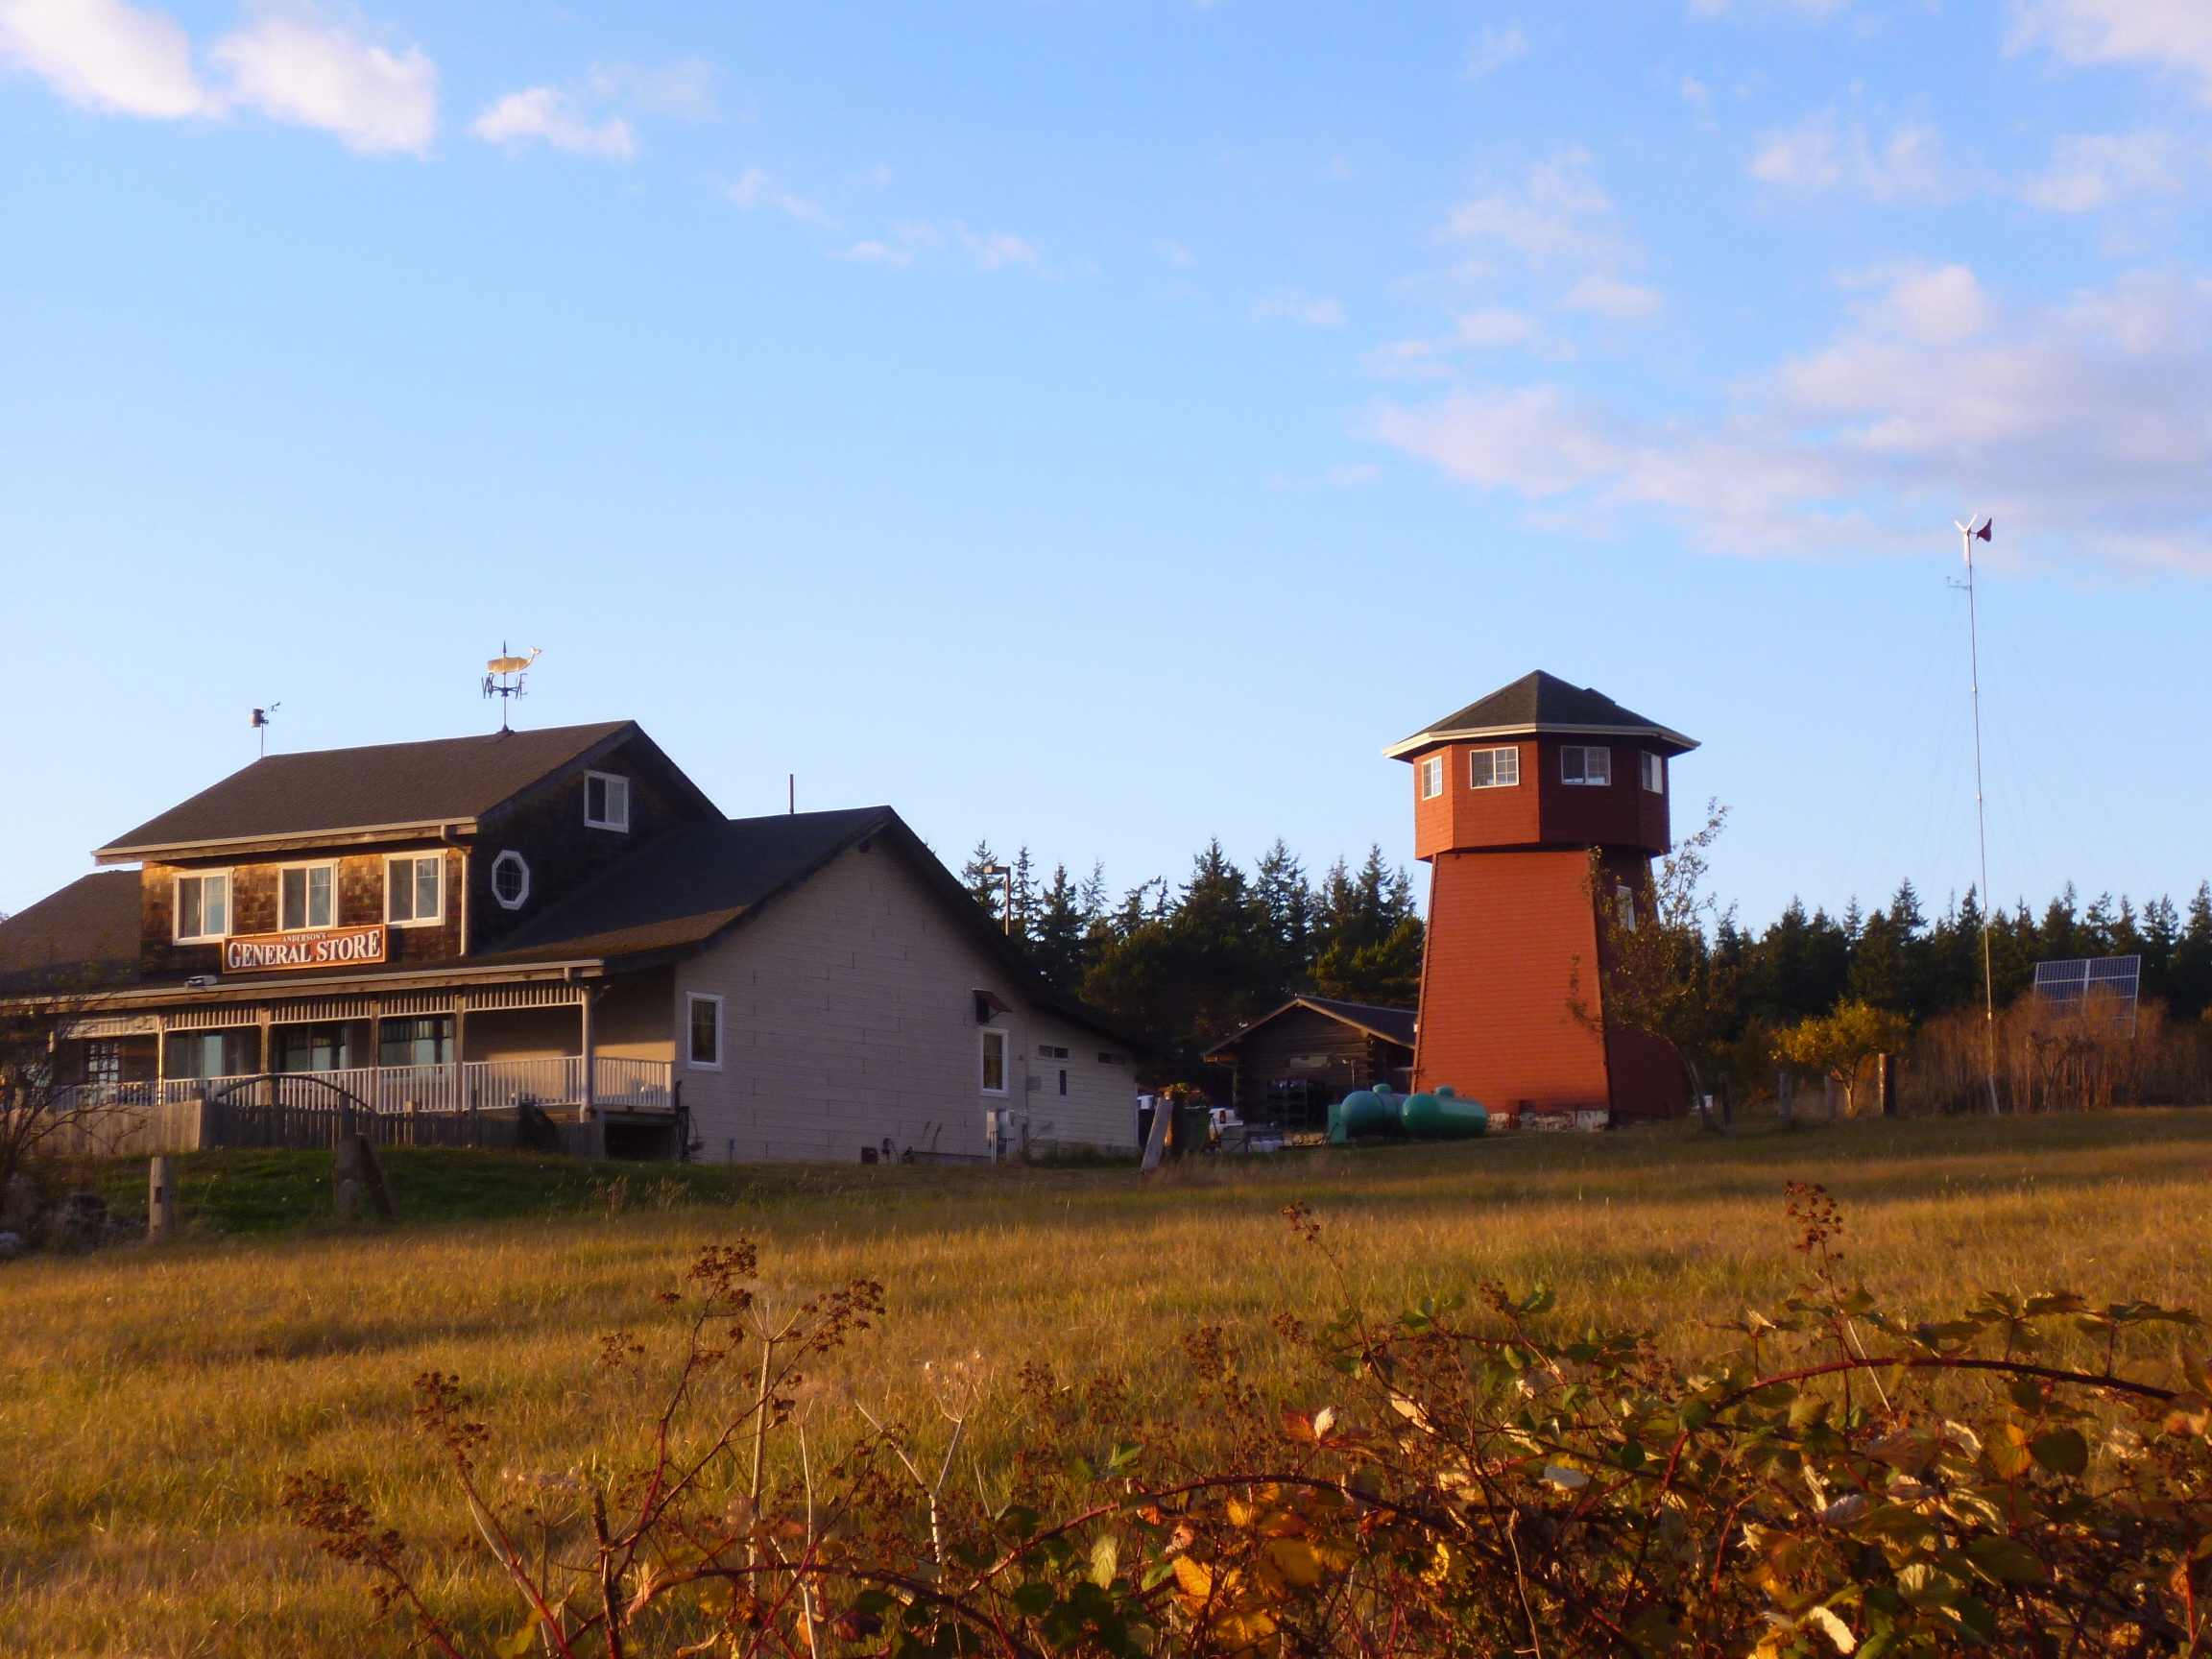
- view from the resort
-
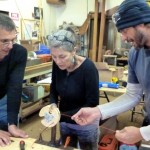
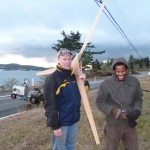
- Maggie, Stephen and David
-
- welding the 12-footer hub

-
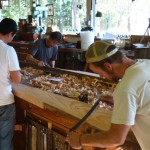
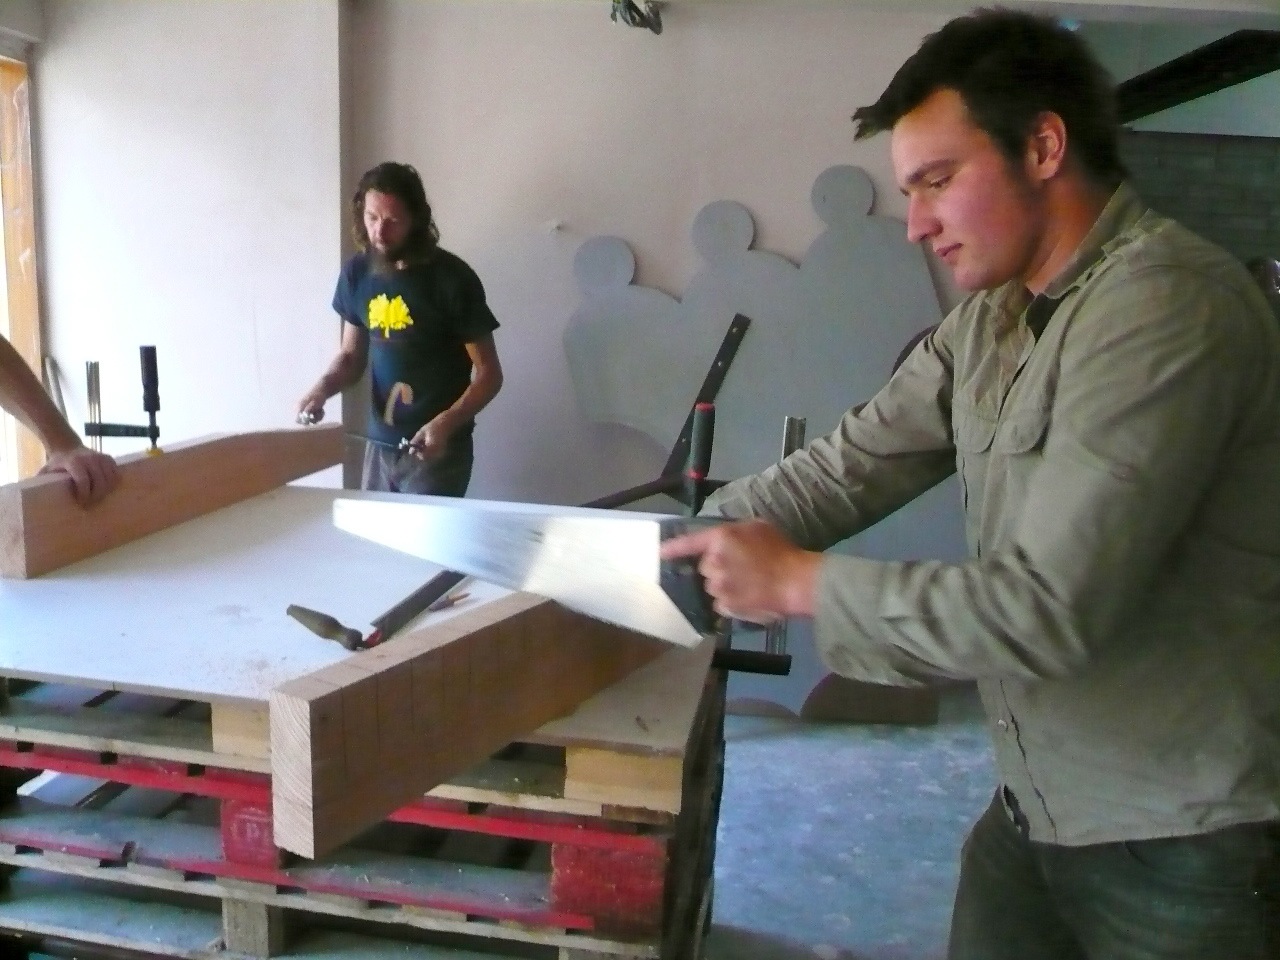
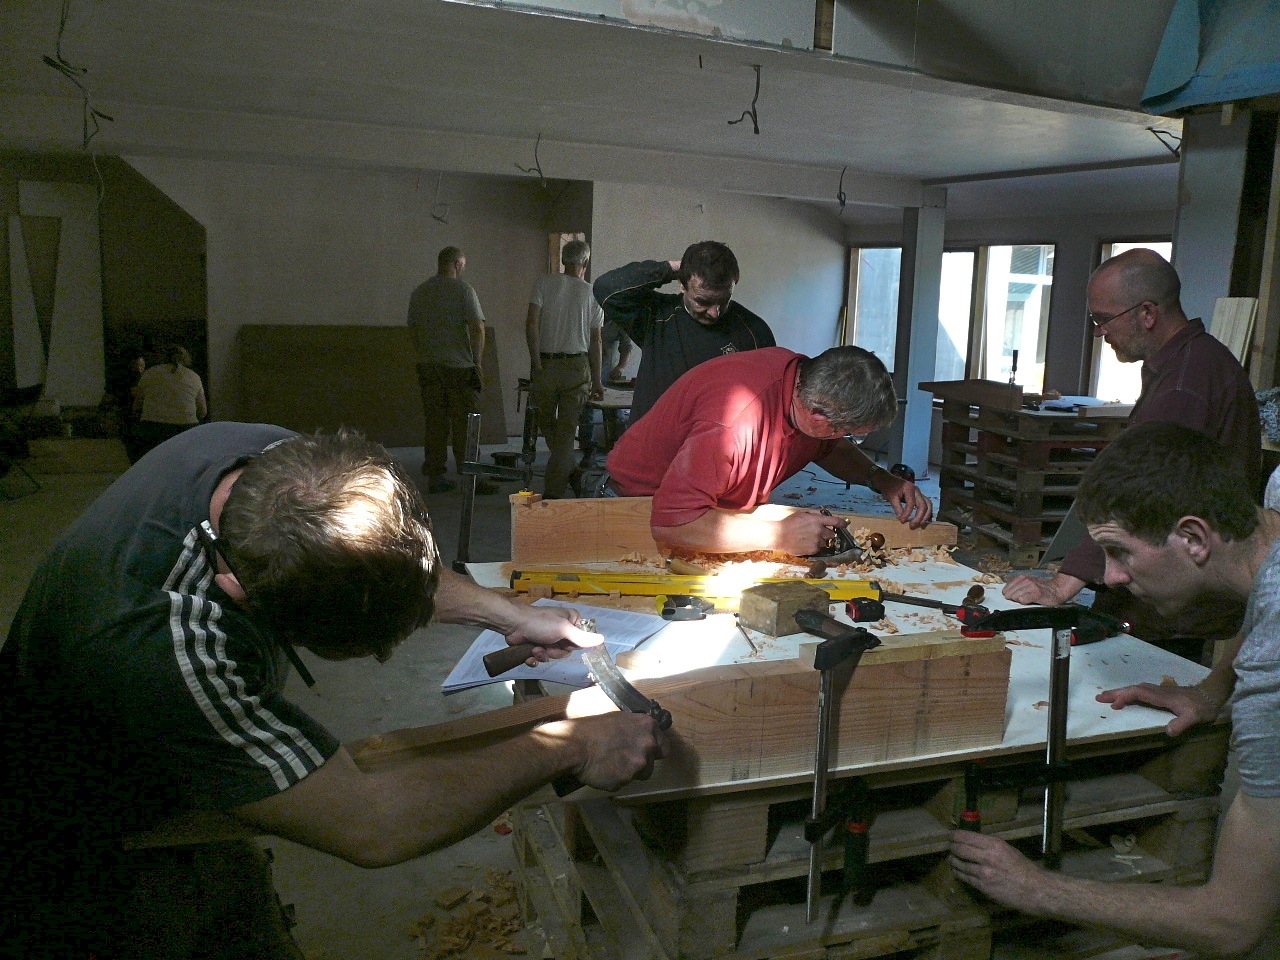
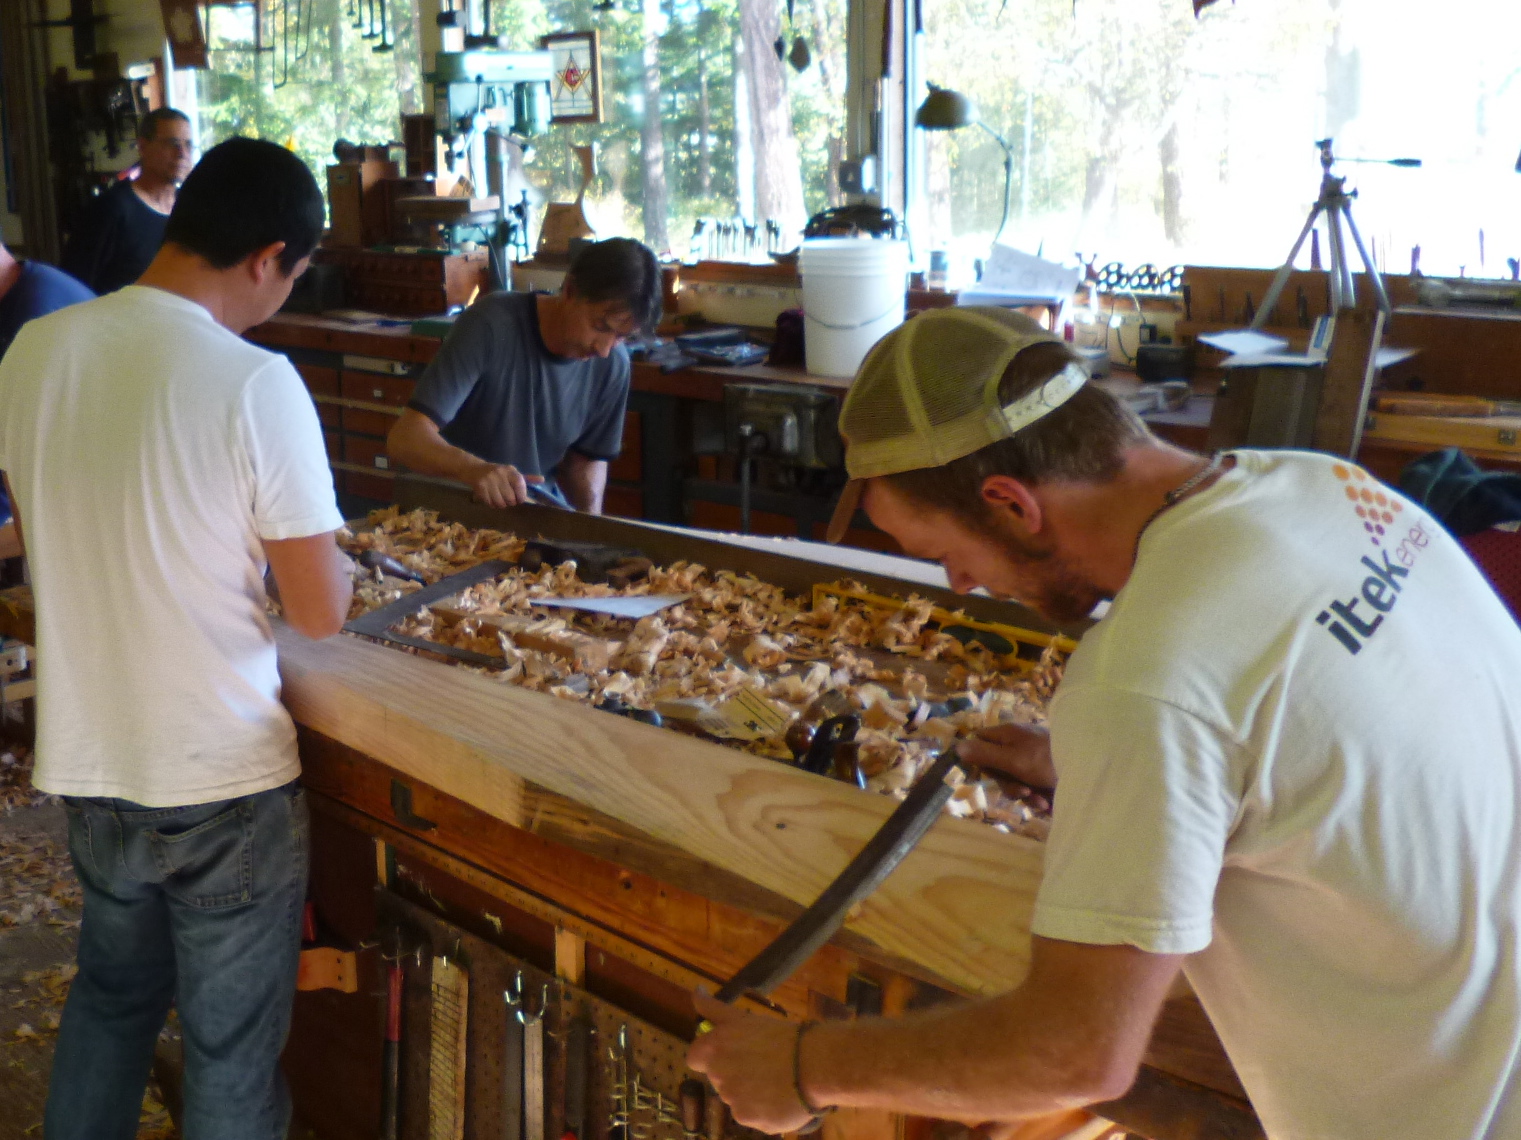
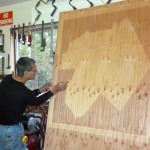
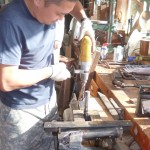
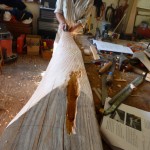
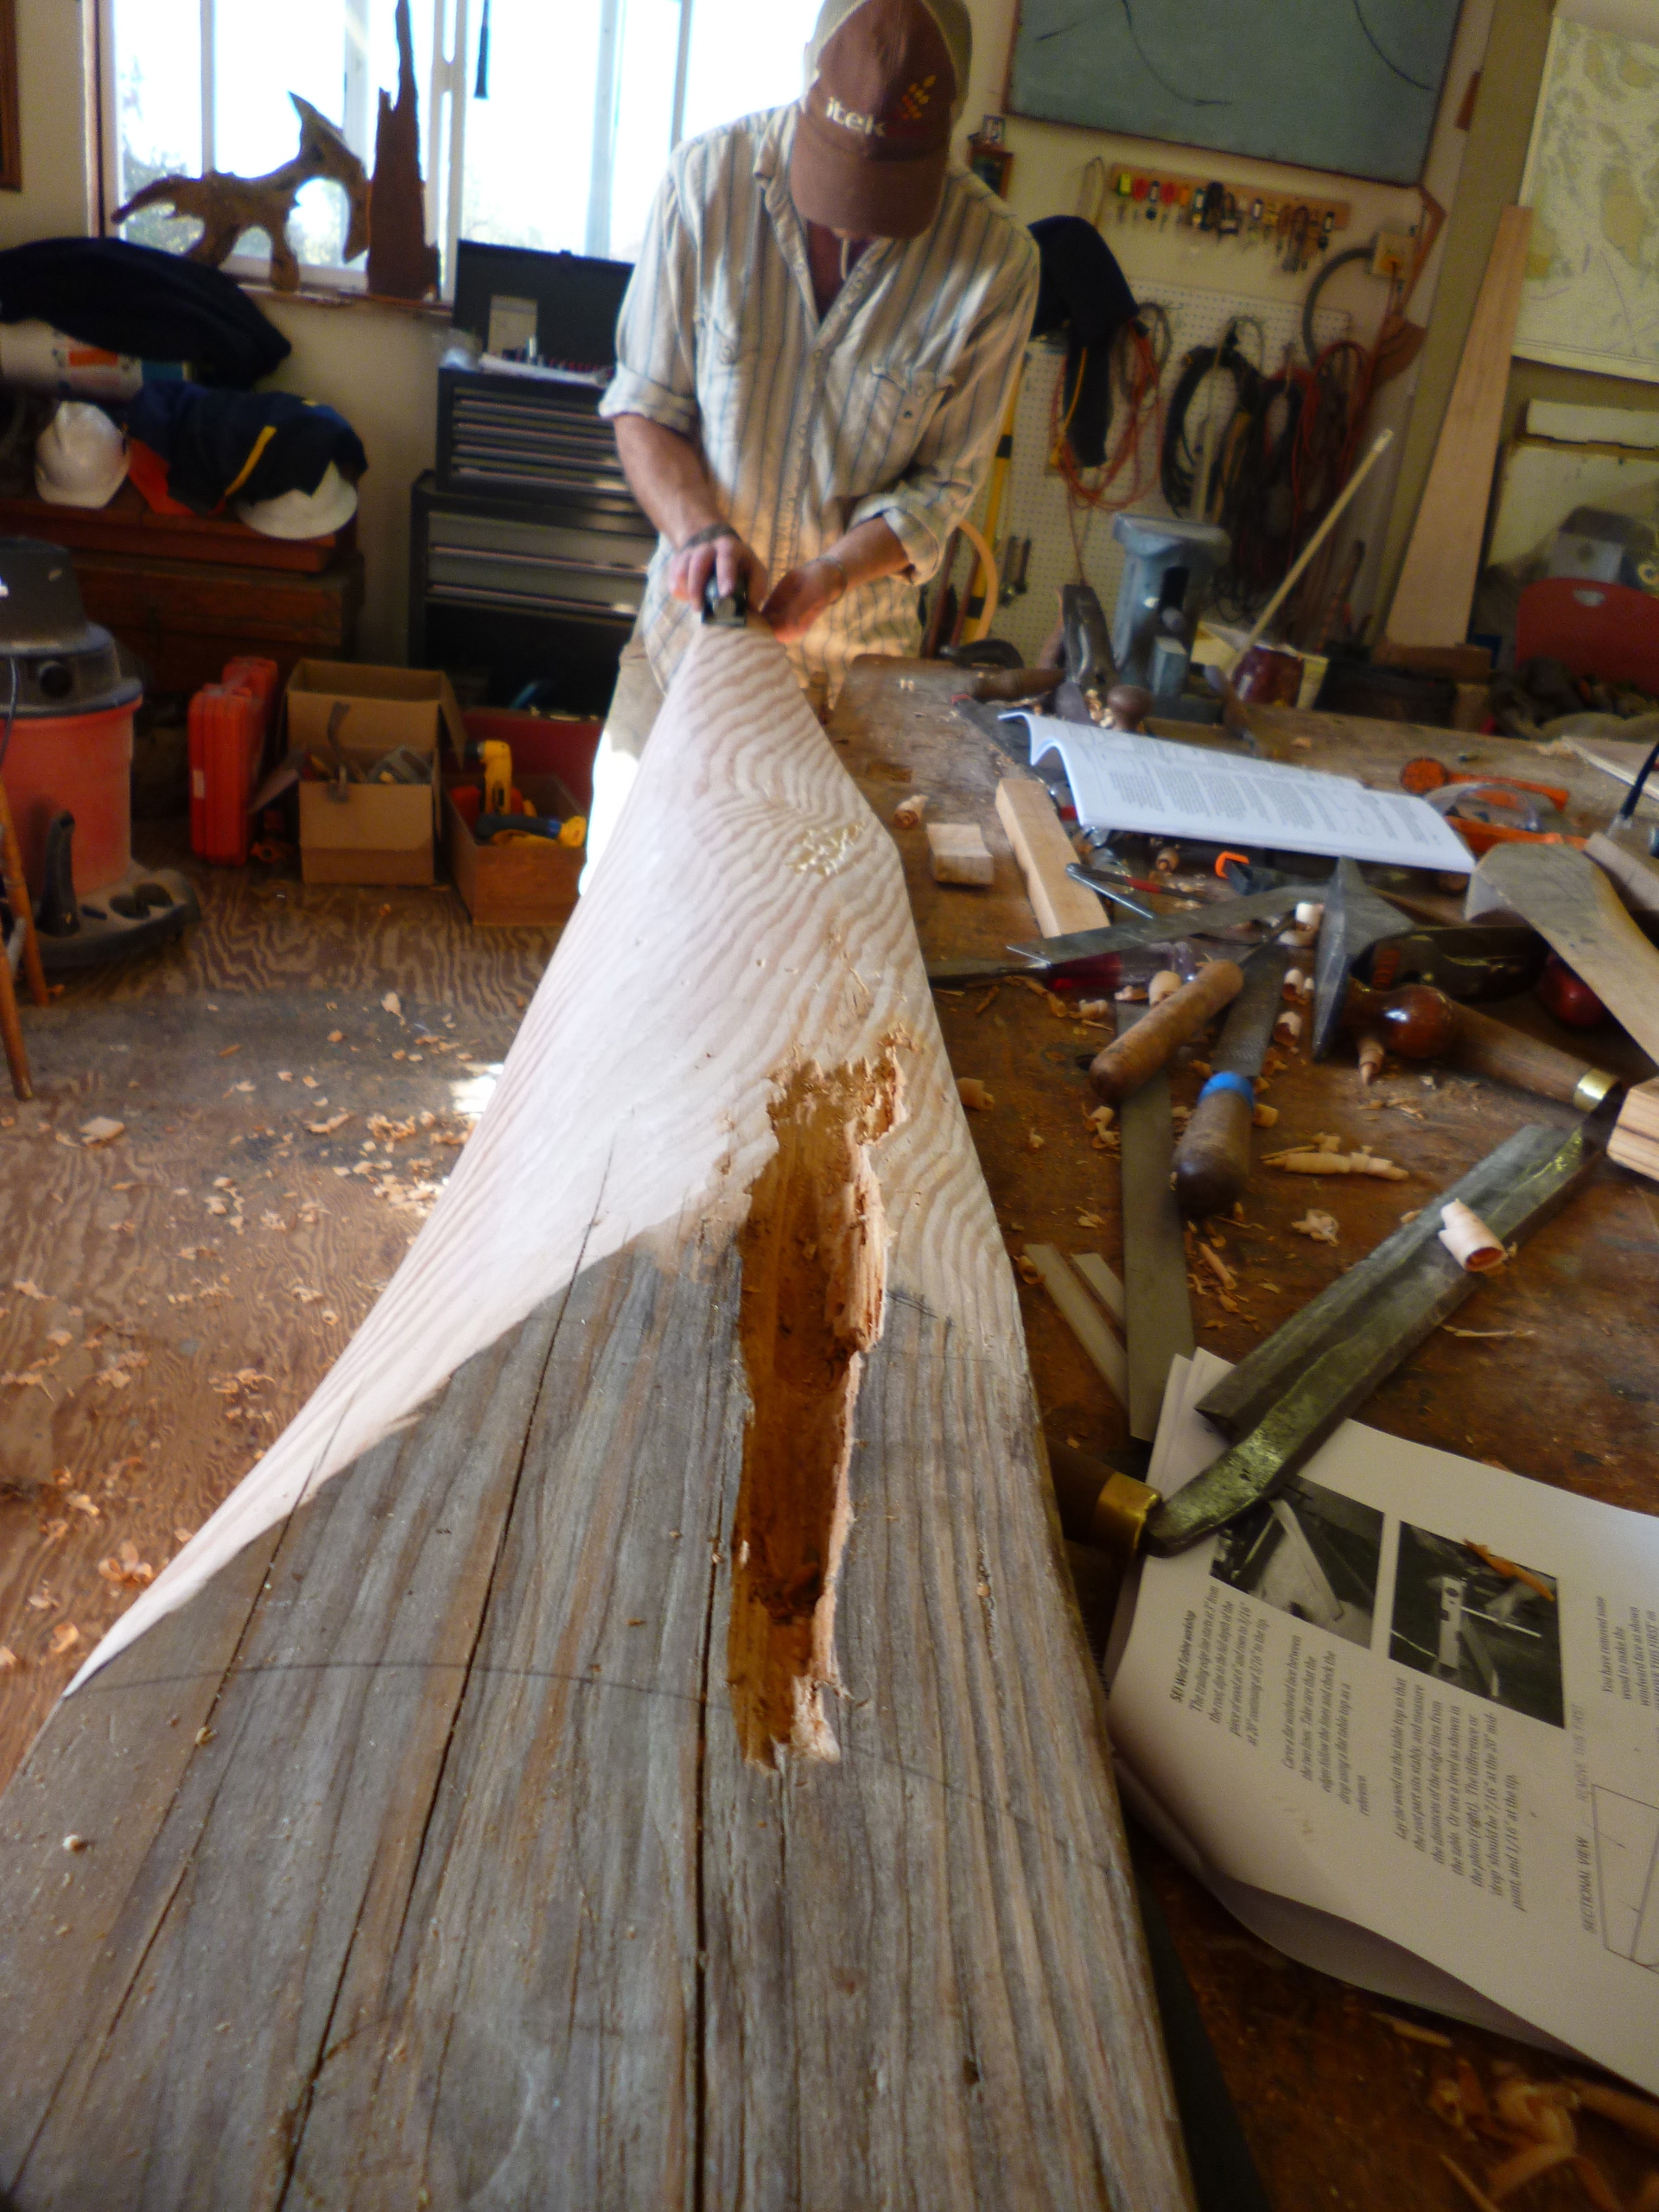
- blade carving
-
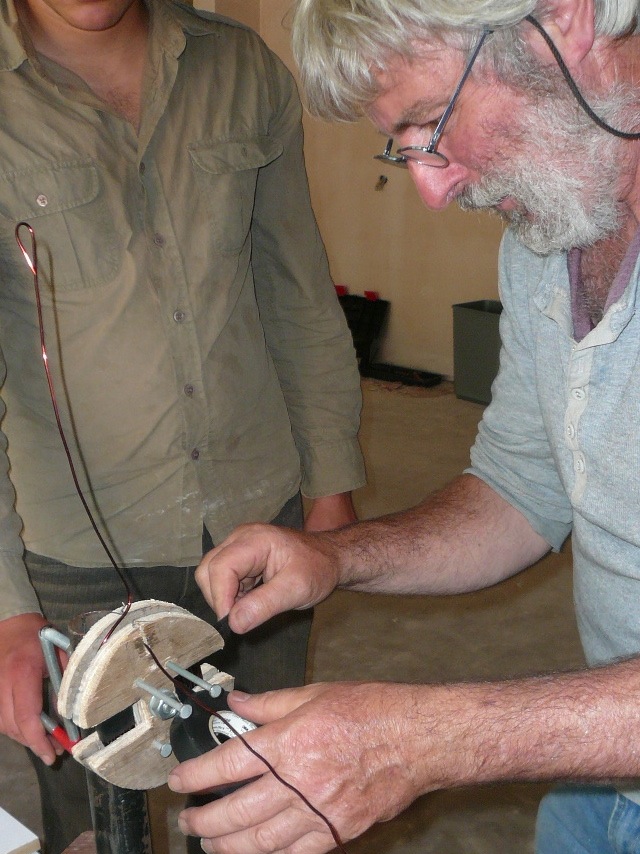
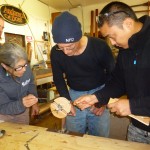
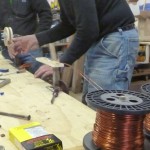
- Stephen winding coils
-
- 12-footer frame
-
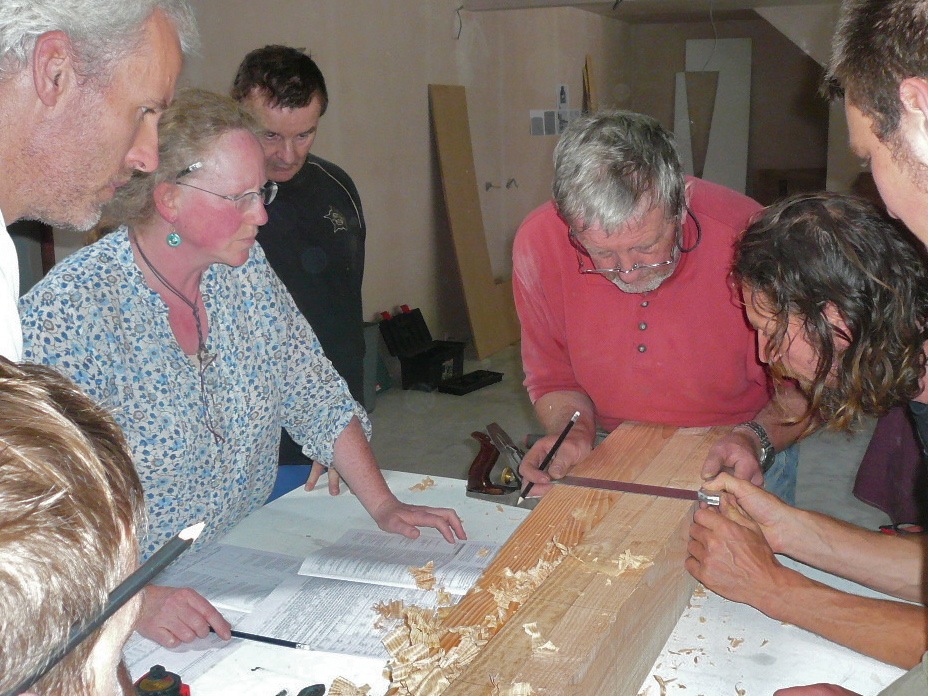
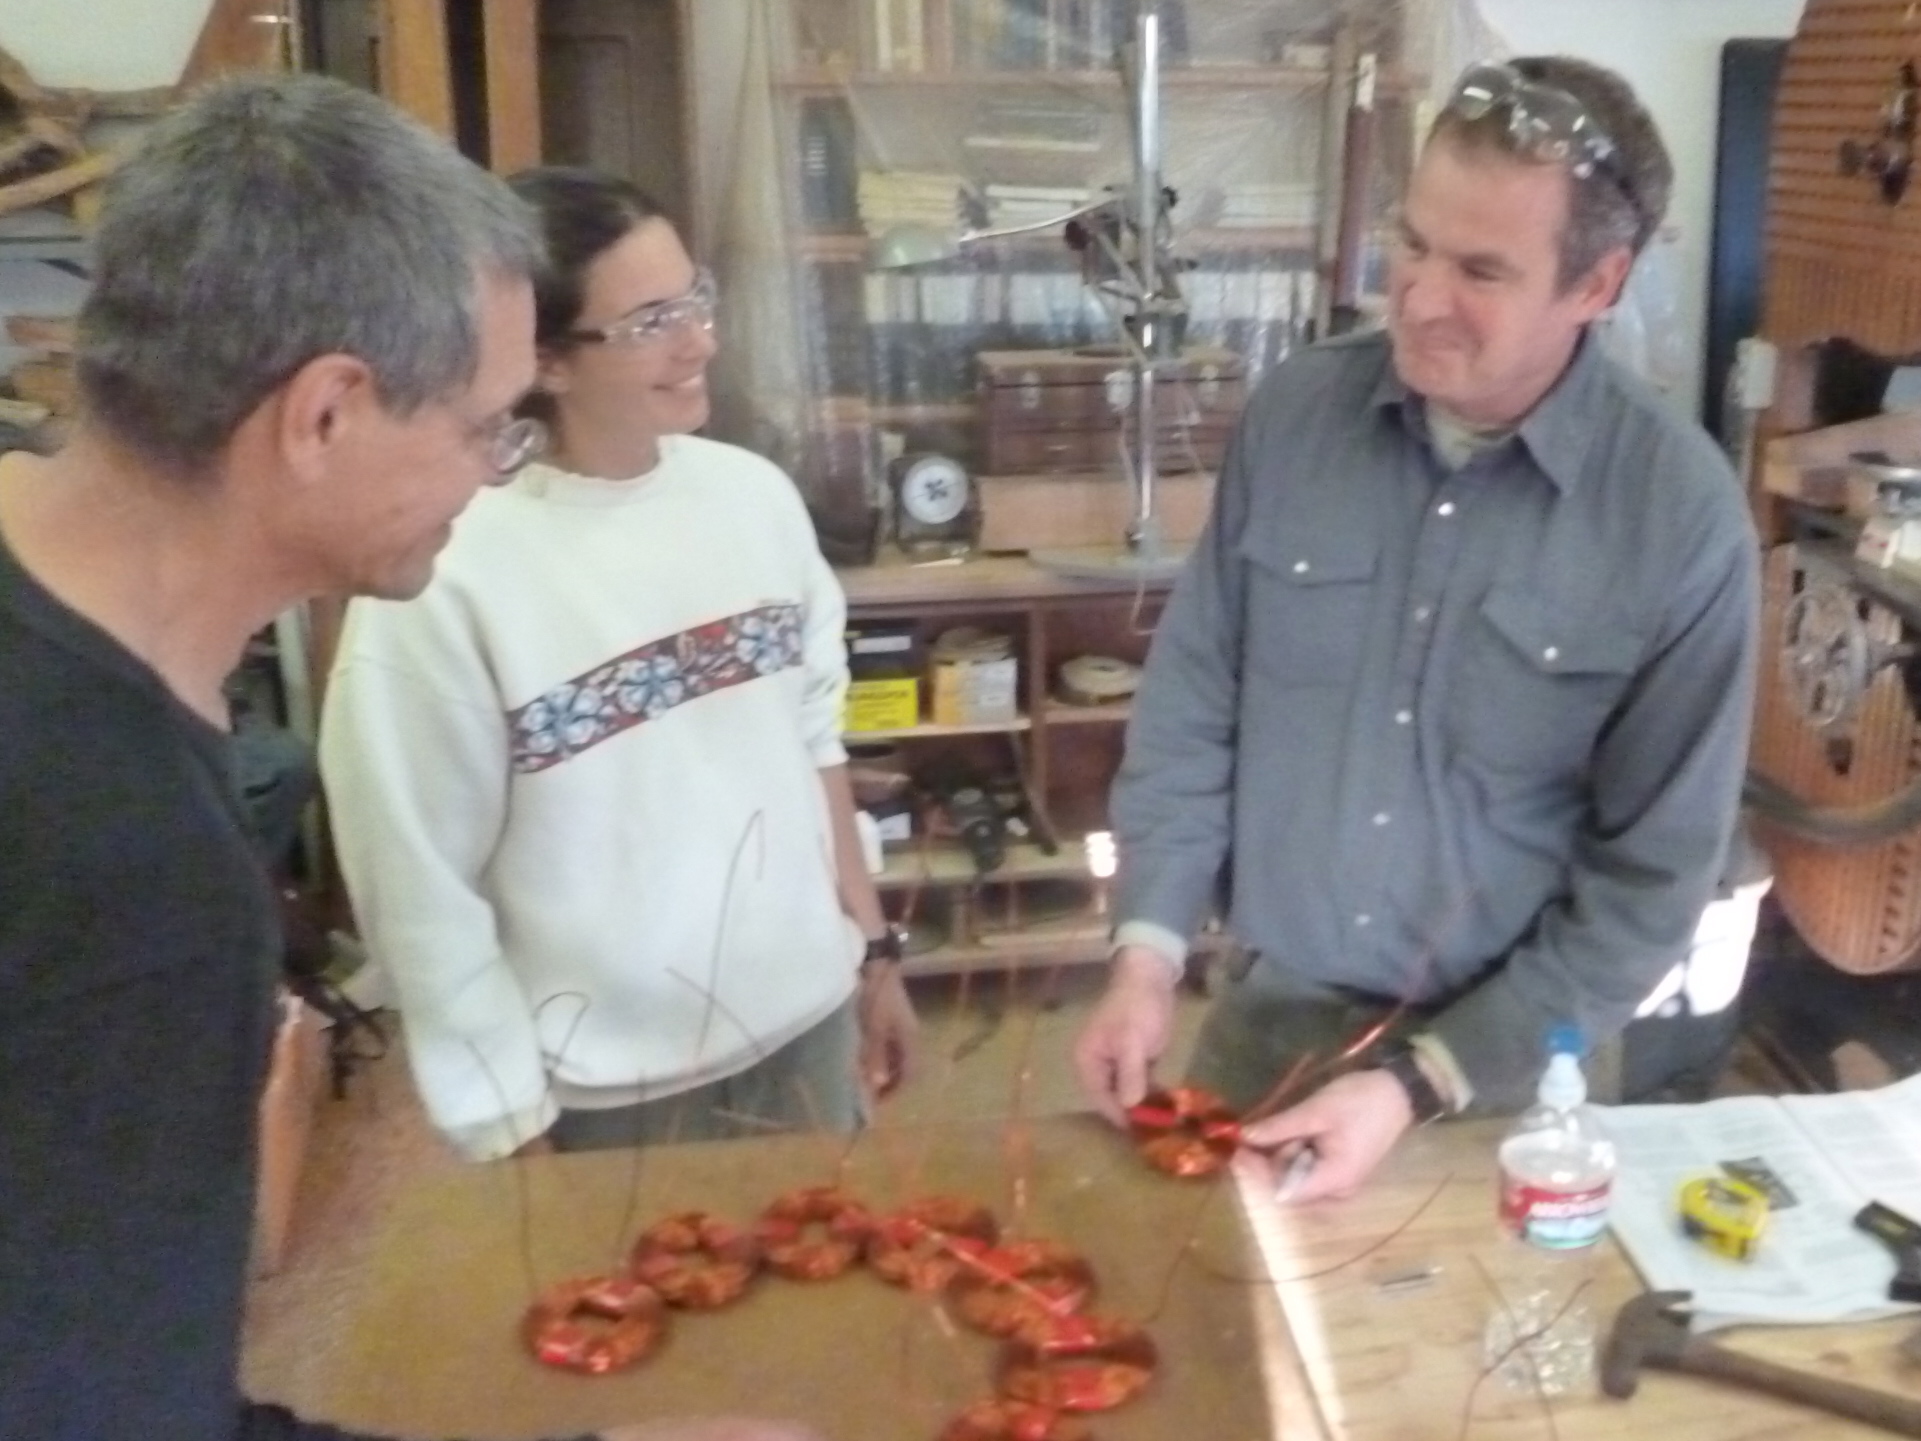
- chatting over the coils
-
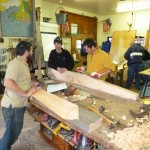
- 12-footer blade carving

-
- rough woodwork!
-
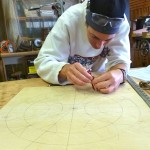
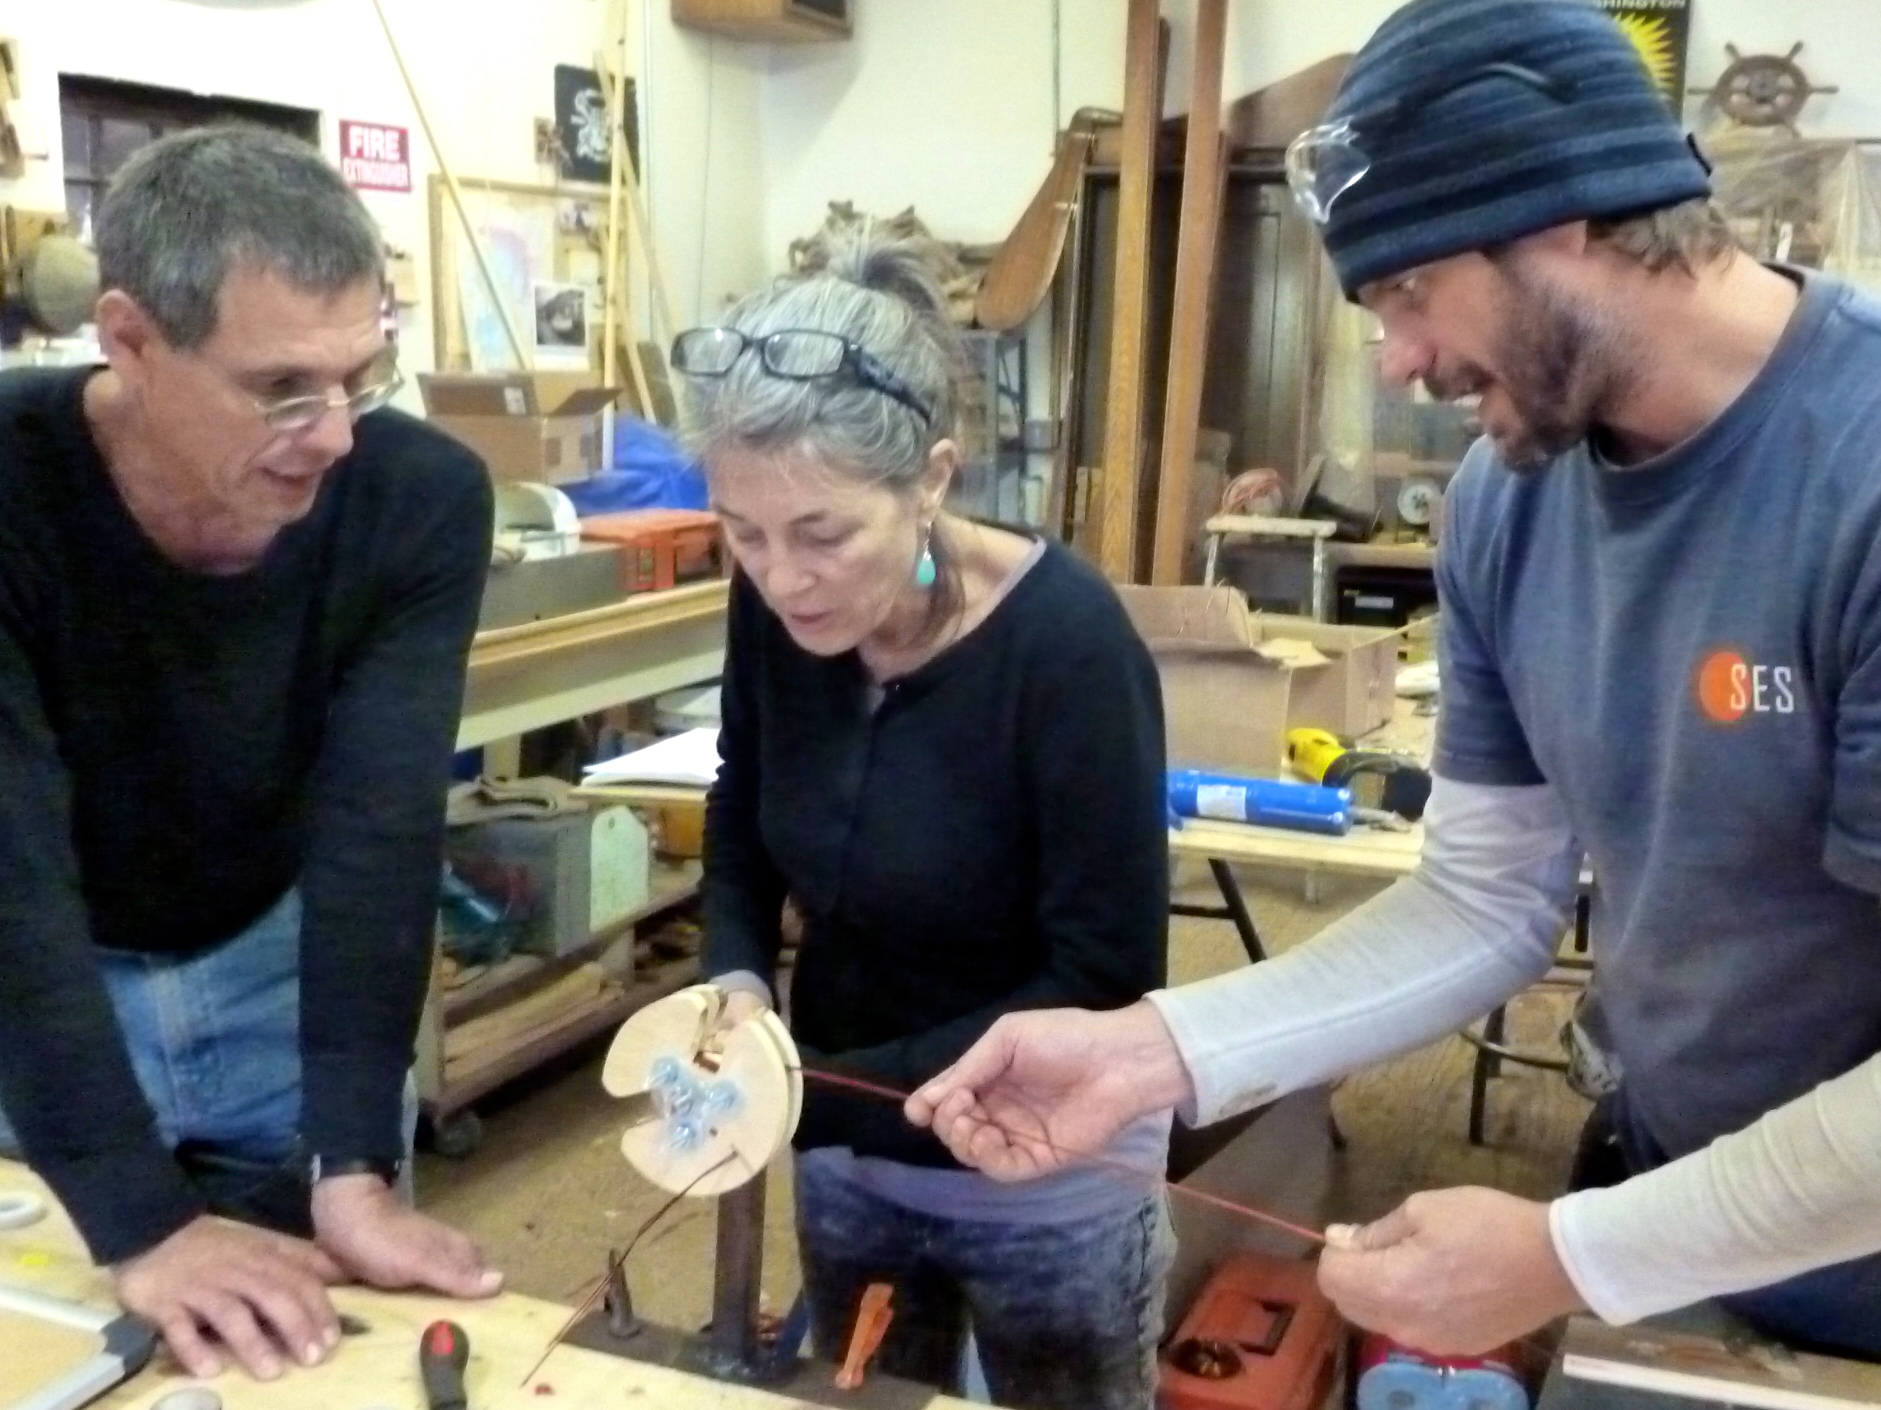
- Erin marks out the magnet jig

-
- Welding the yaw bearing to the 12-footer
-
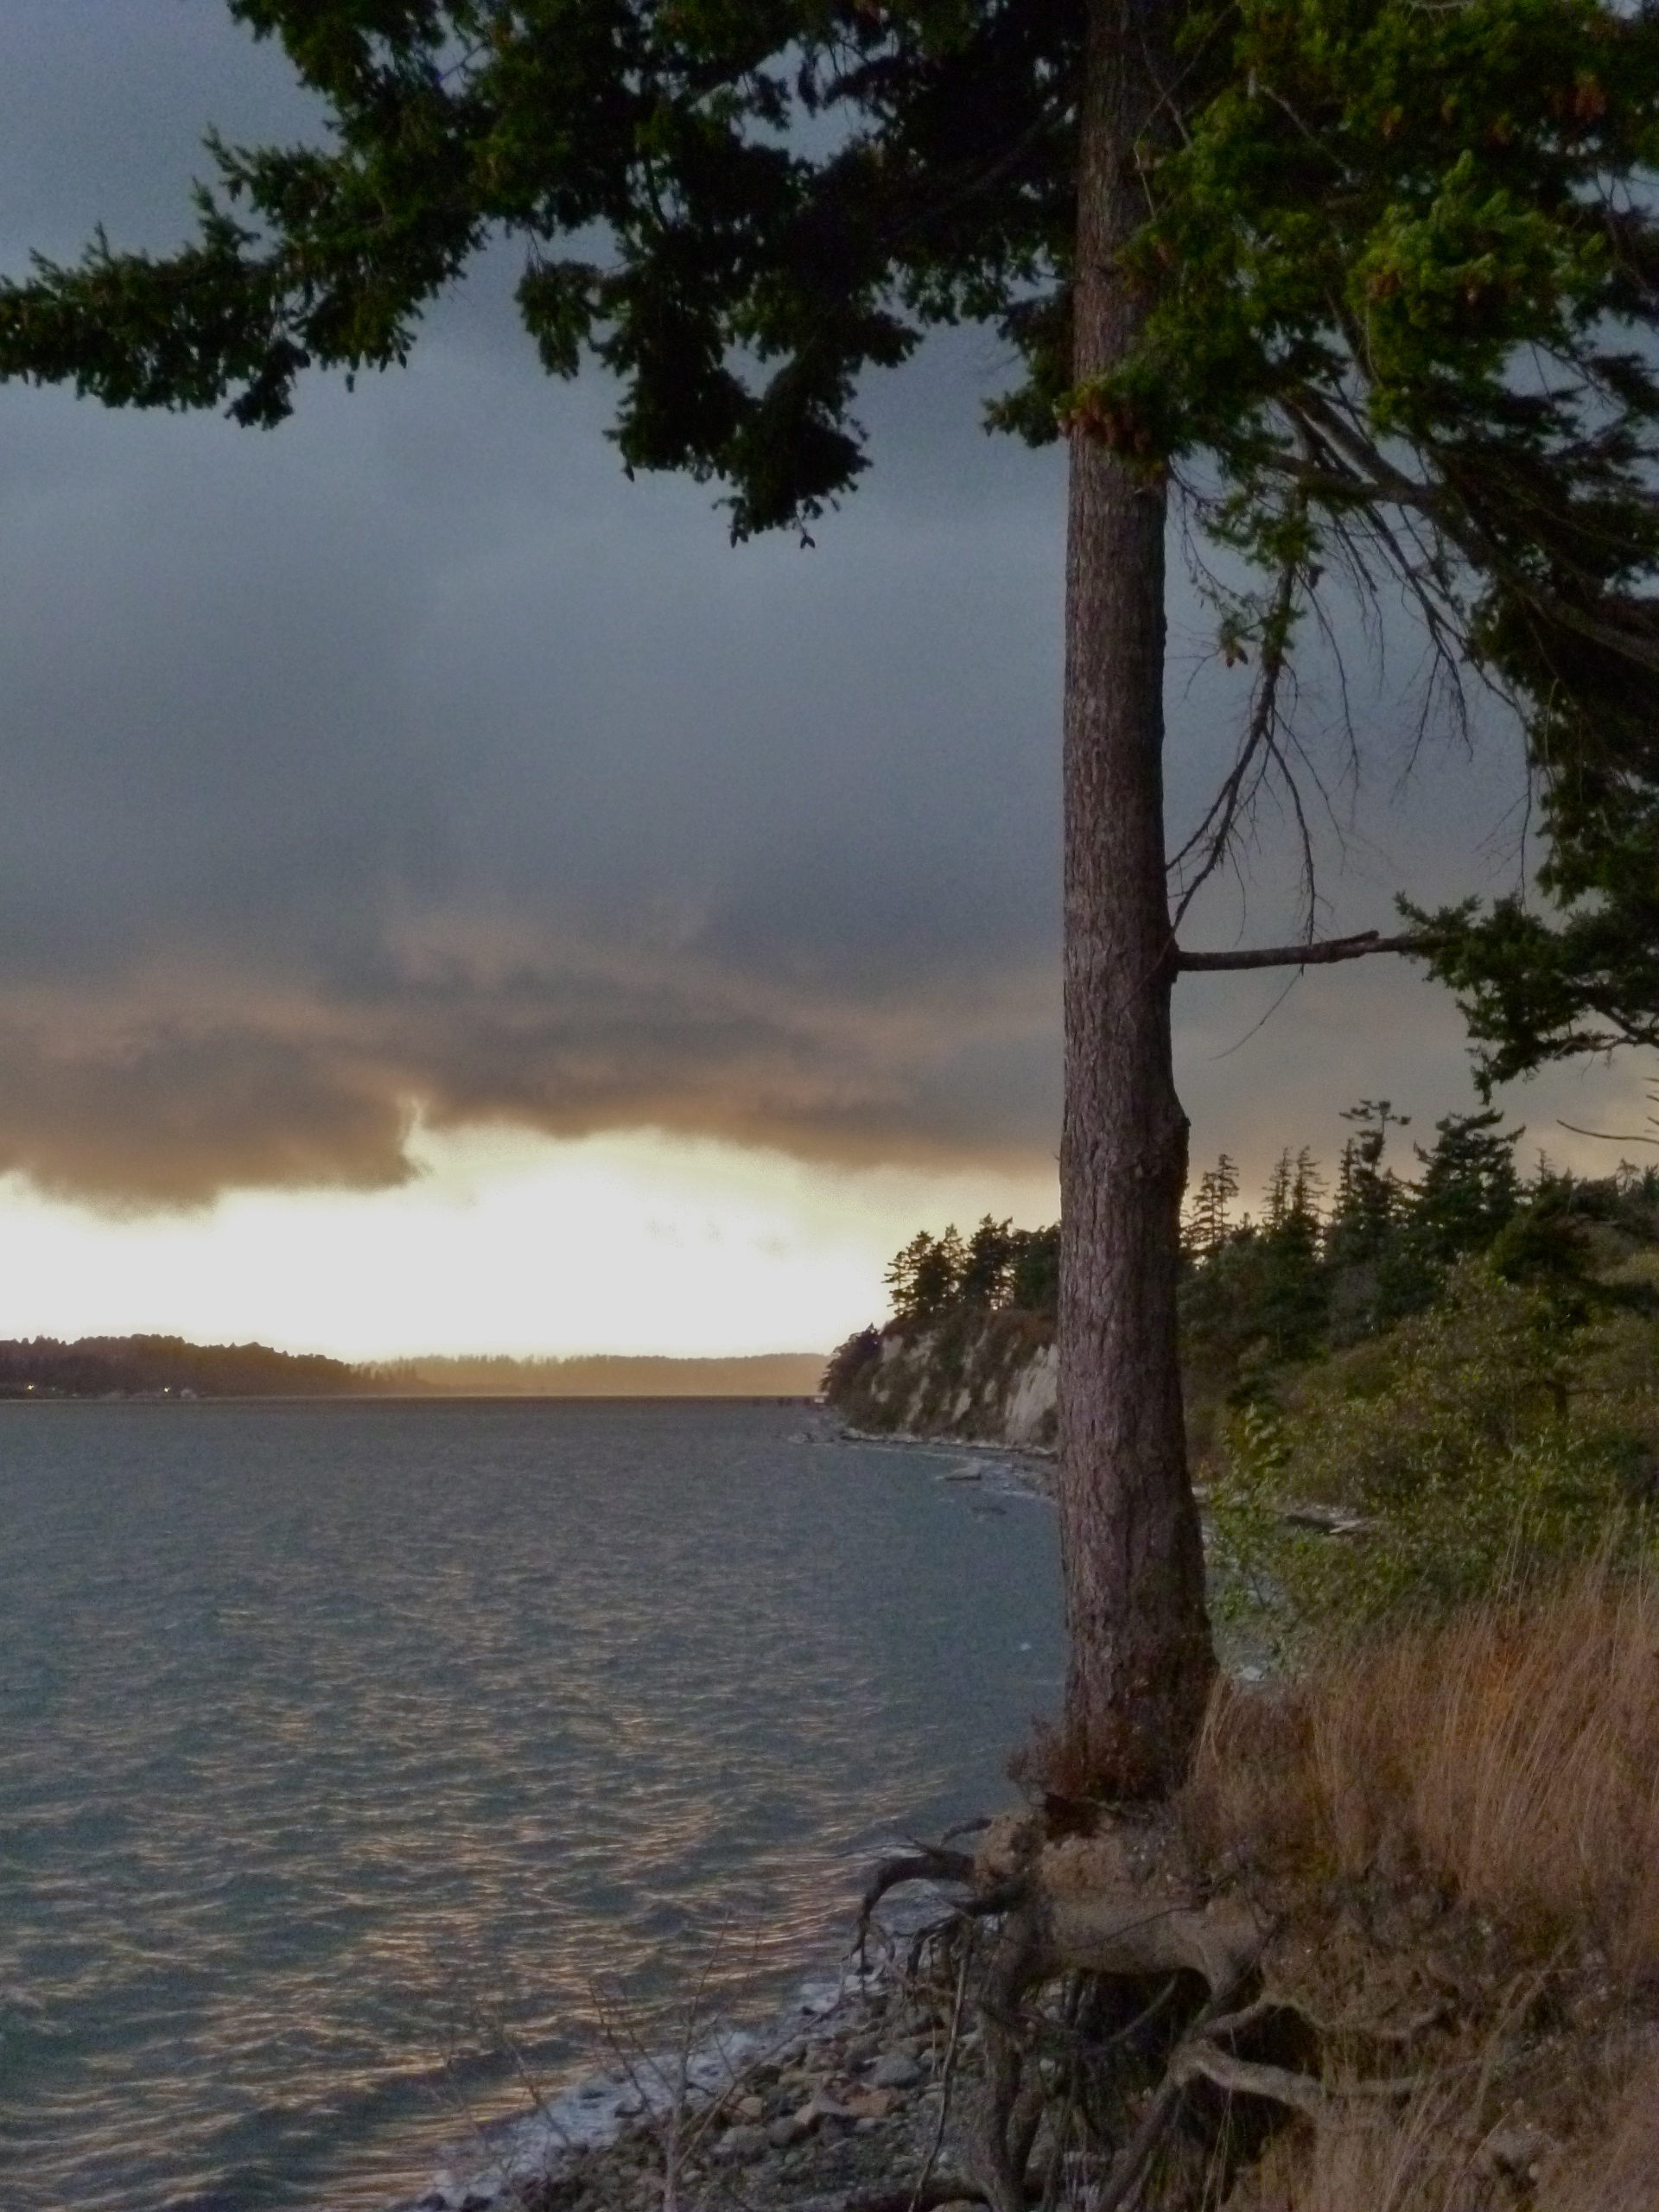
- Sunrise
-
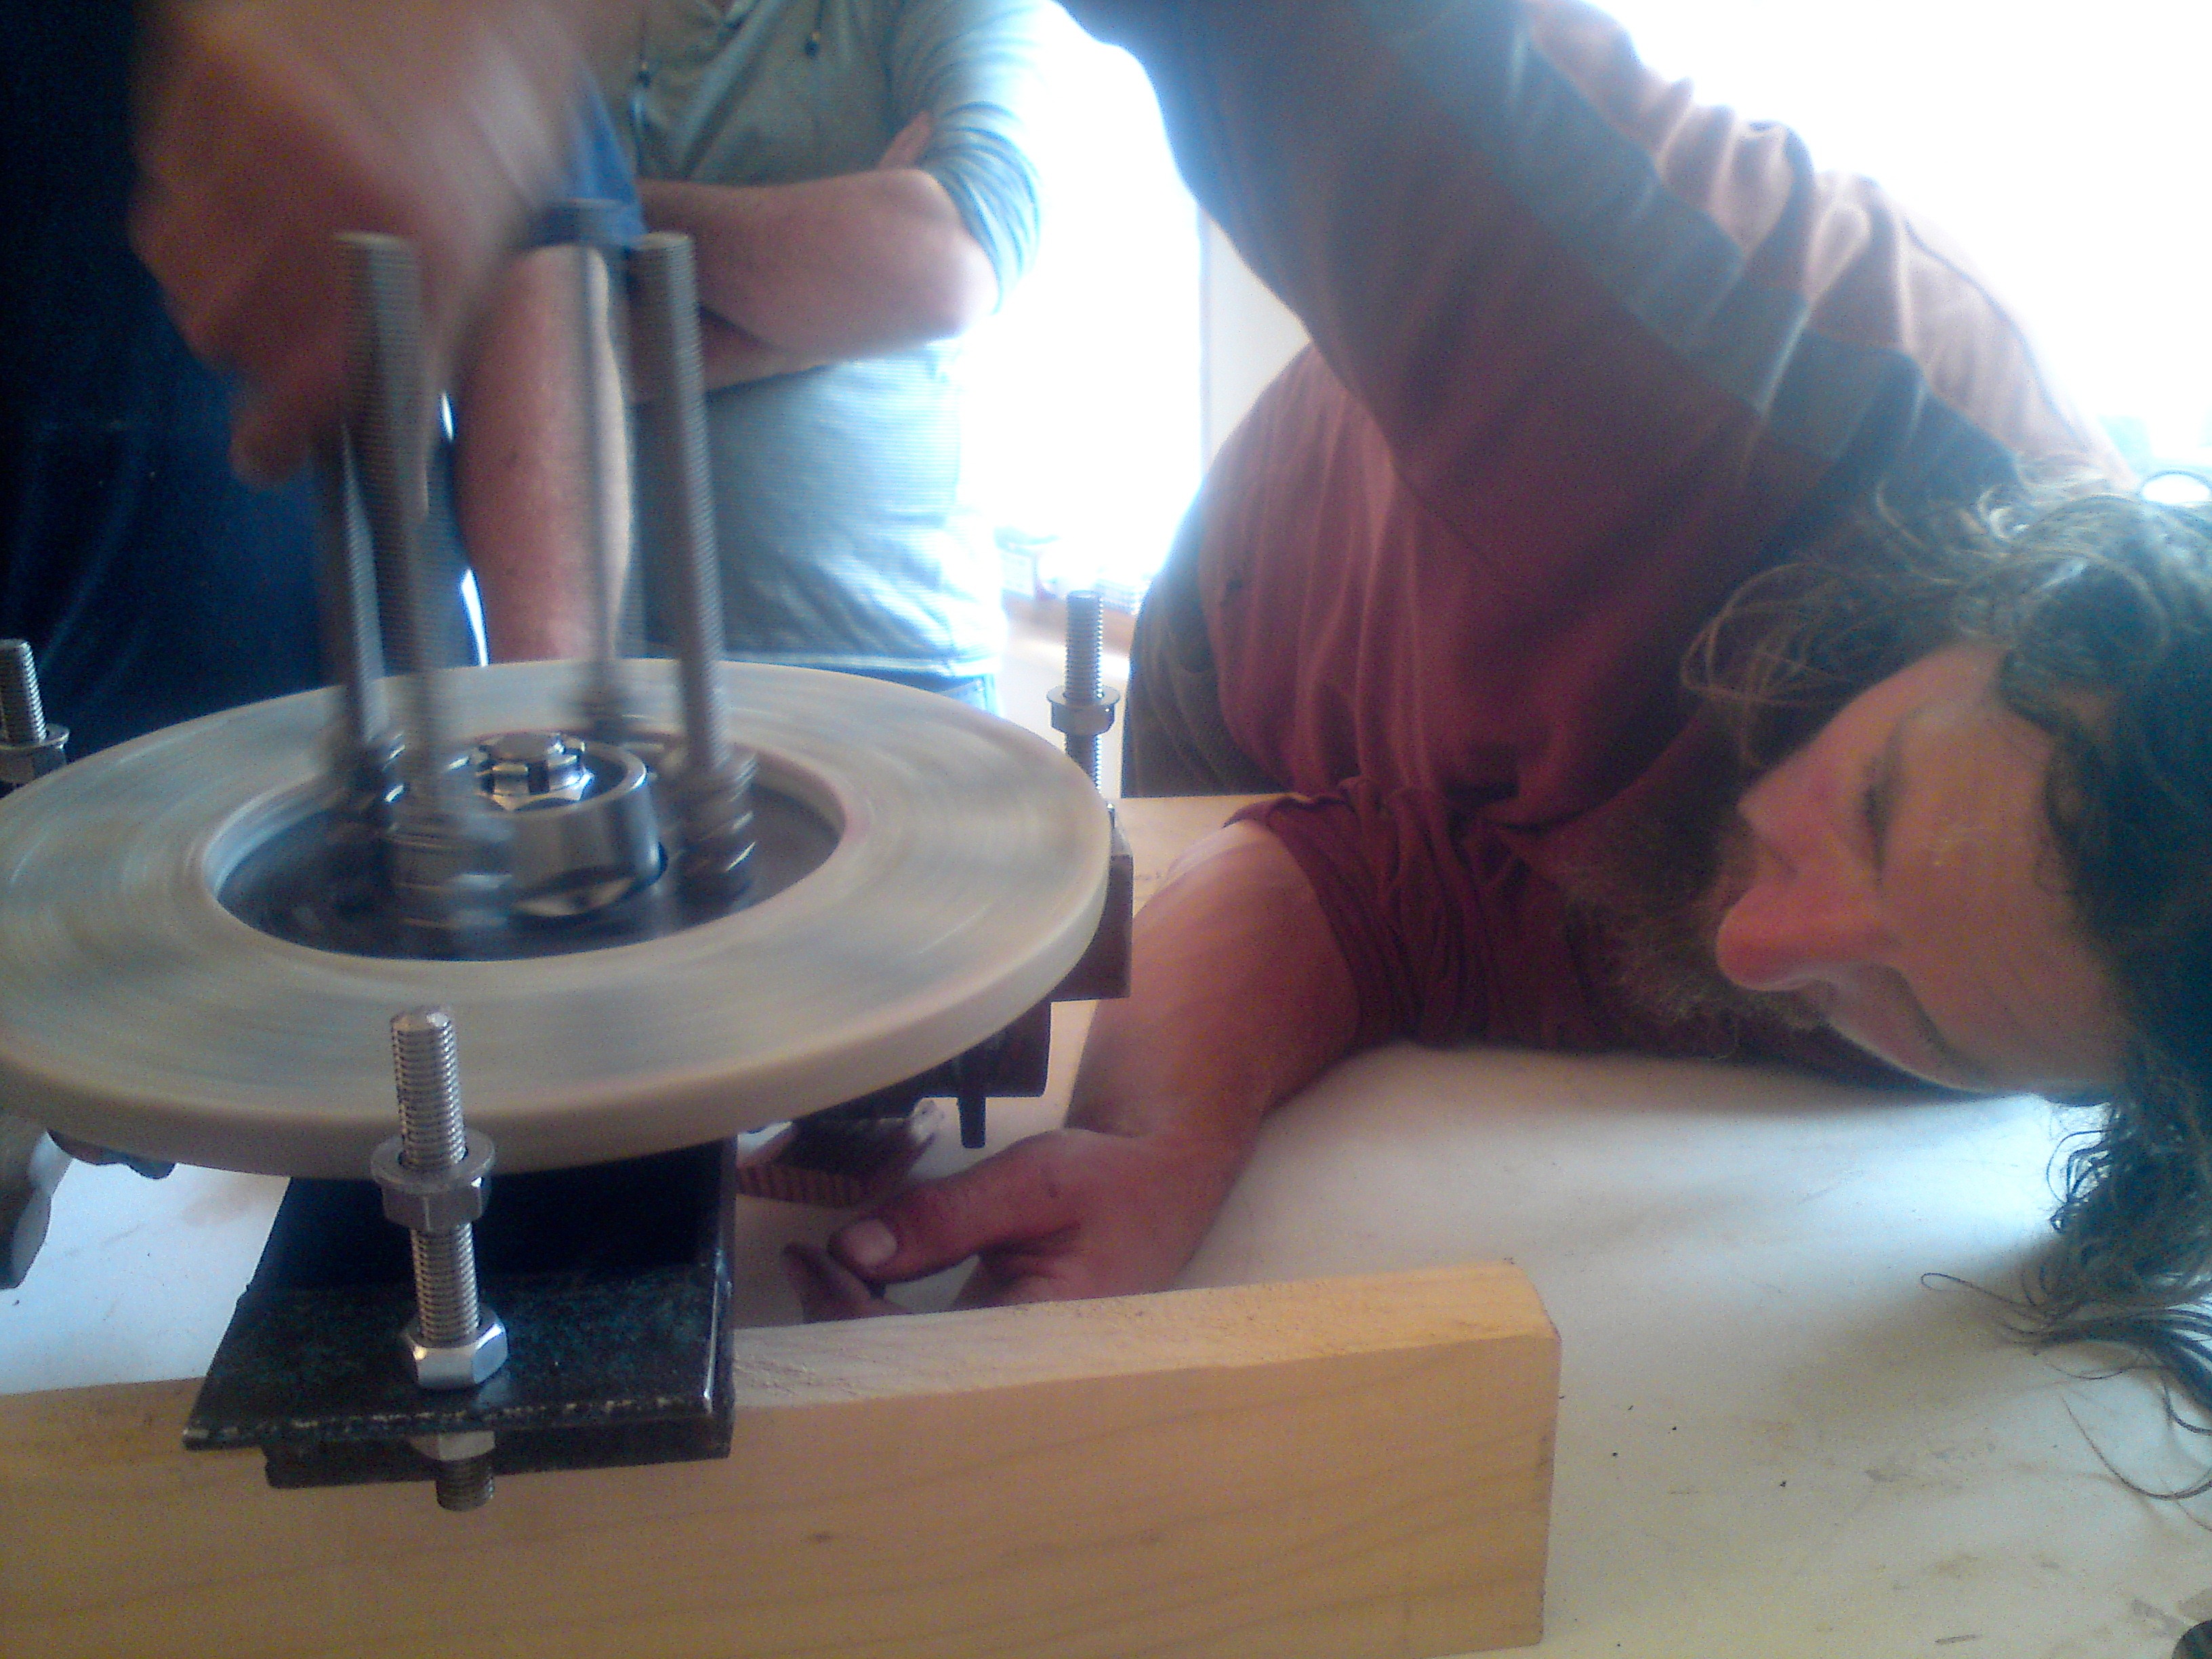
- magnet rotor mould
-
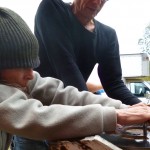
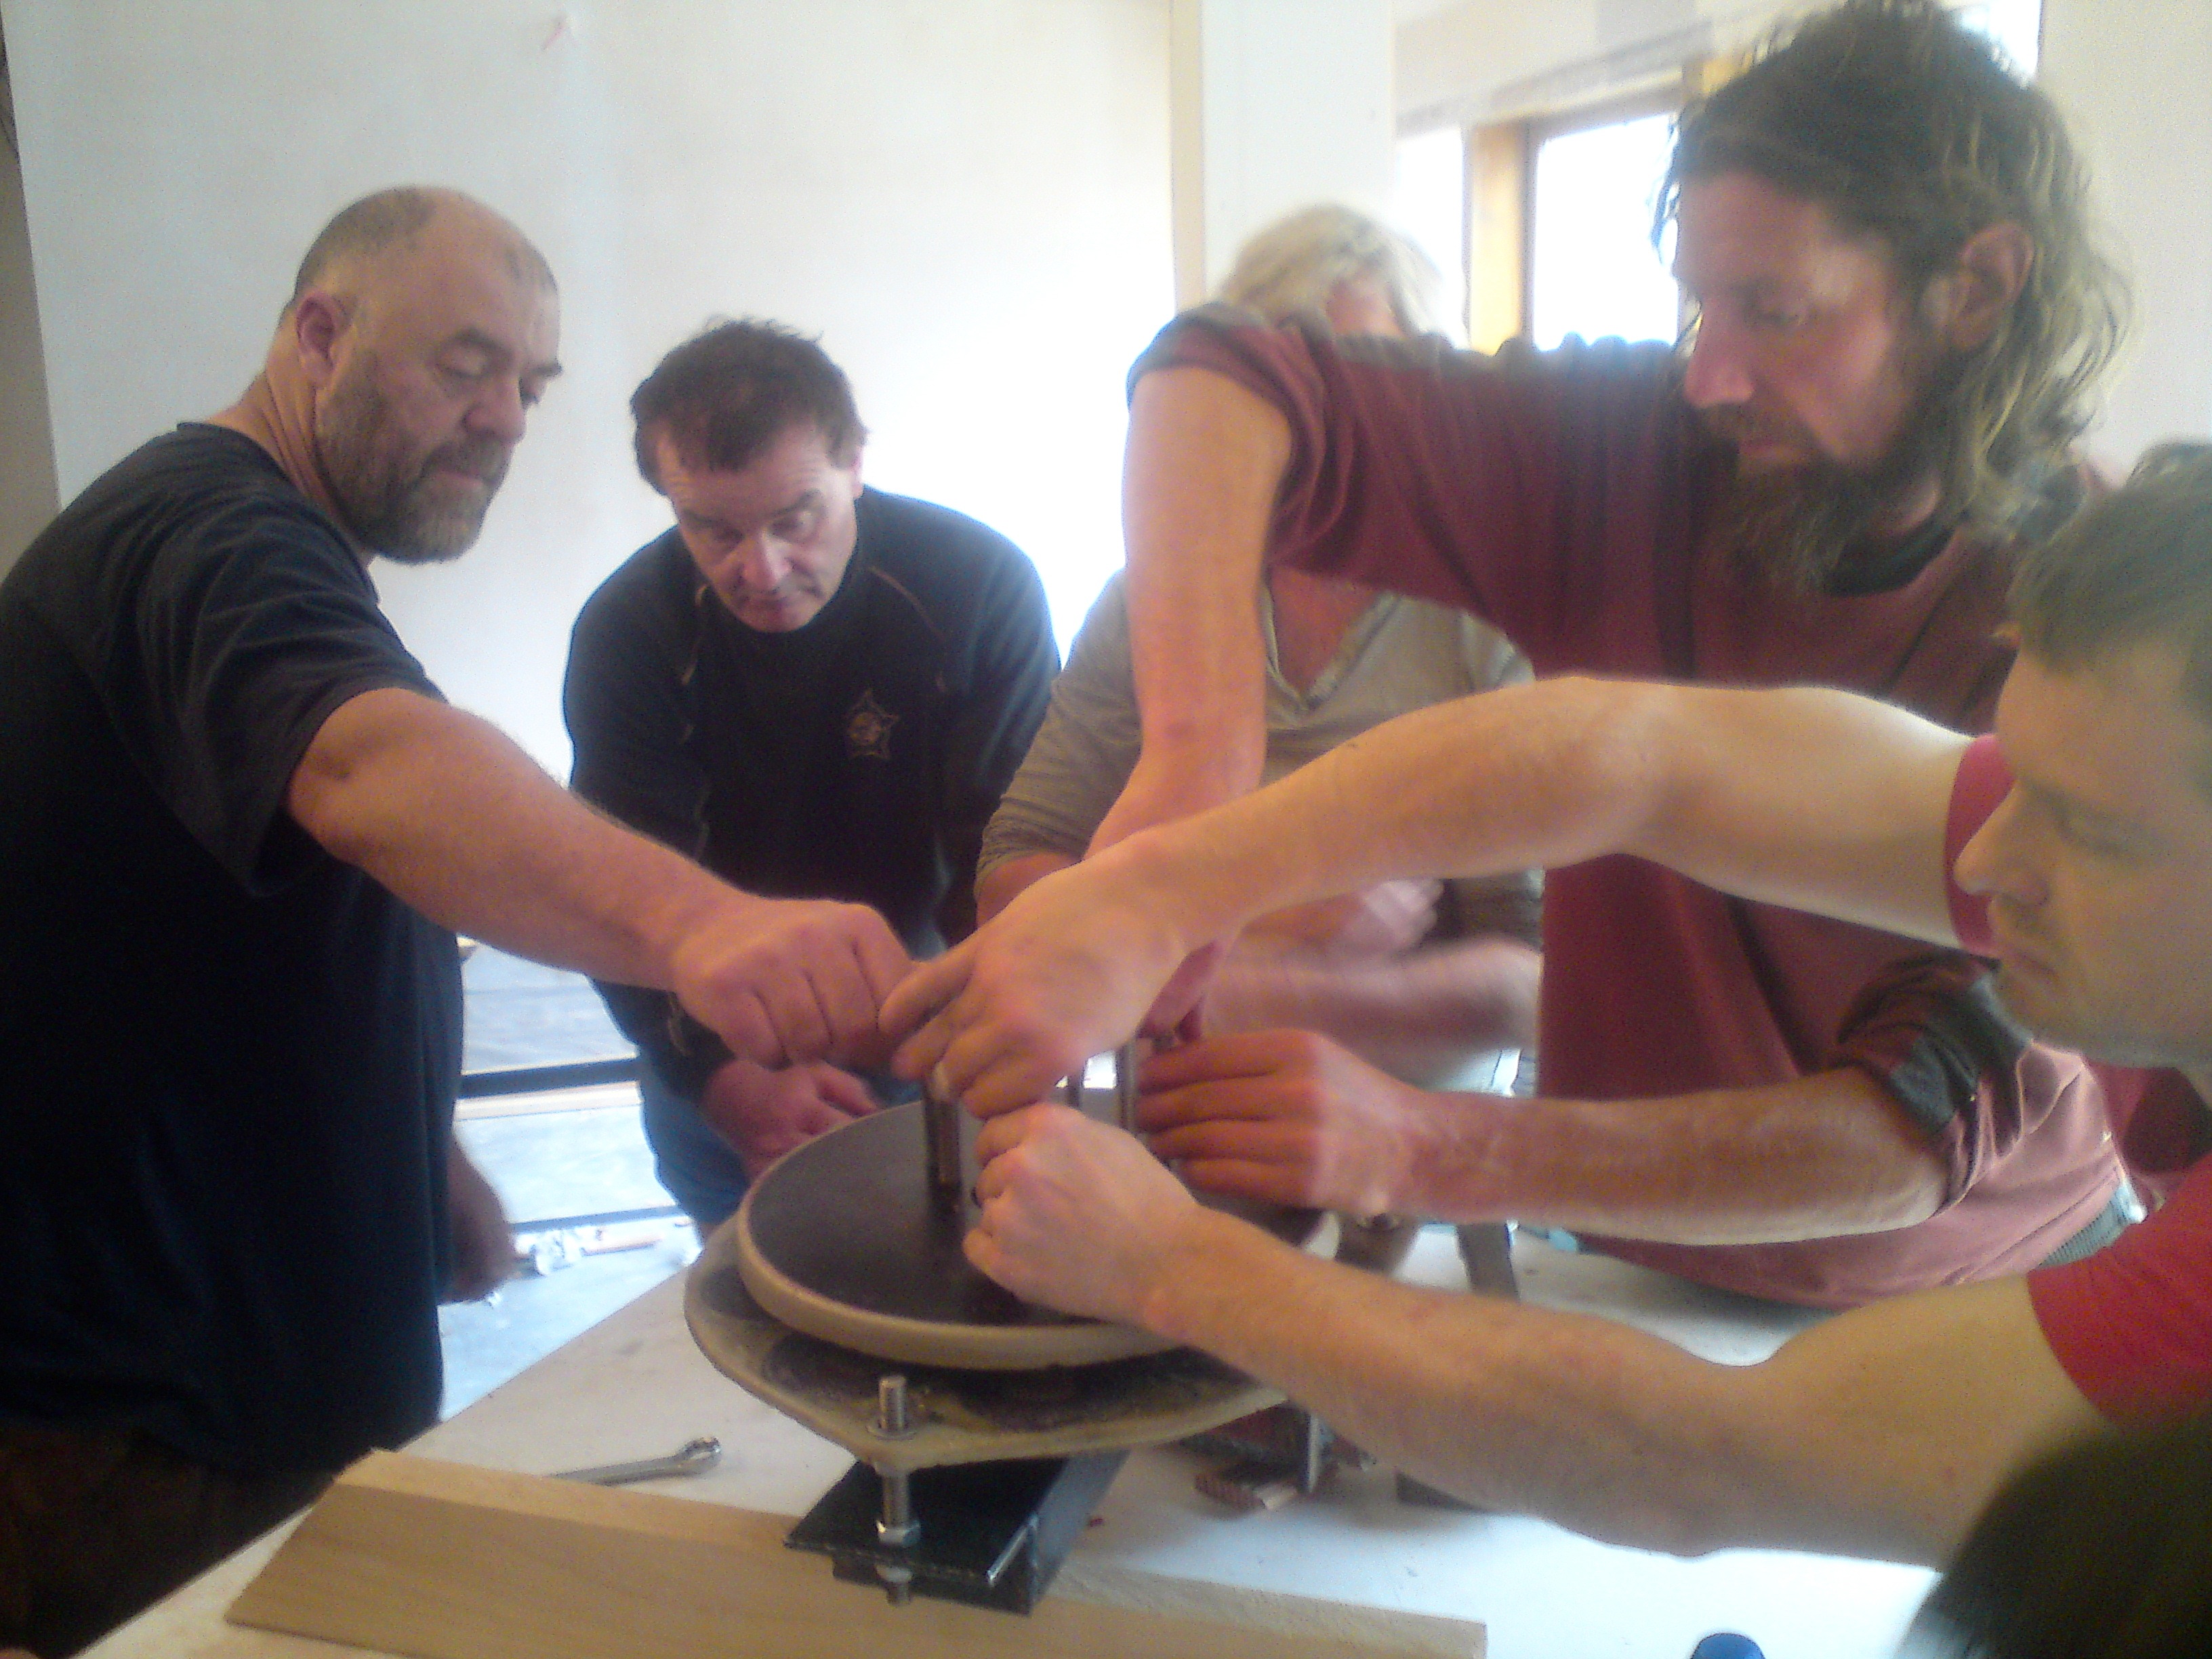
- Maggie tapping the jacking screw holes

-
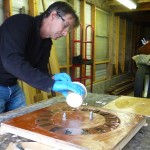
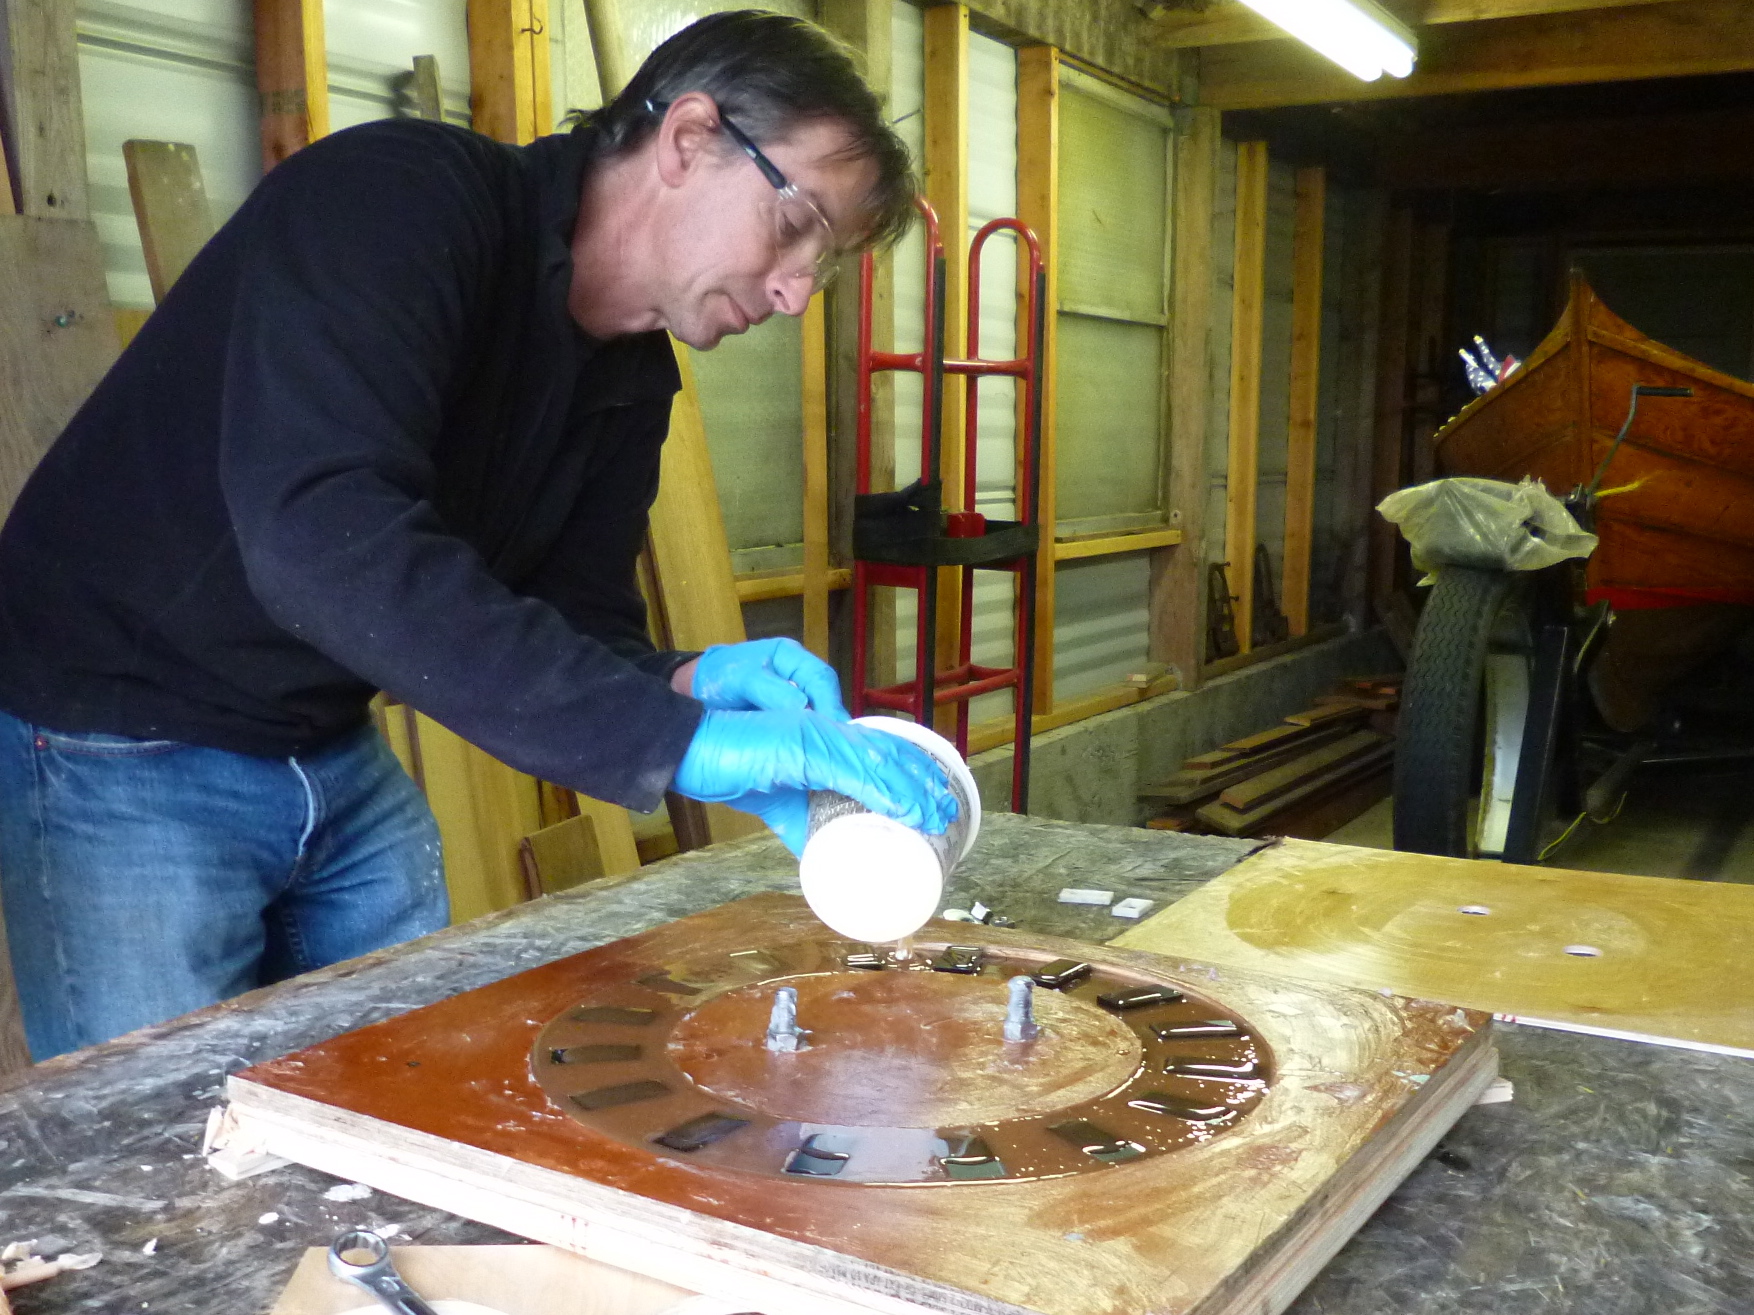
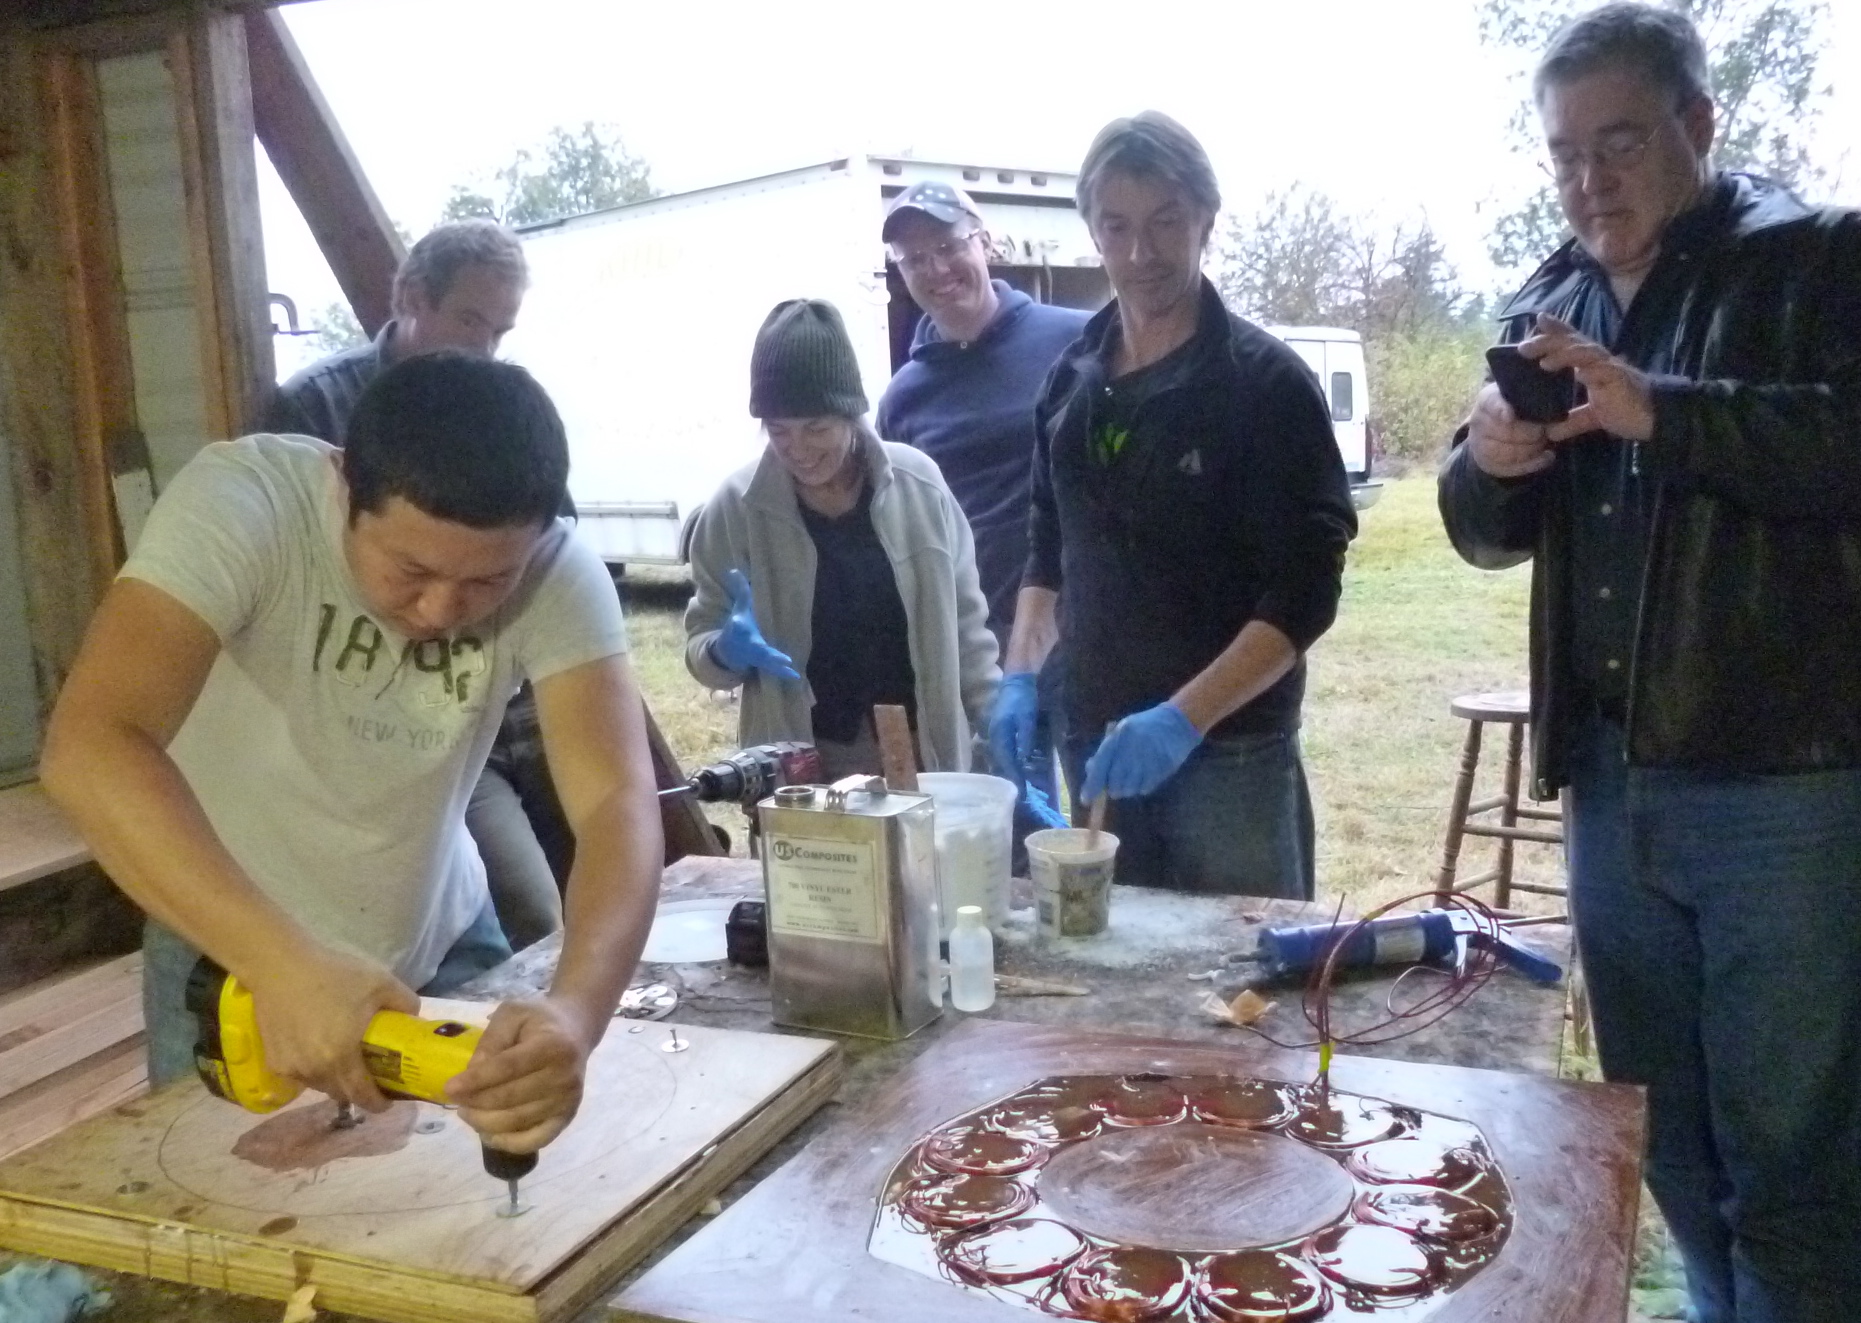
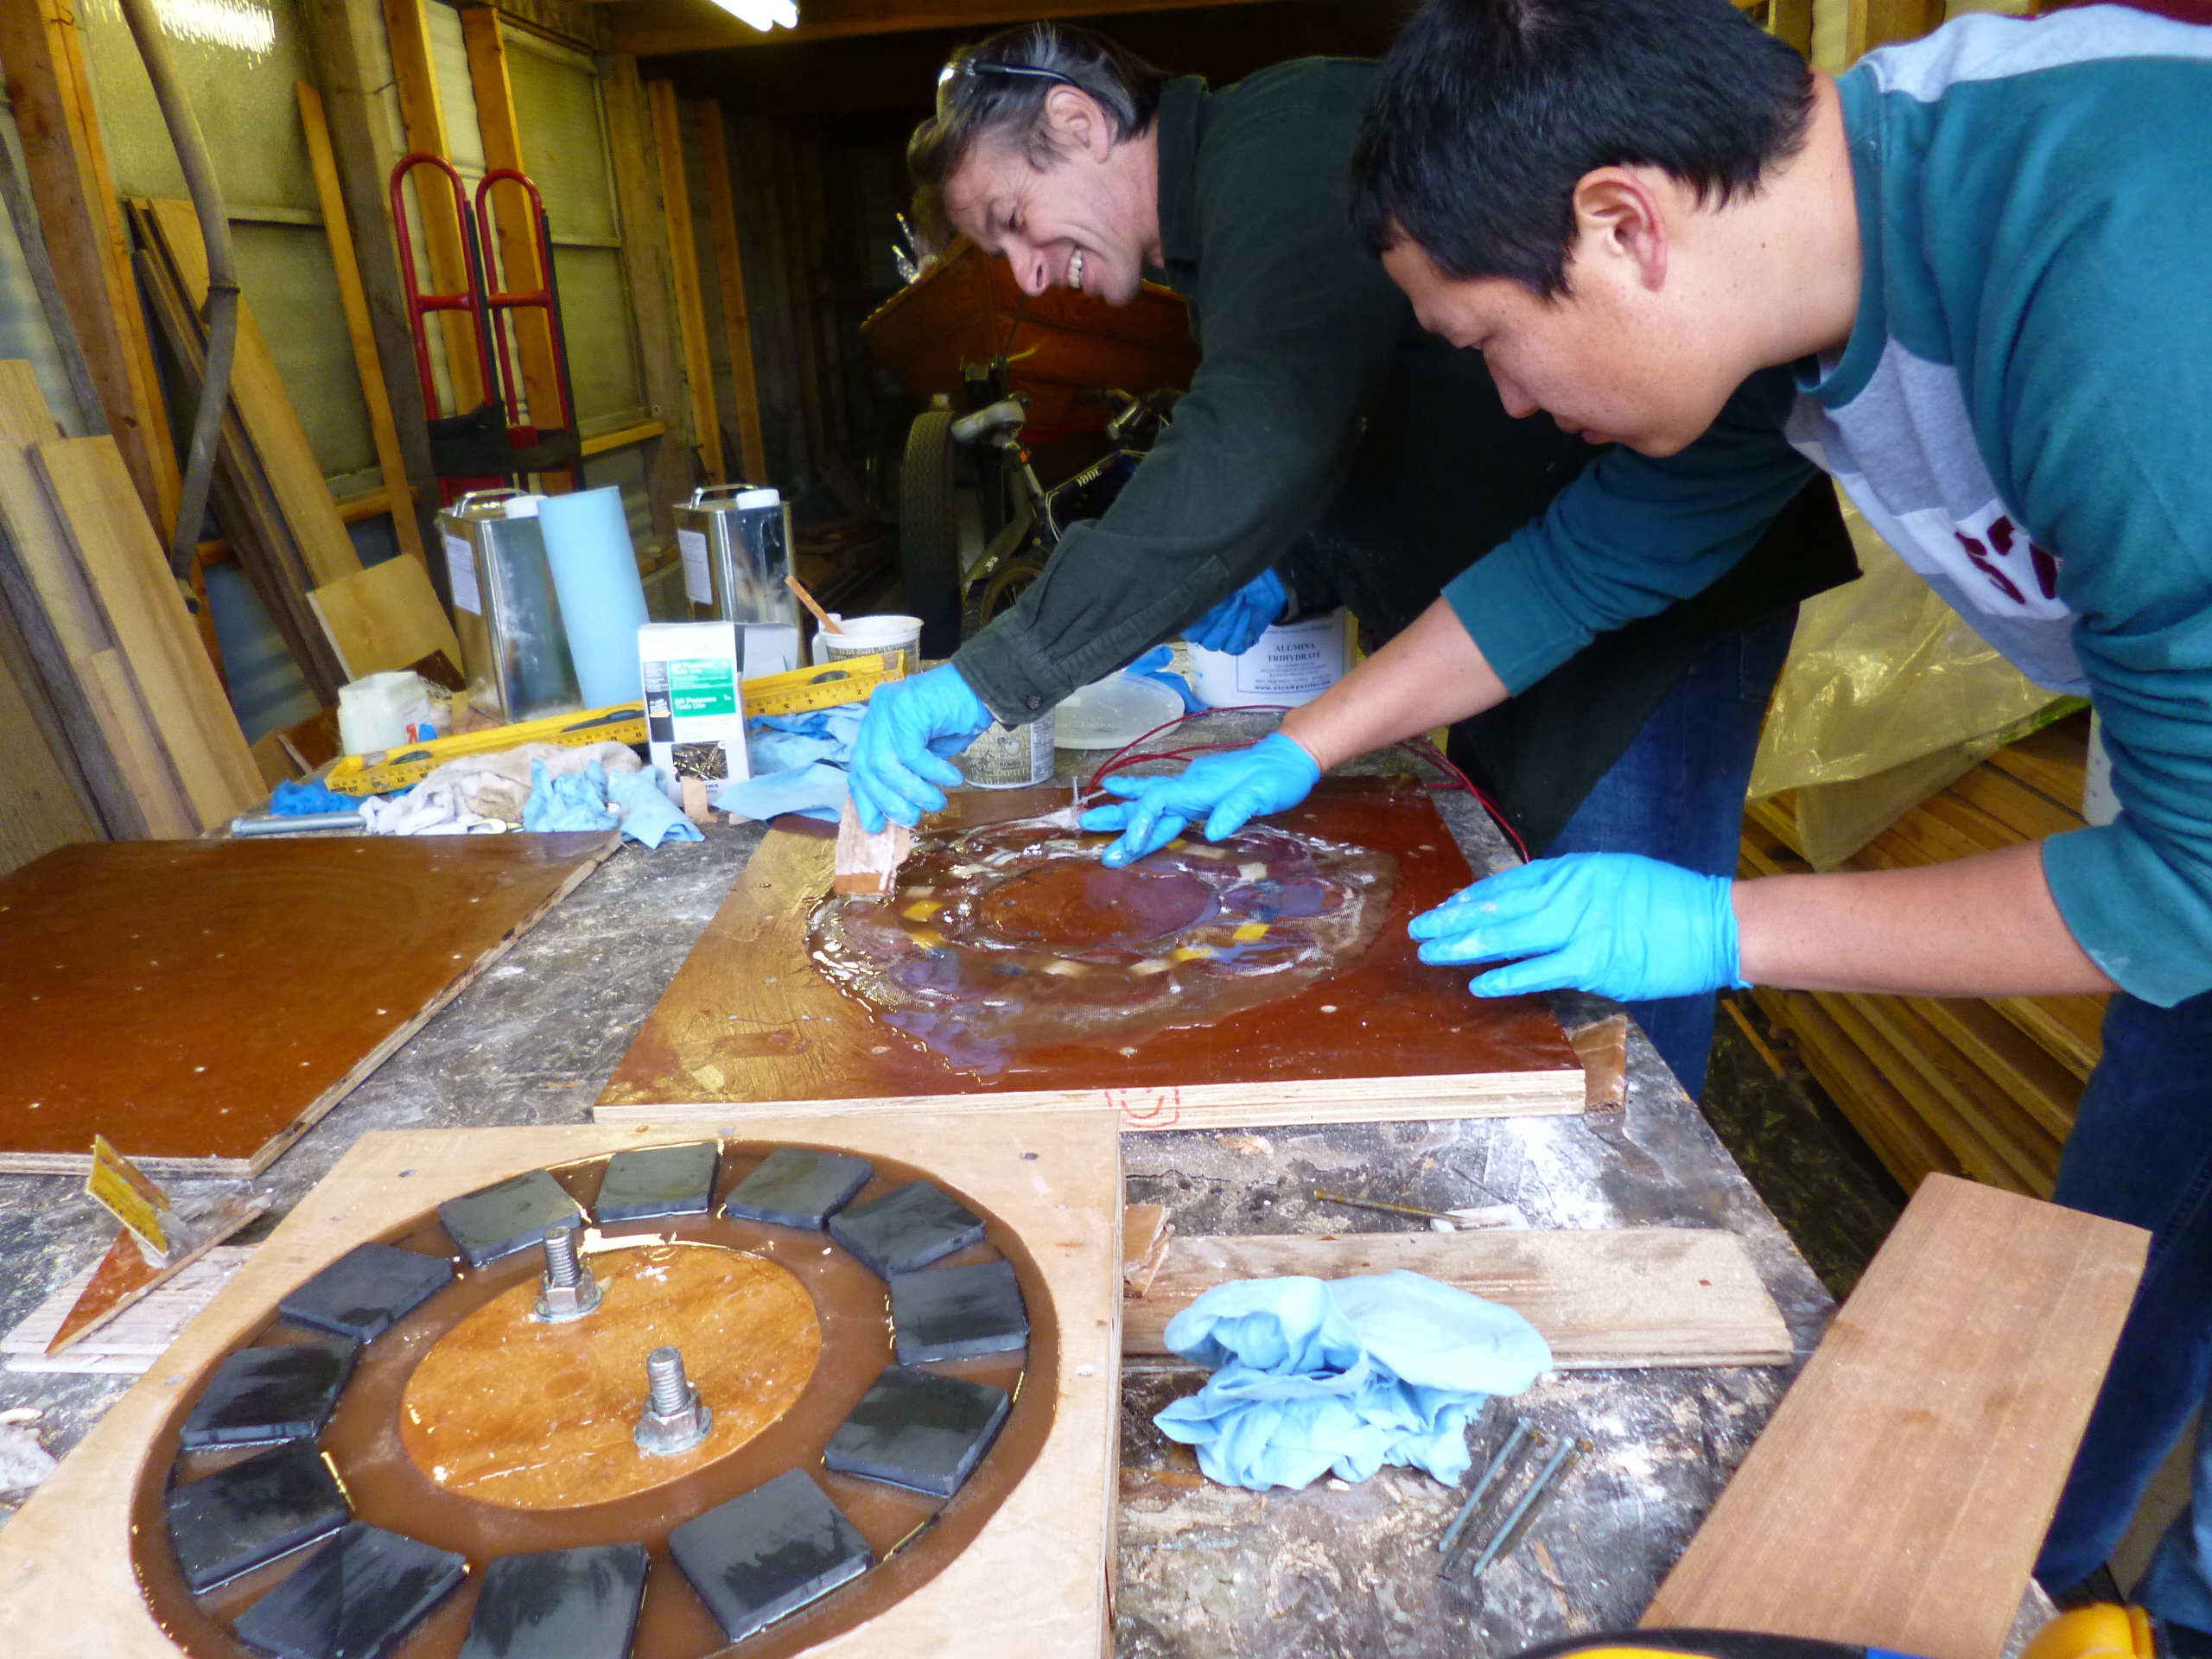
- pouring the first resin casting
-
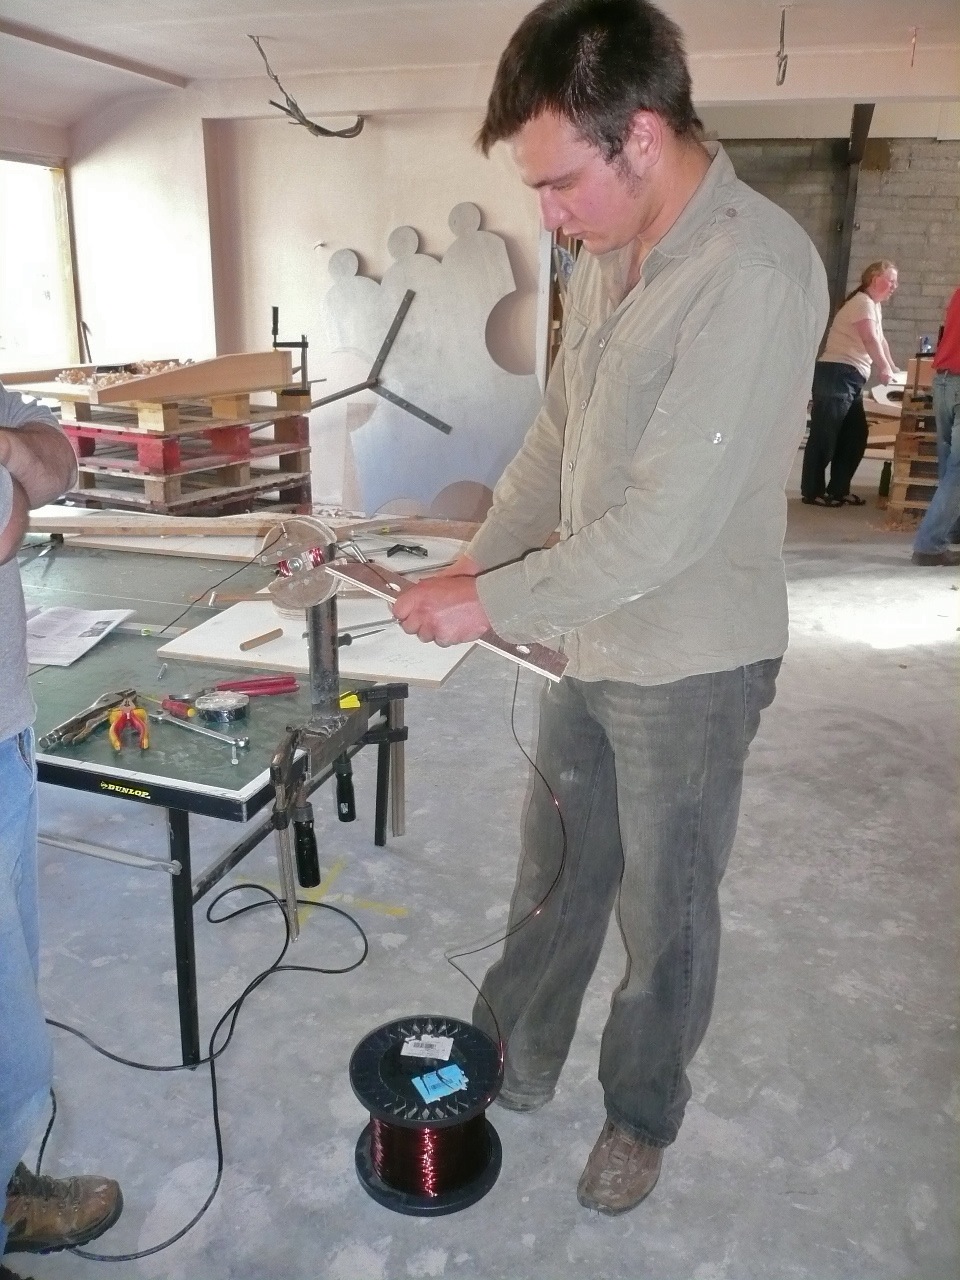
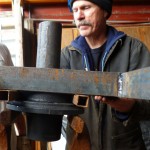
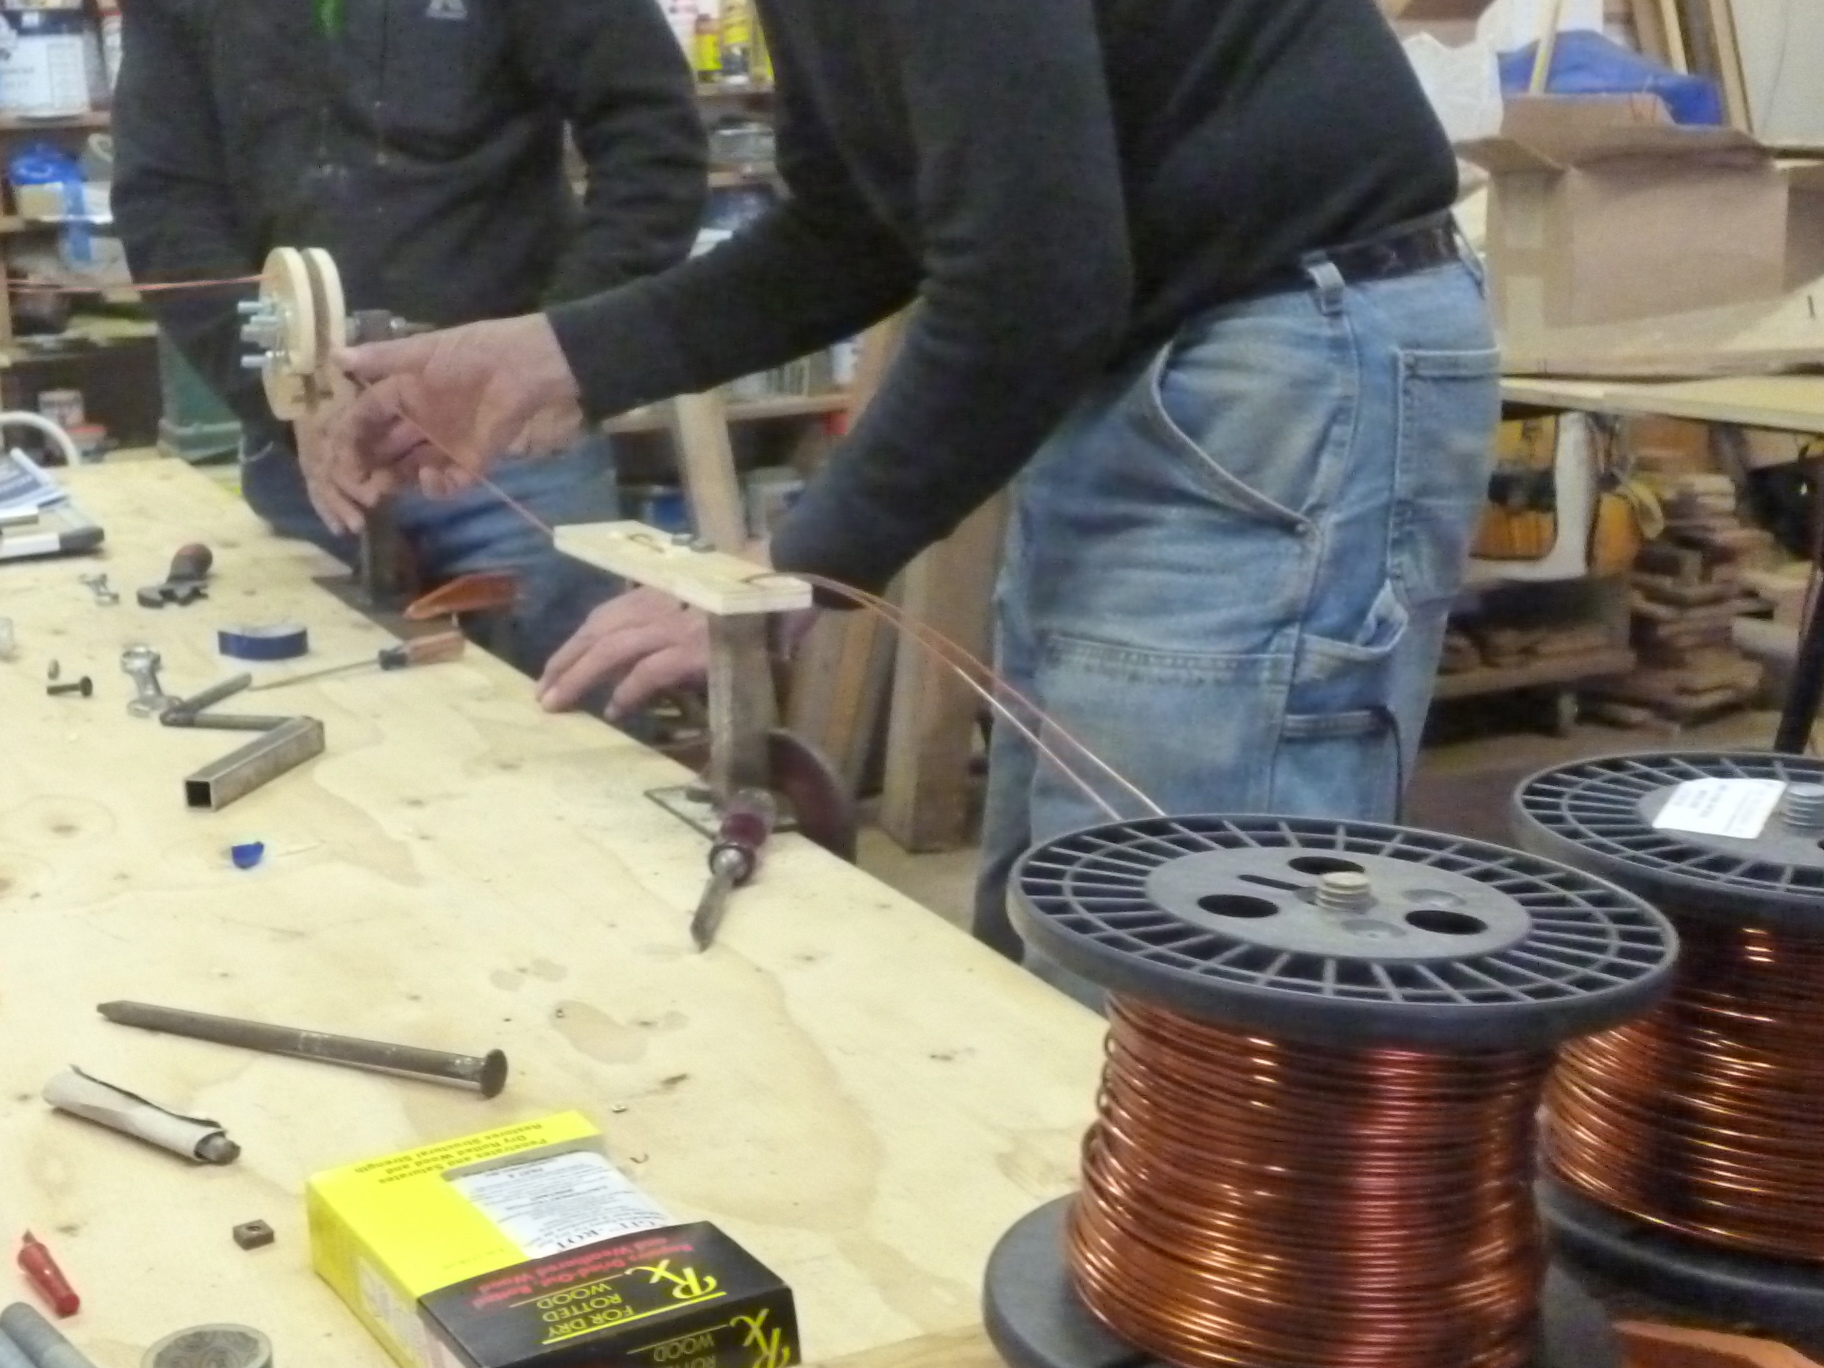
- The wire tensioner at work
-
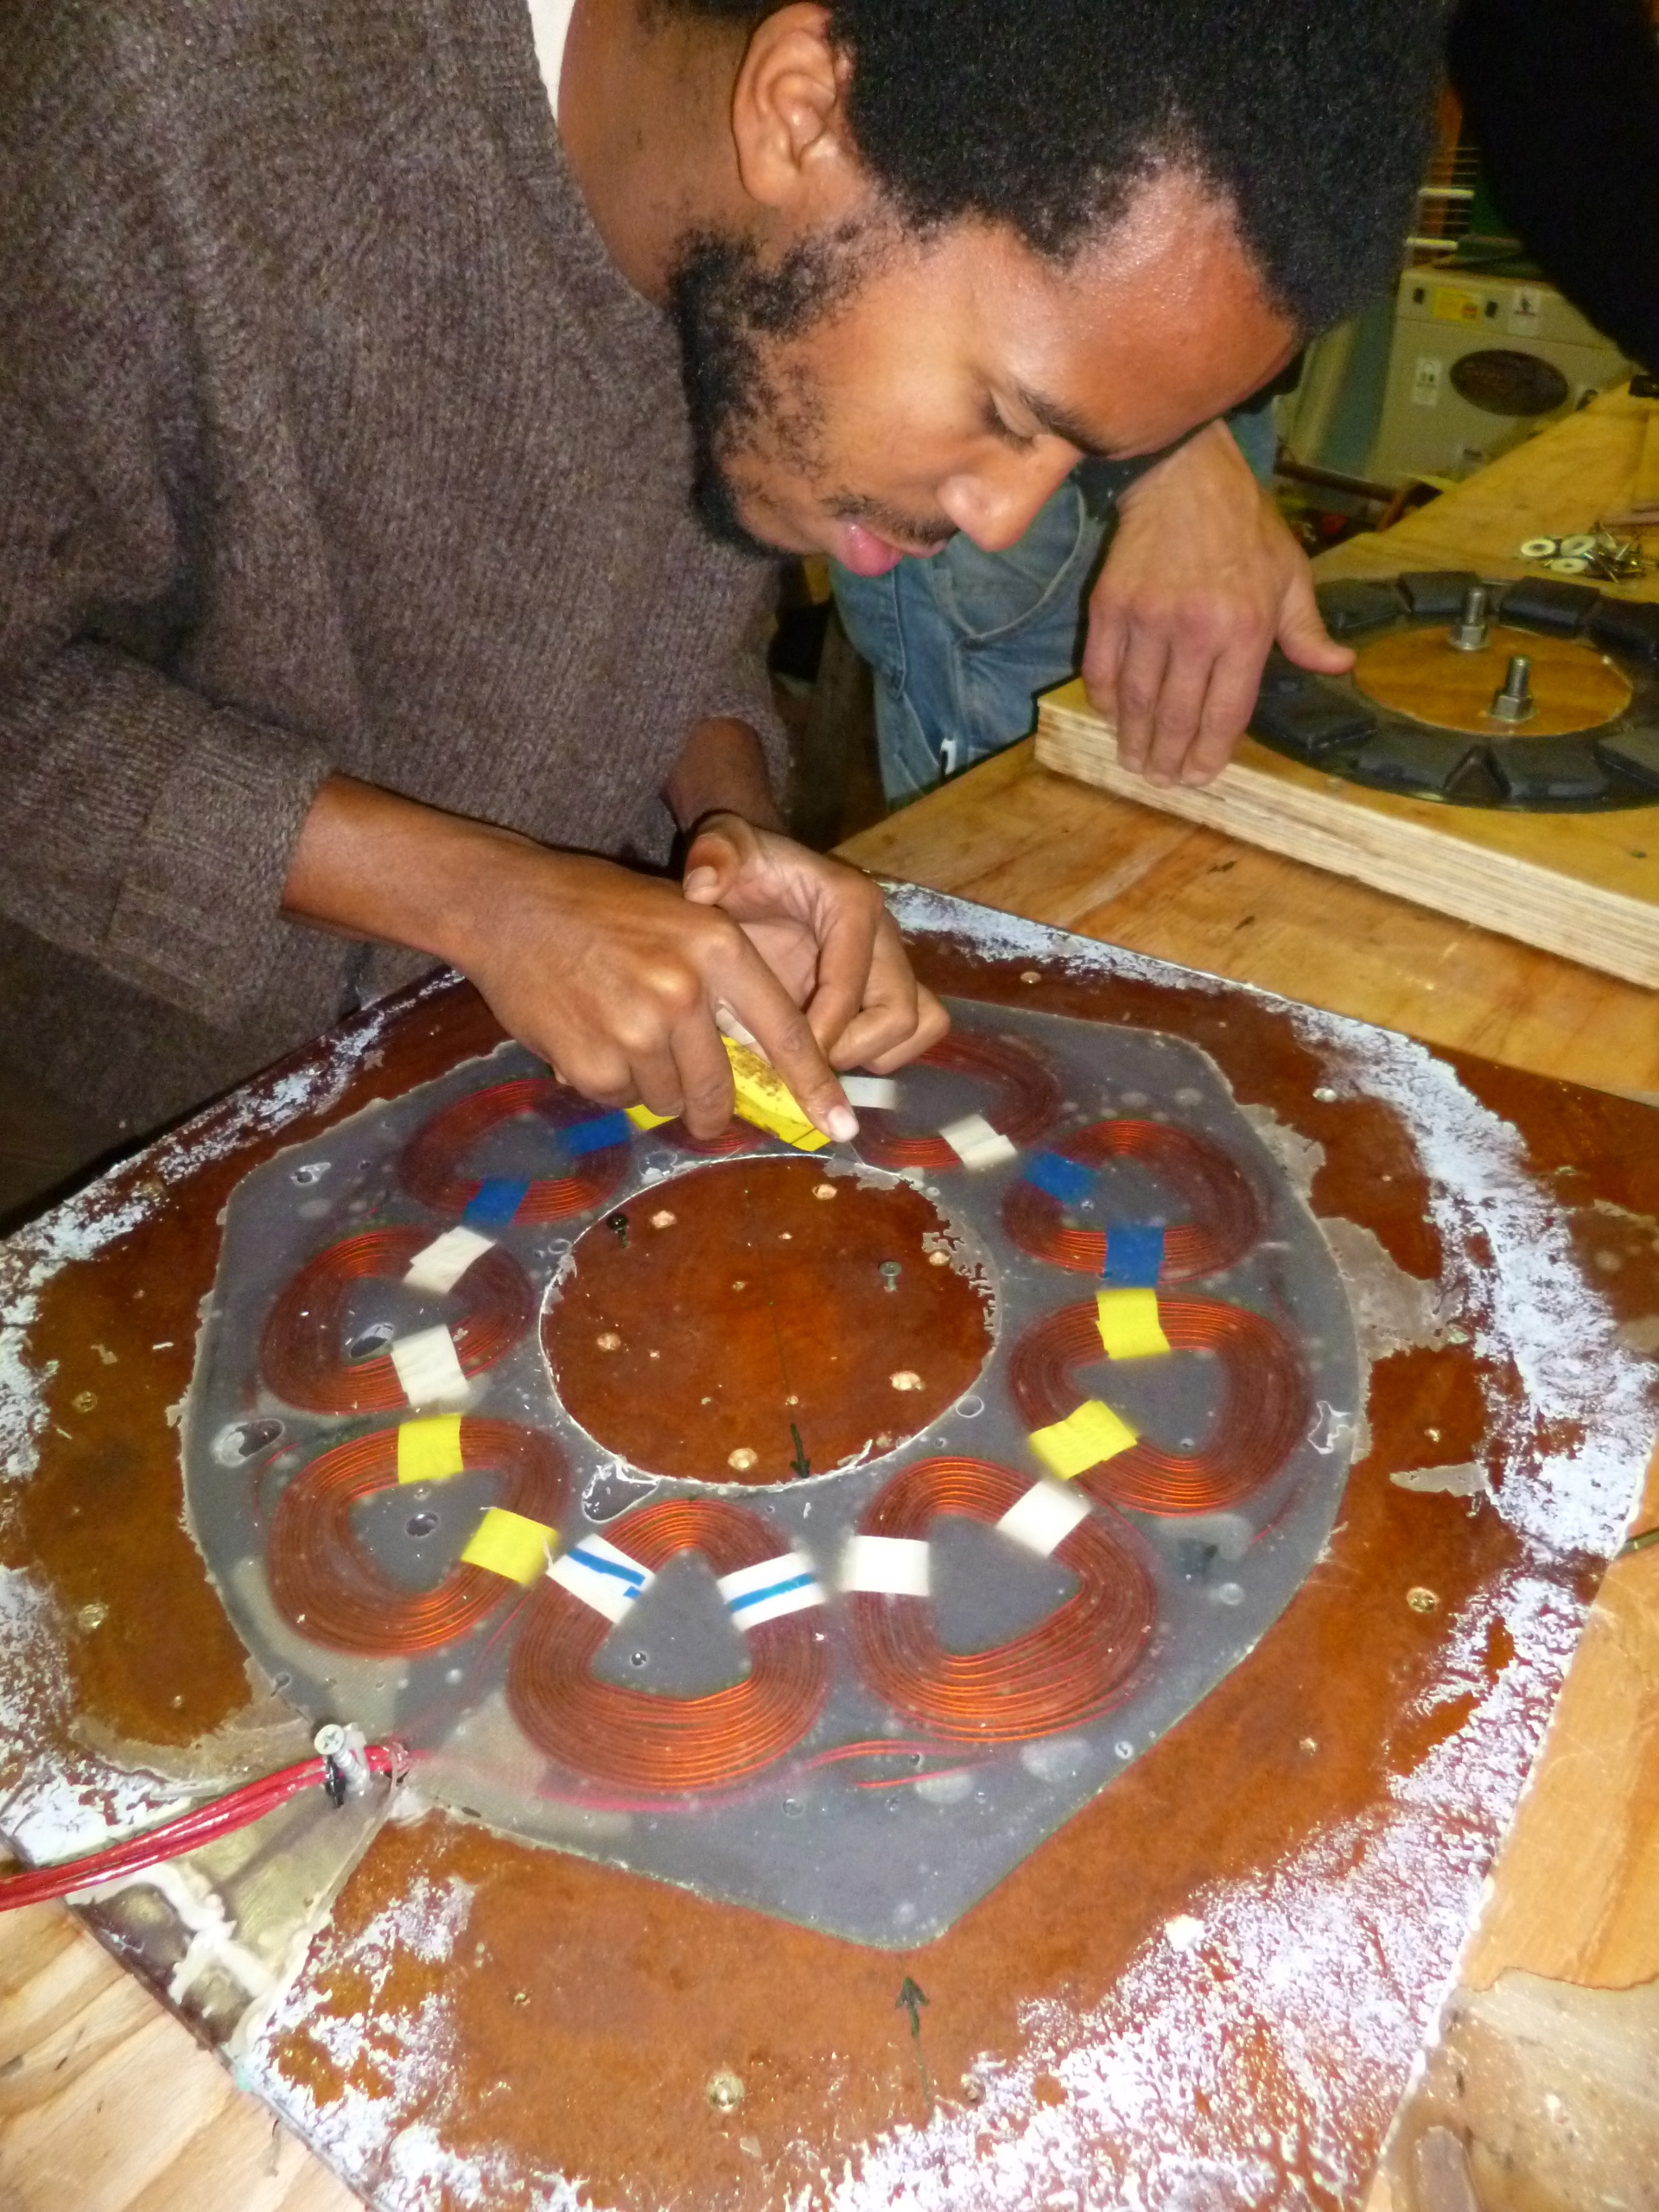
- coil winding
-
- tilting the mould over

-

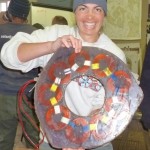
- The first magnet rotor comes out
-
- casting the 12-footer parts
-
- lid goes on the mould

-
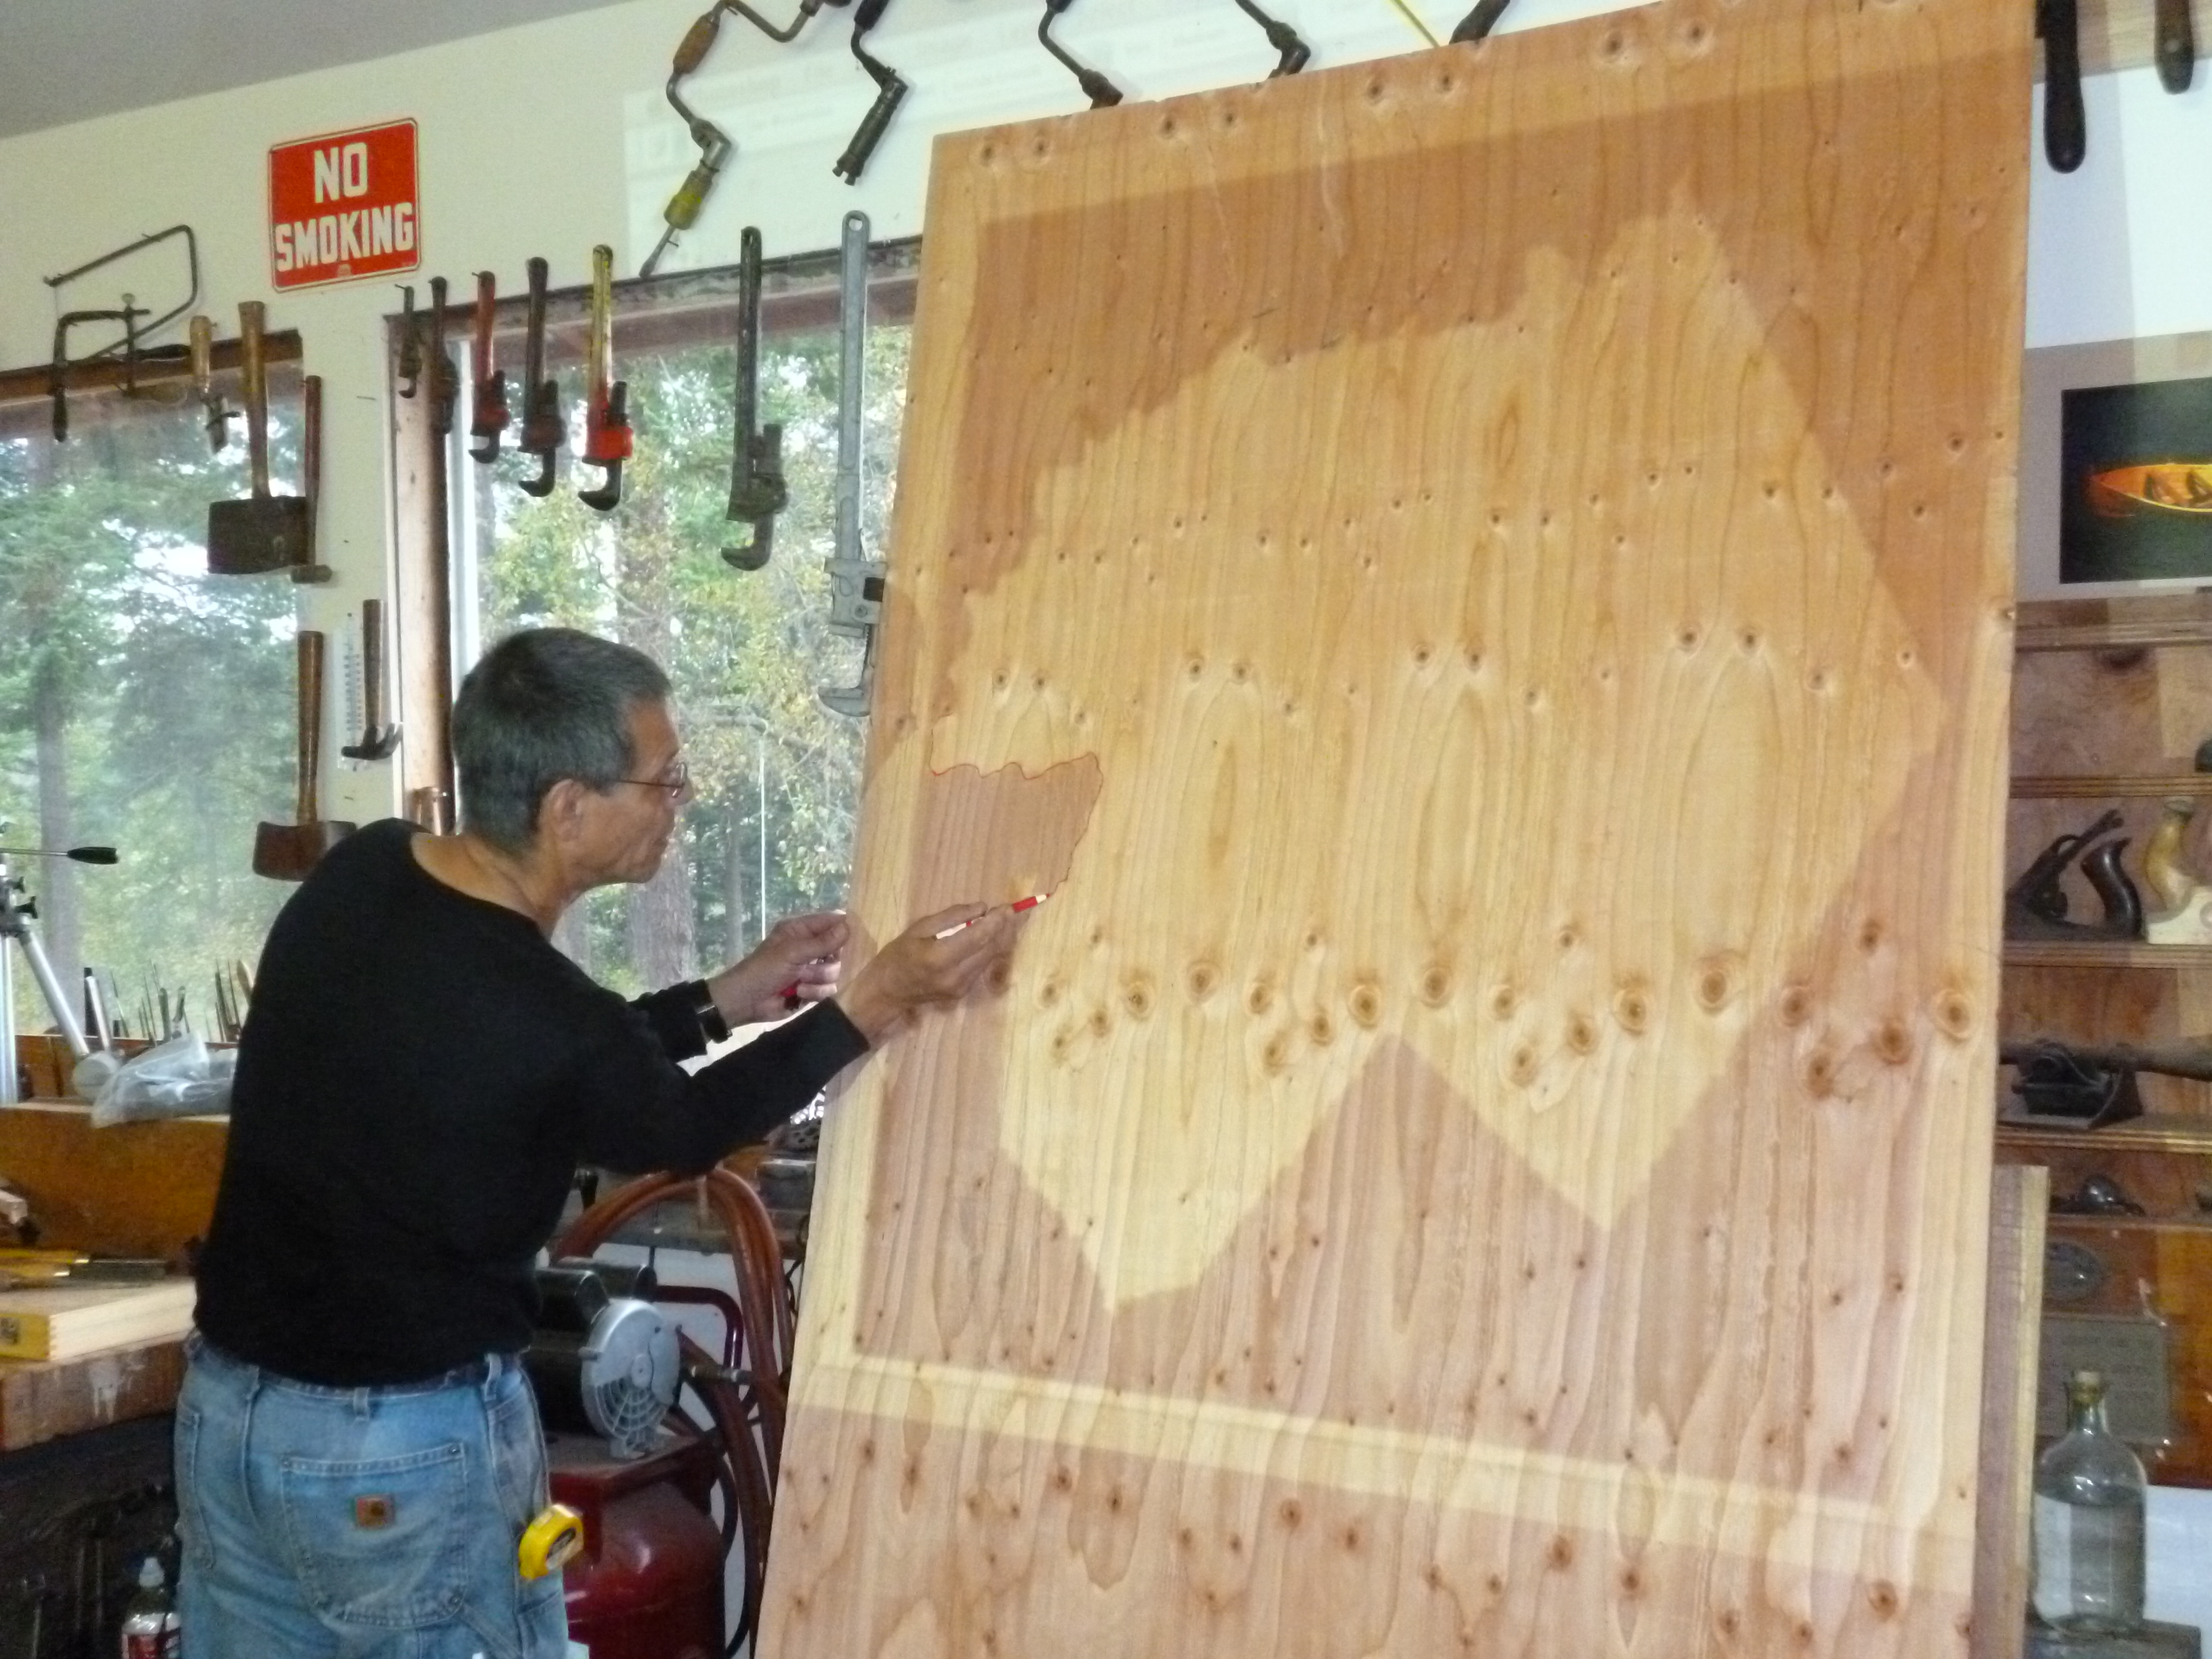
- tail shape projected digitally for marking out
-
- 12 footer frame
-
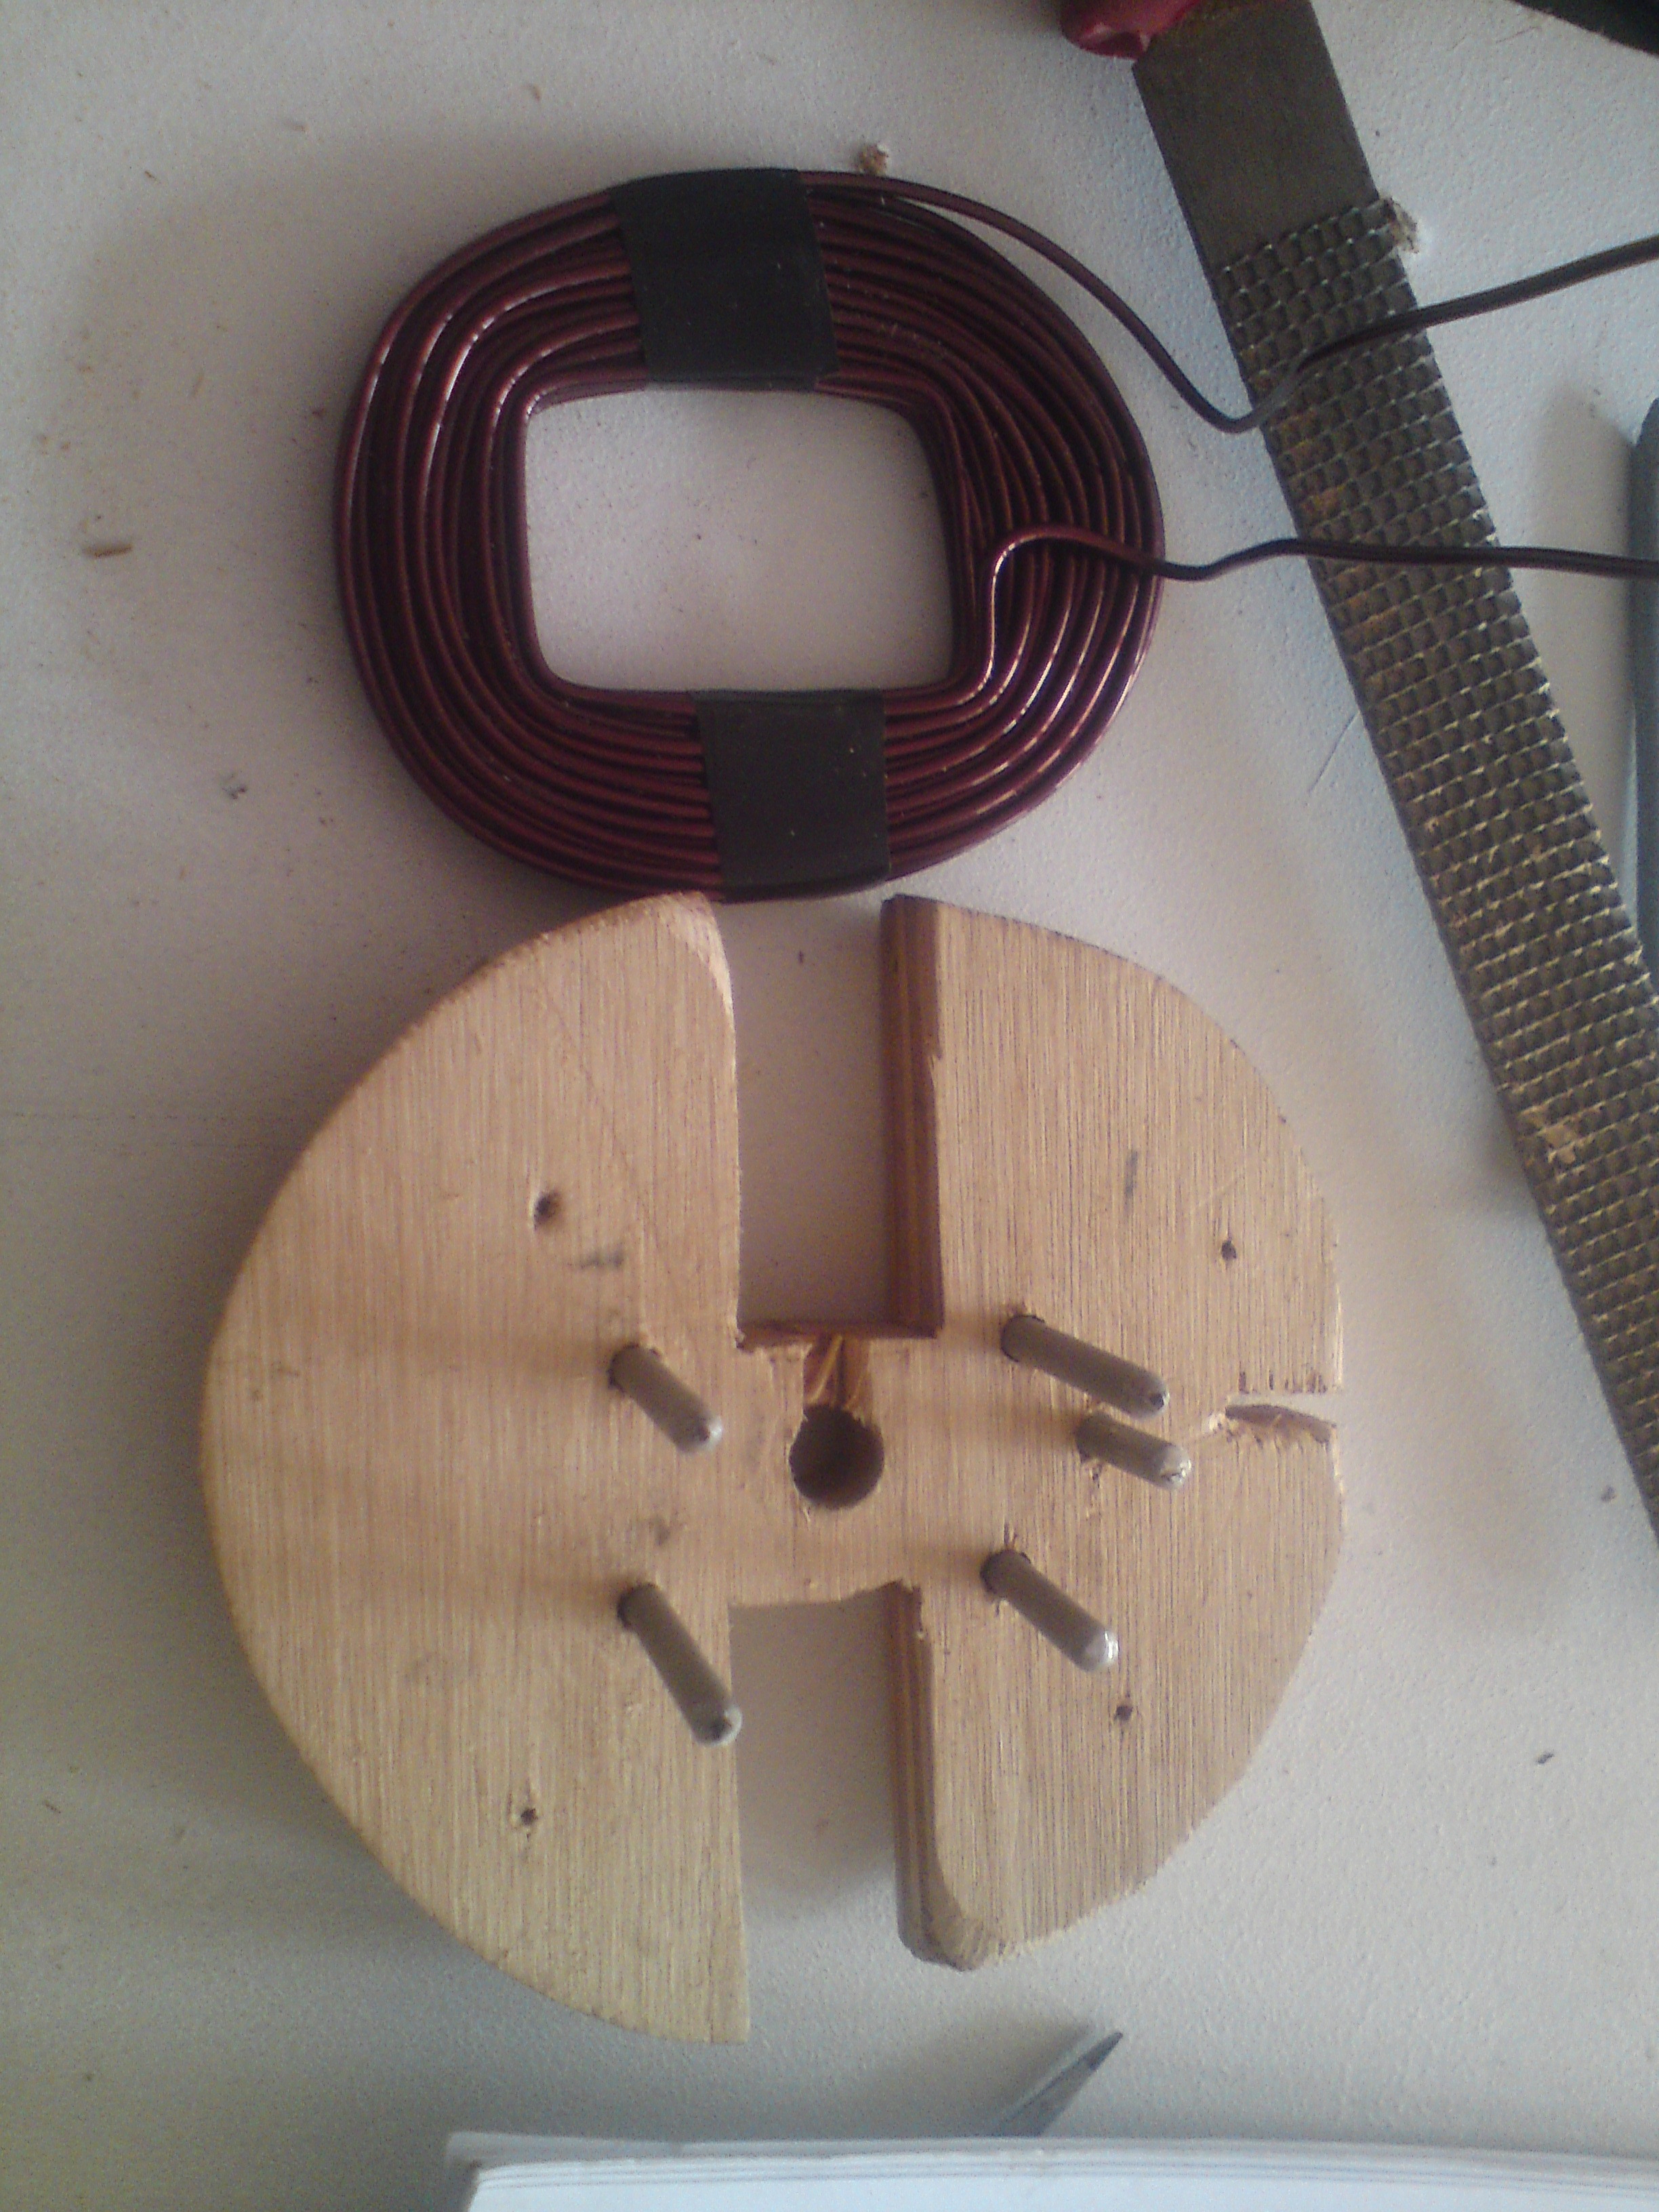
- 12-footer stator
-
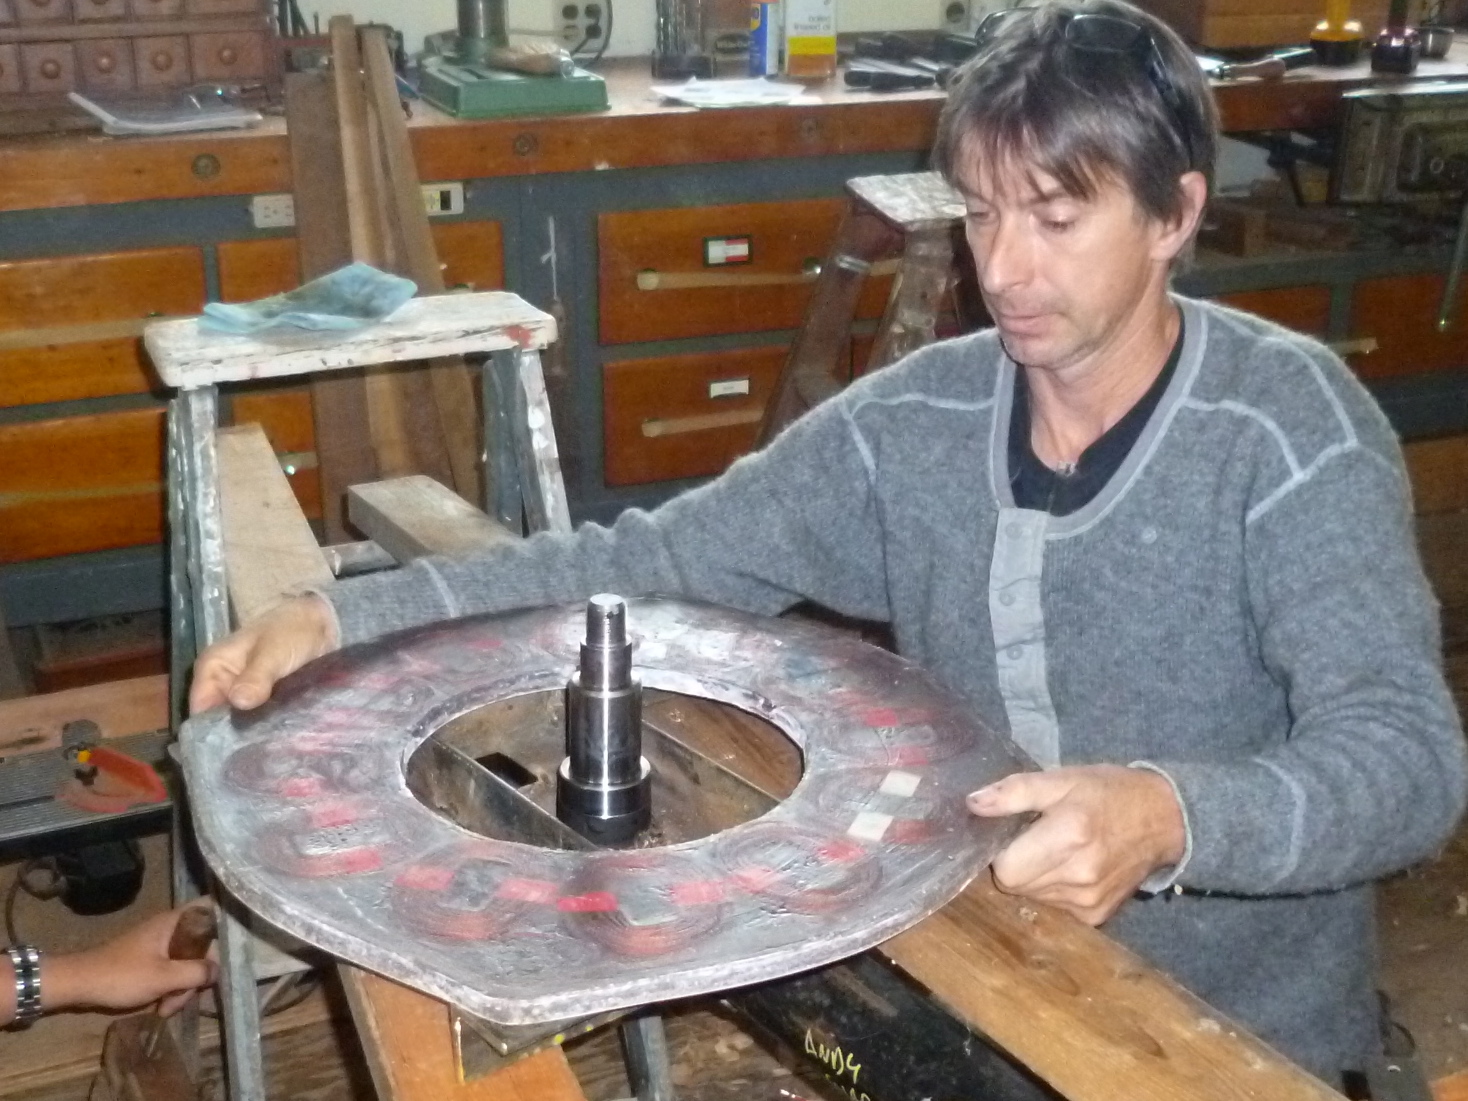
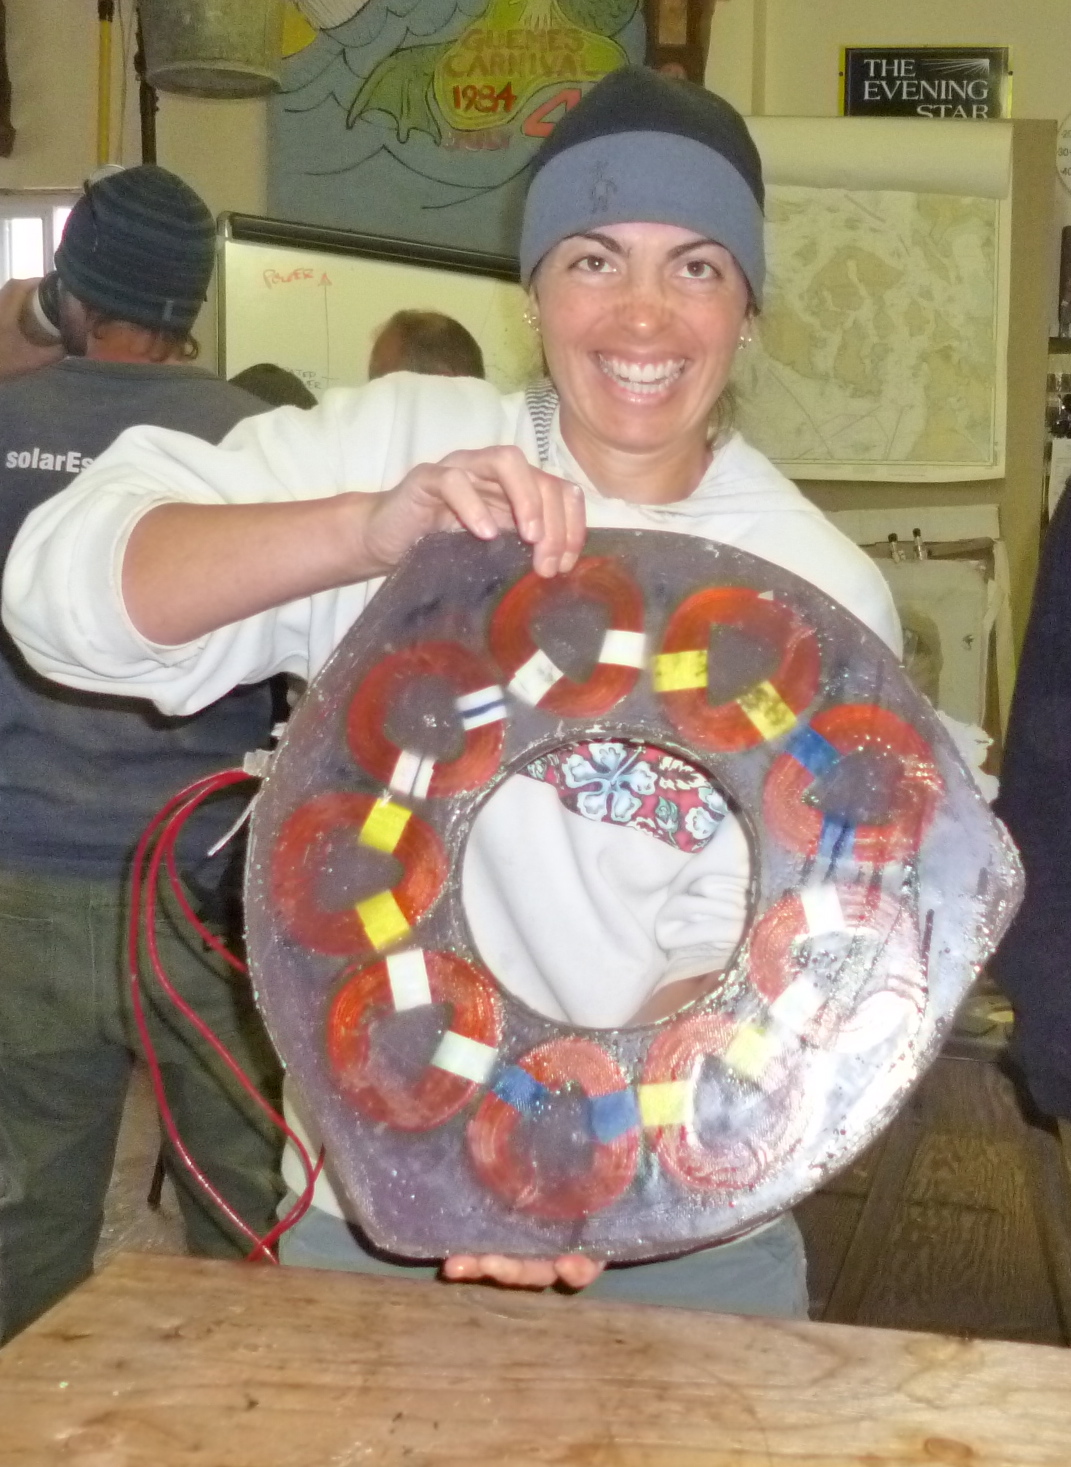
- 12-footer magnet rotor
-
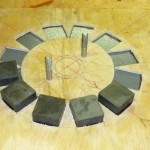
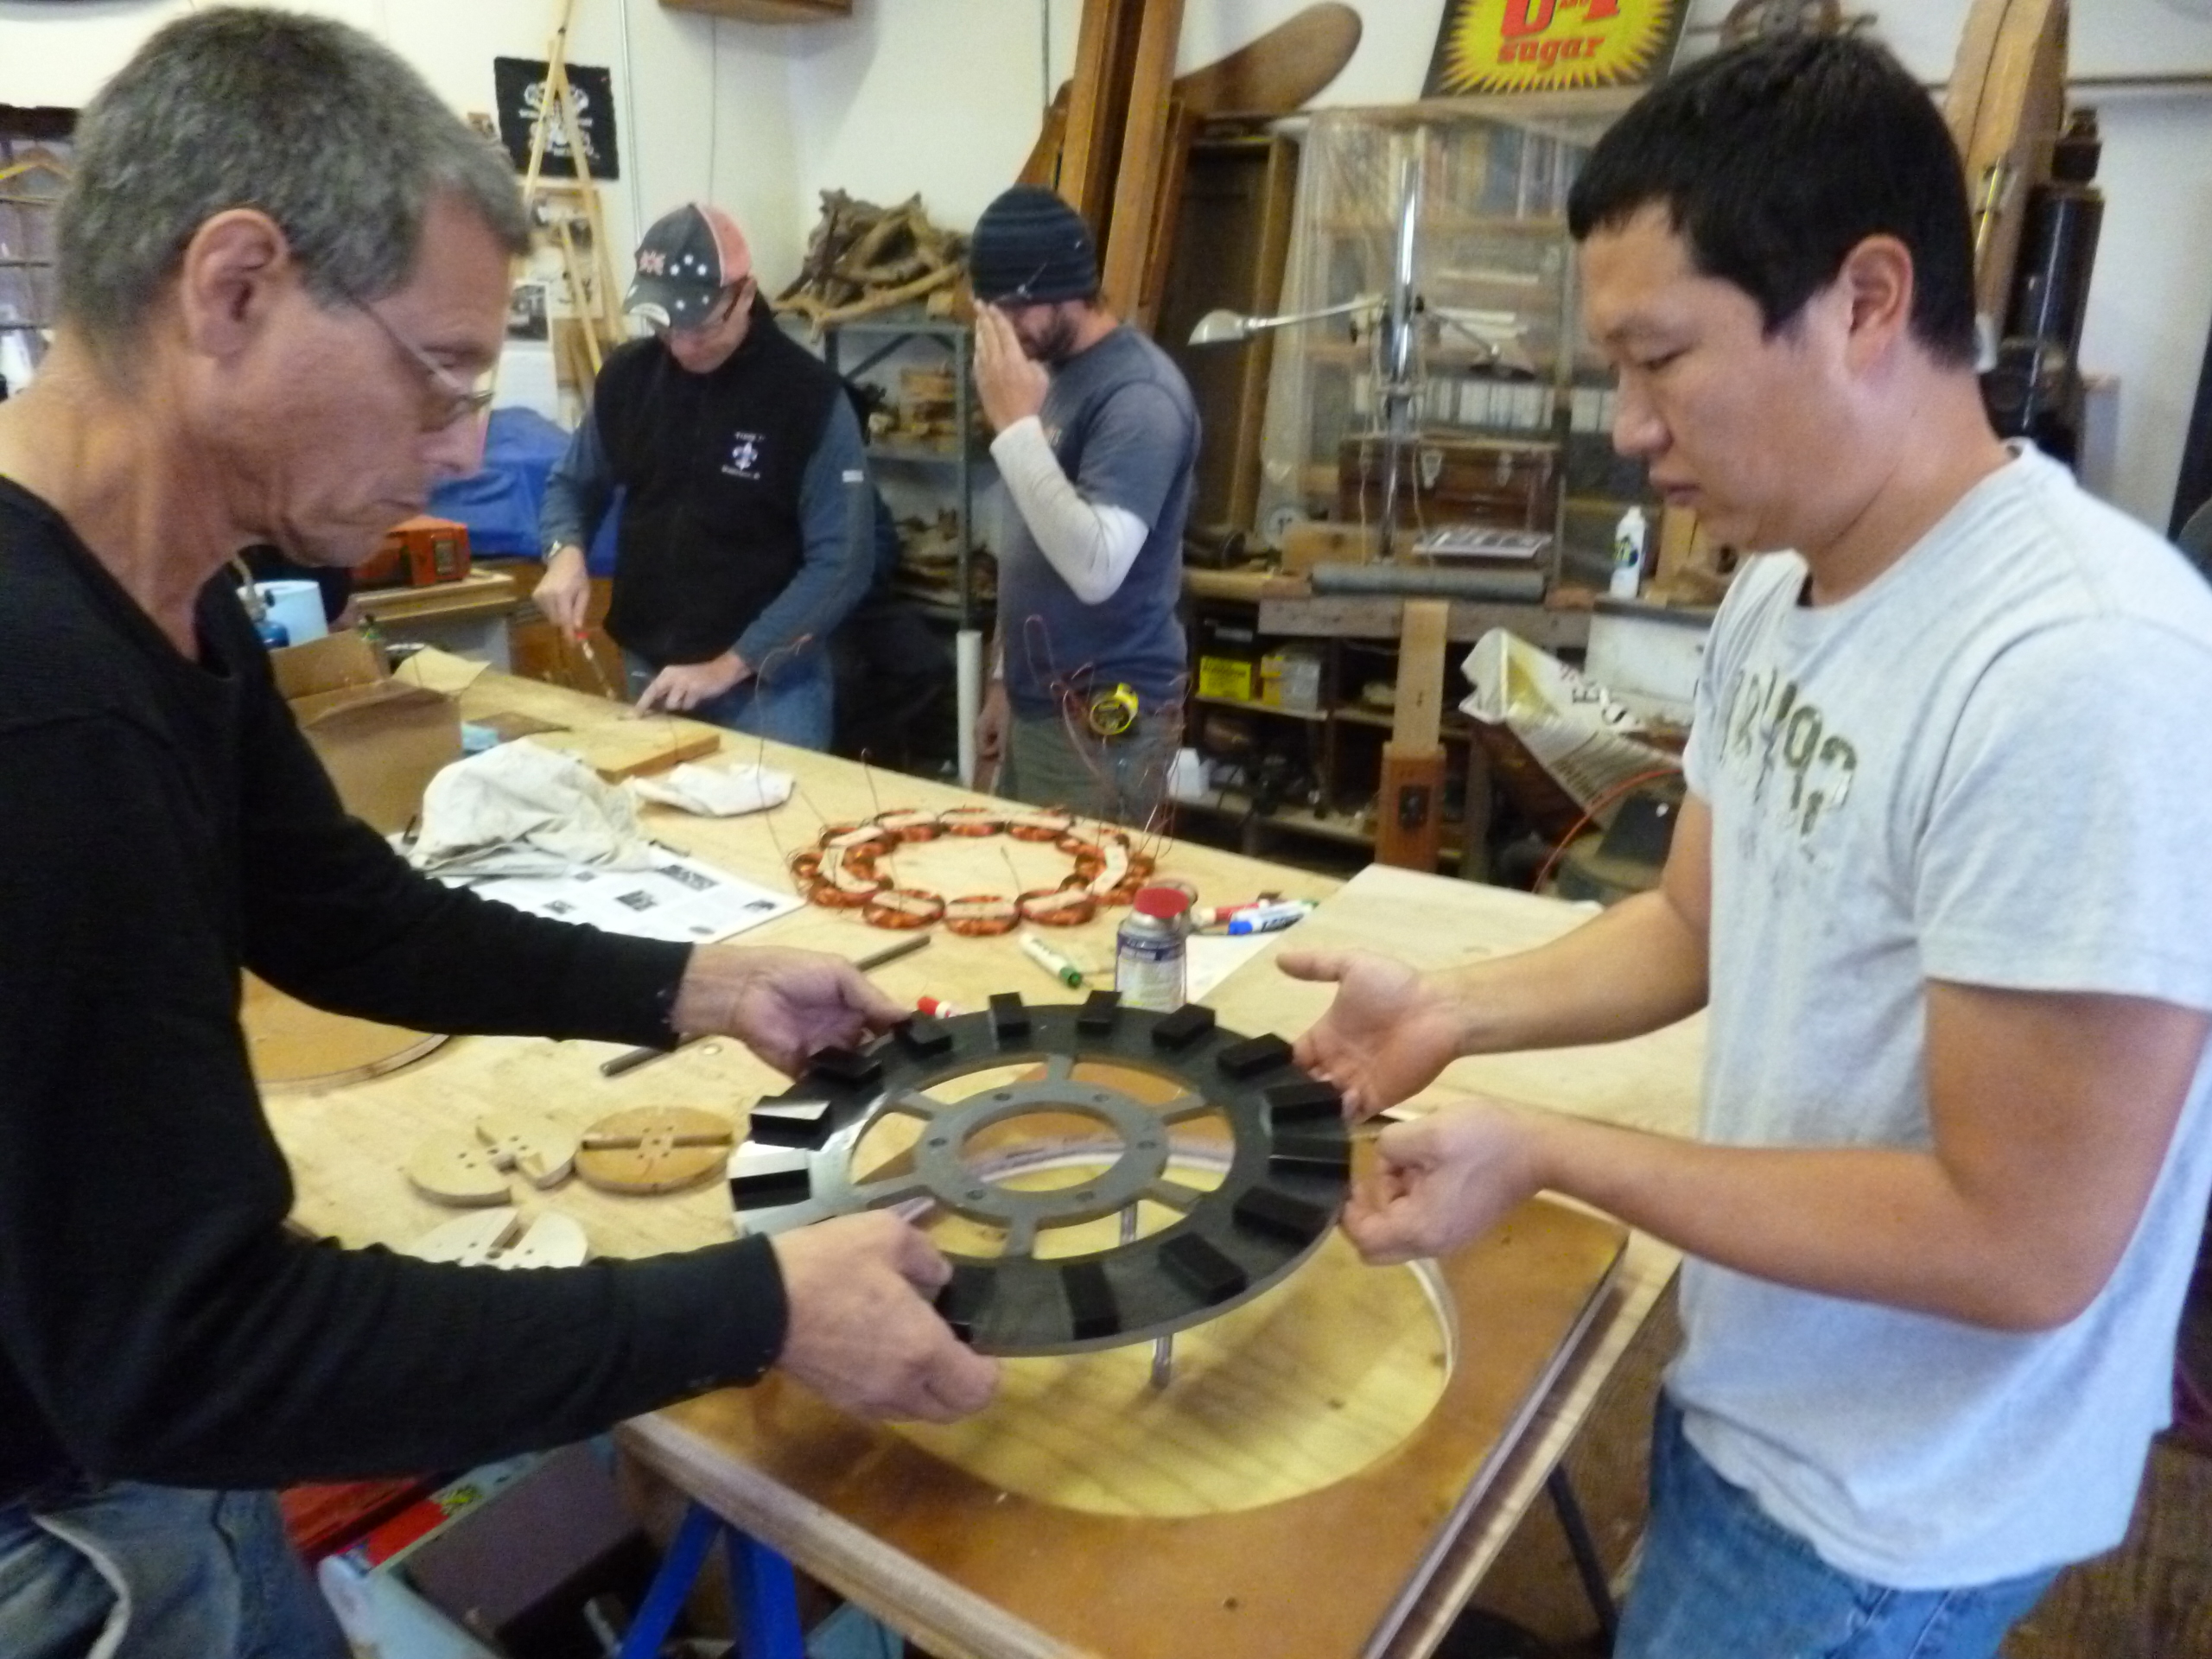
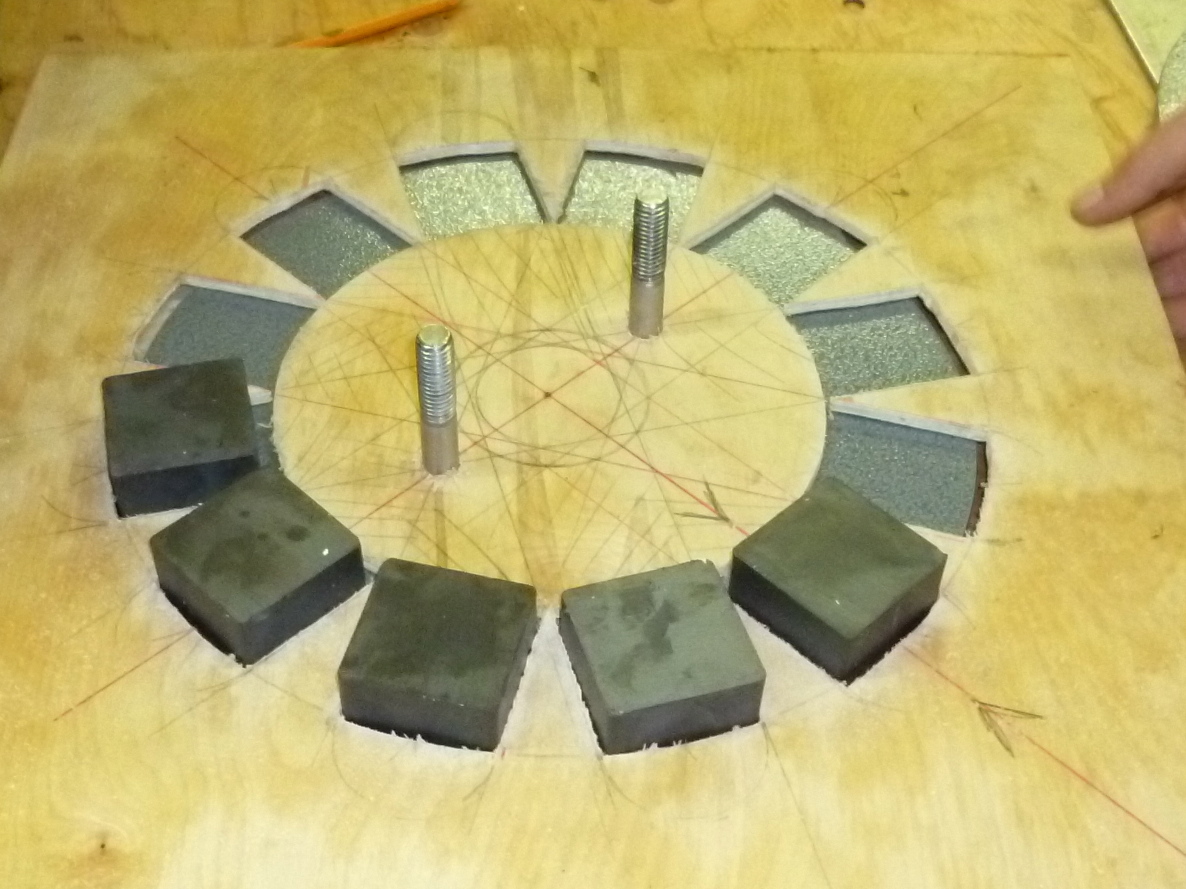
- magnet rotor spacing
-
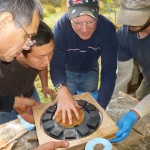
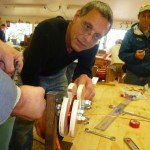
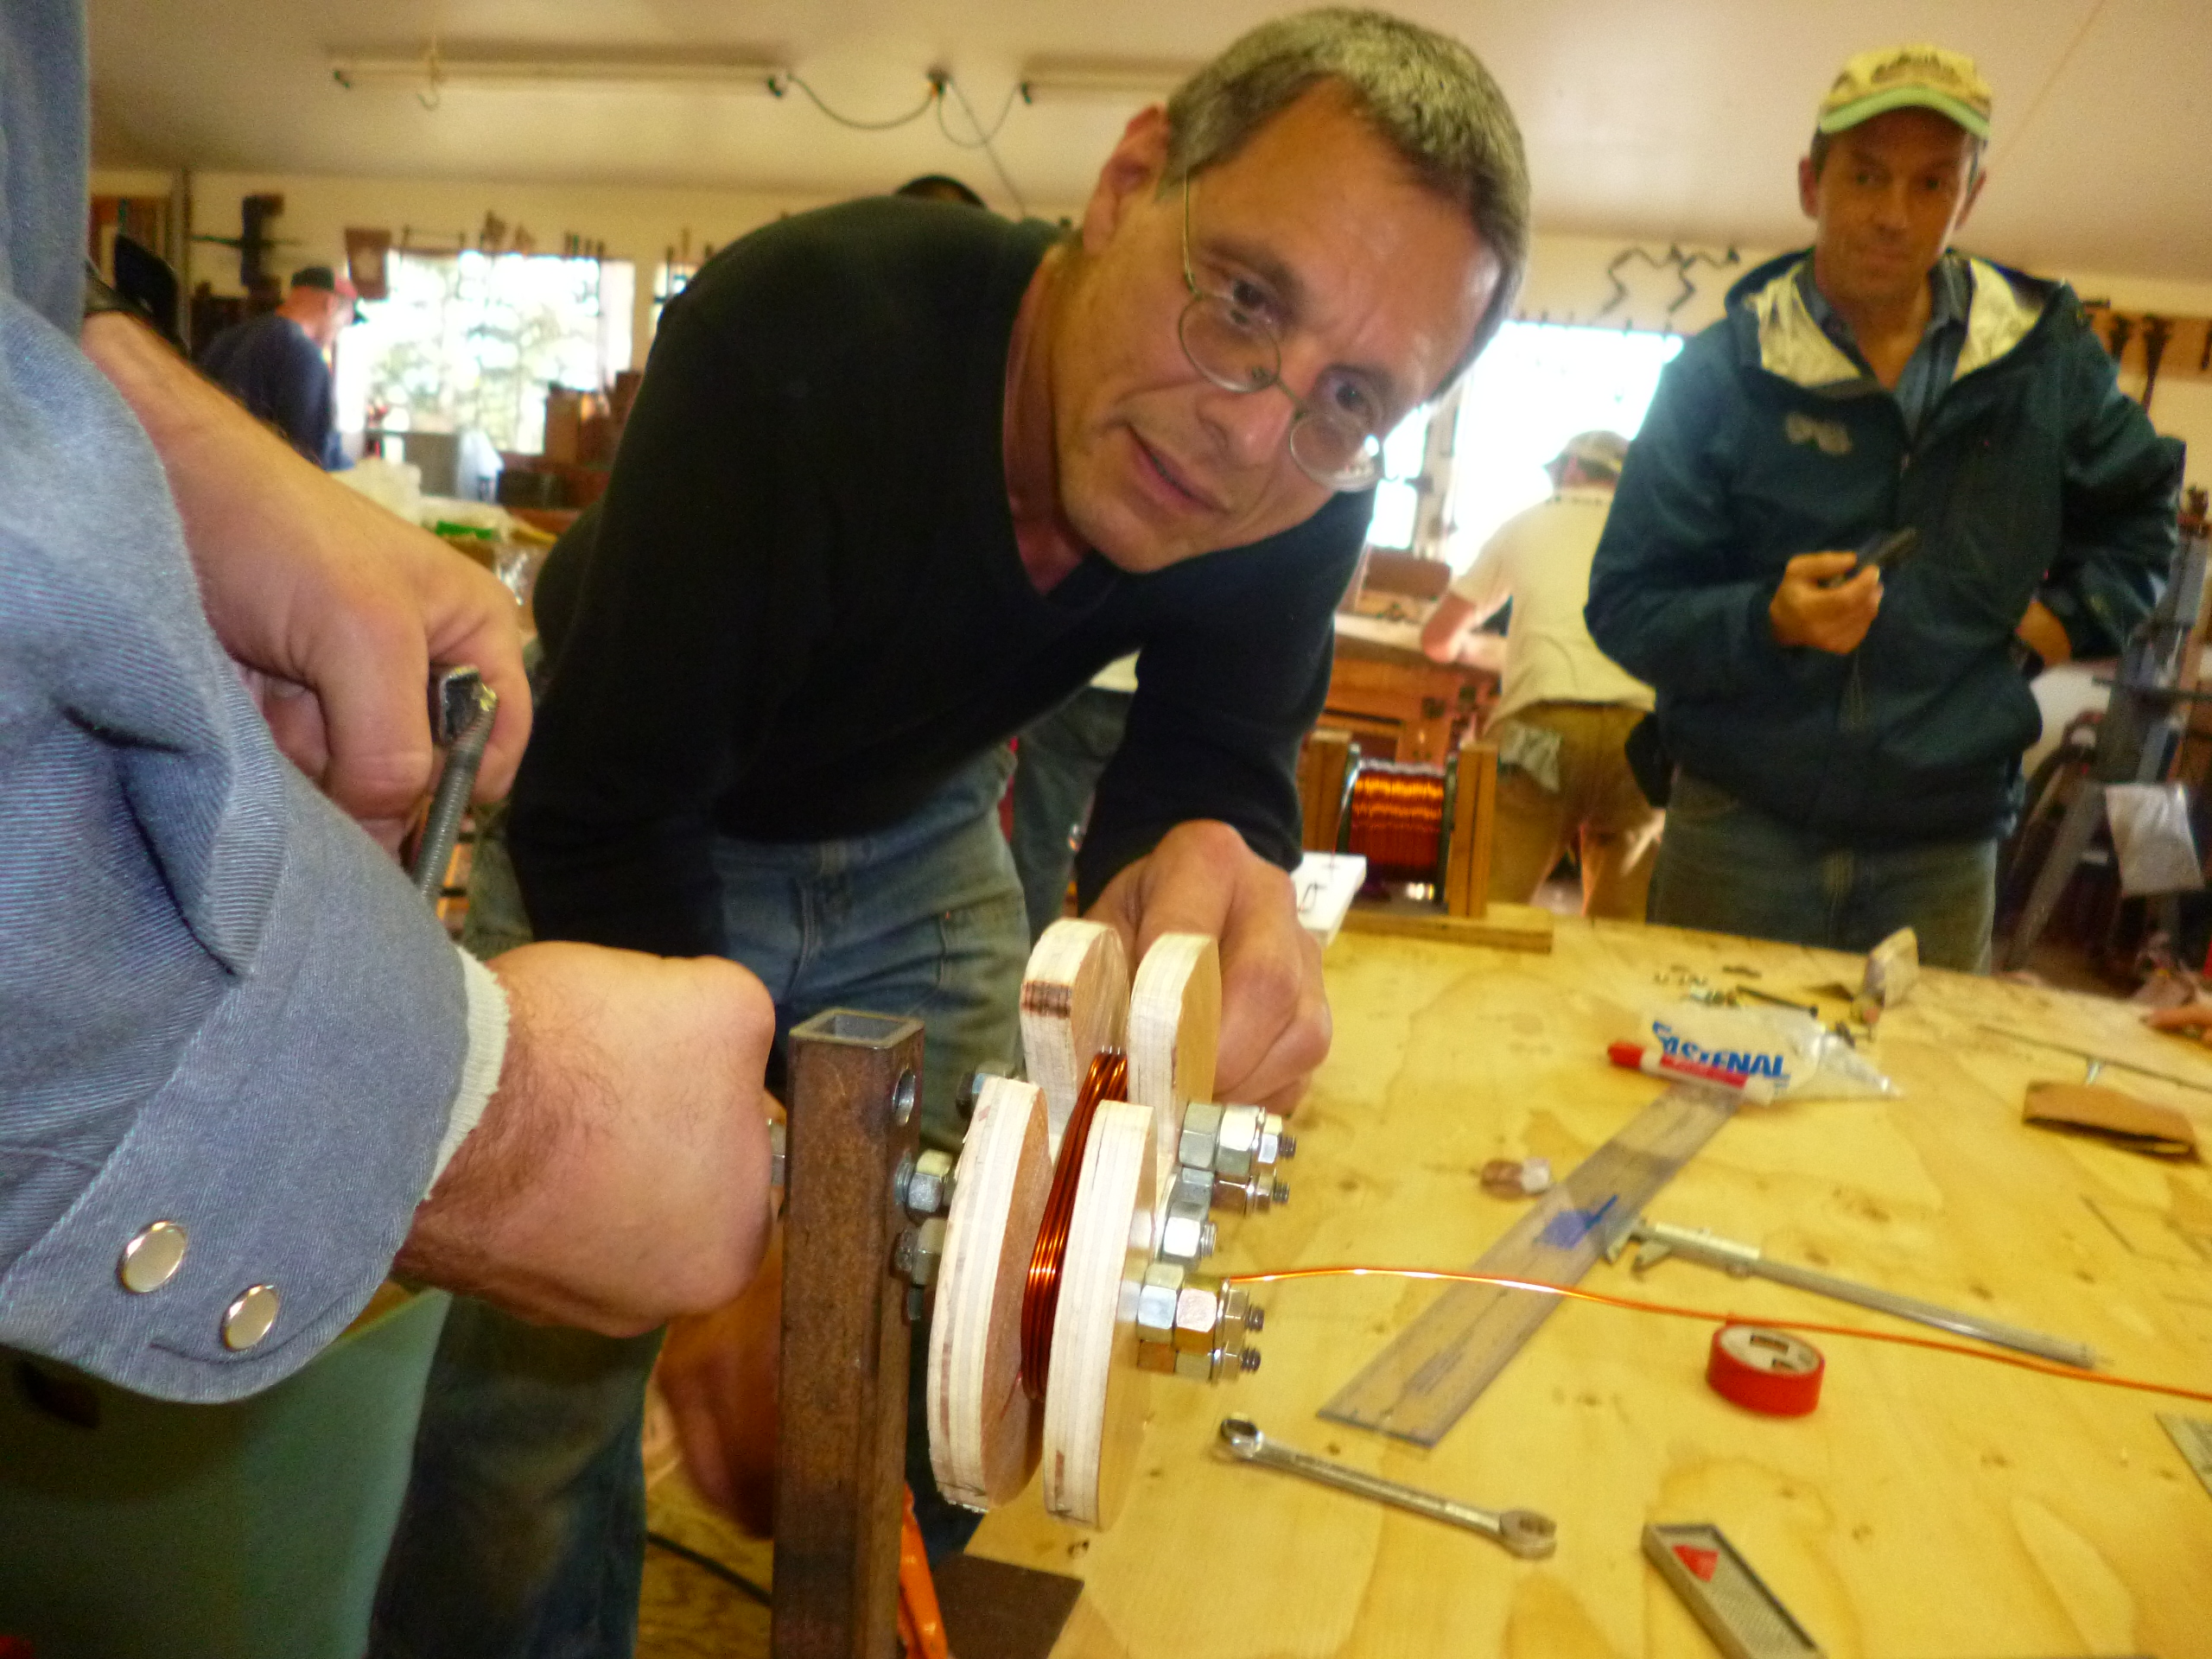
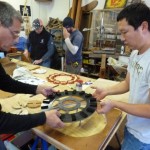
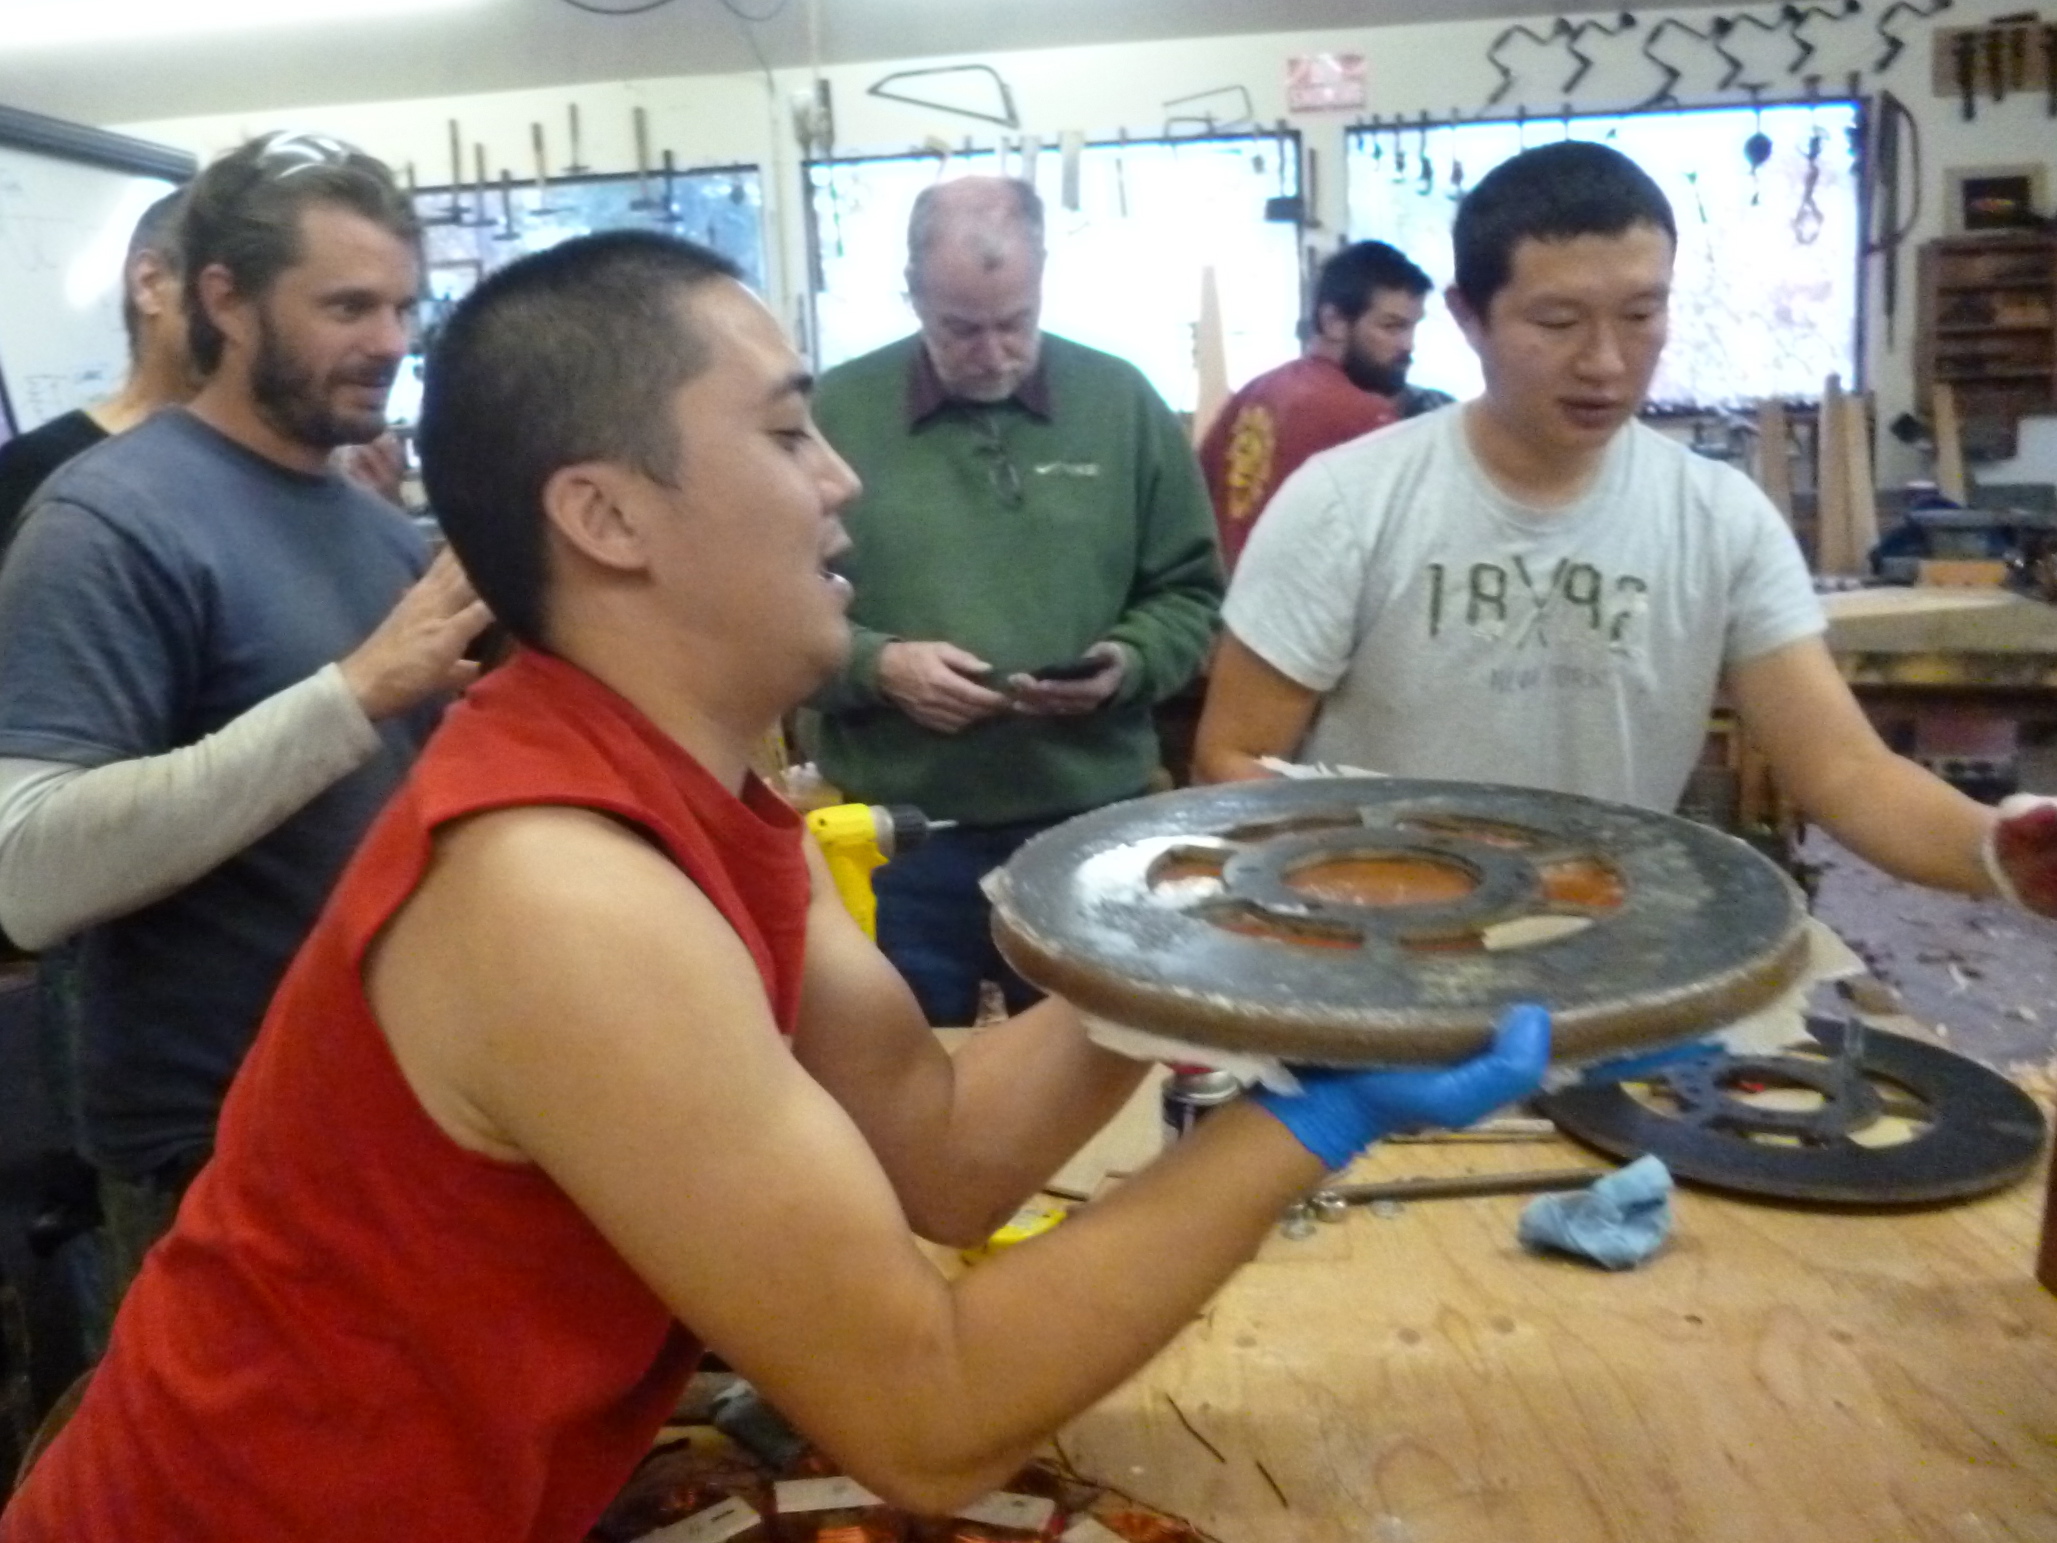
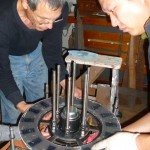
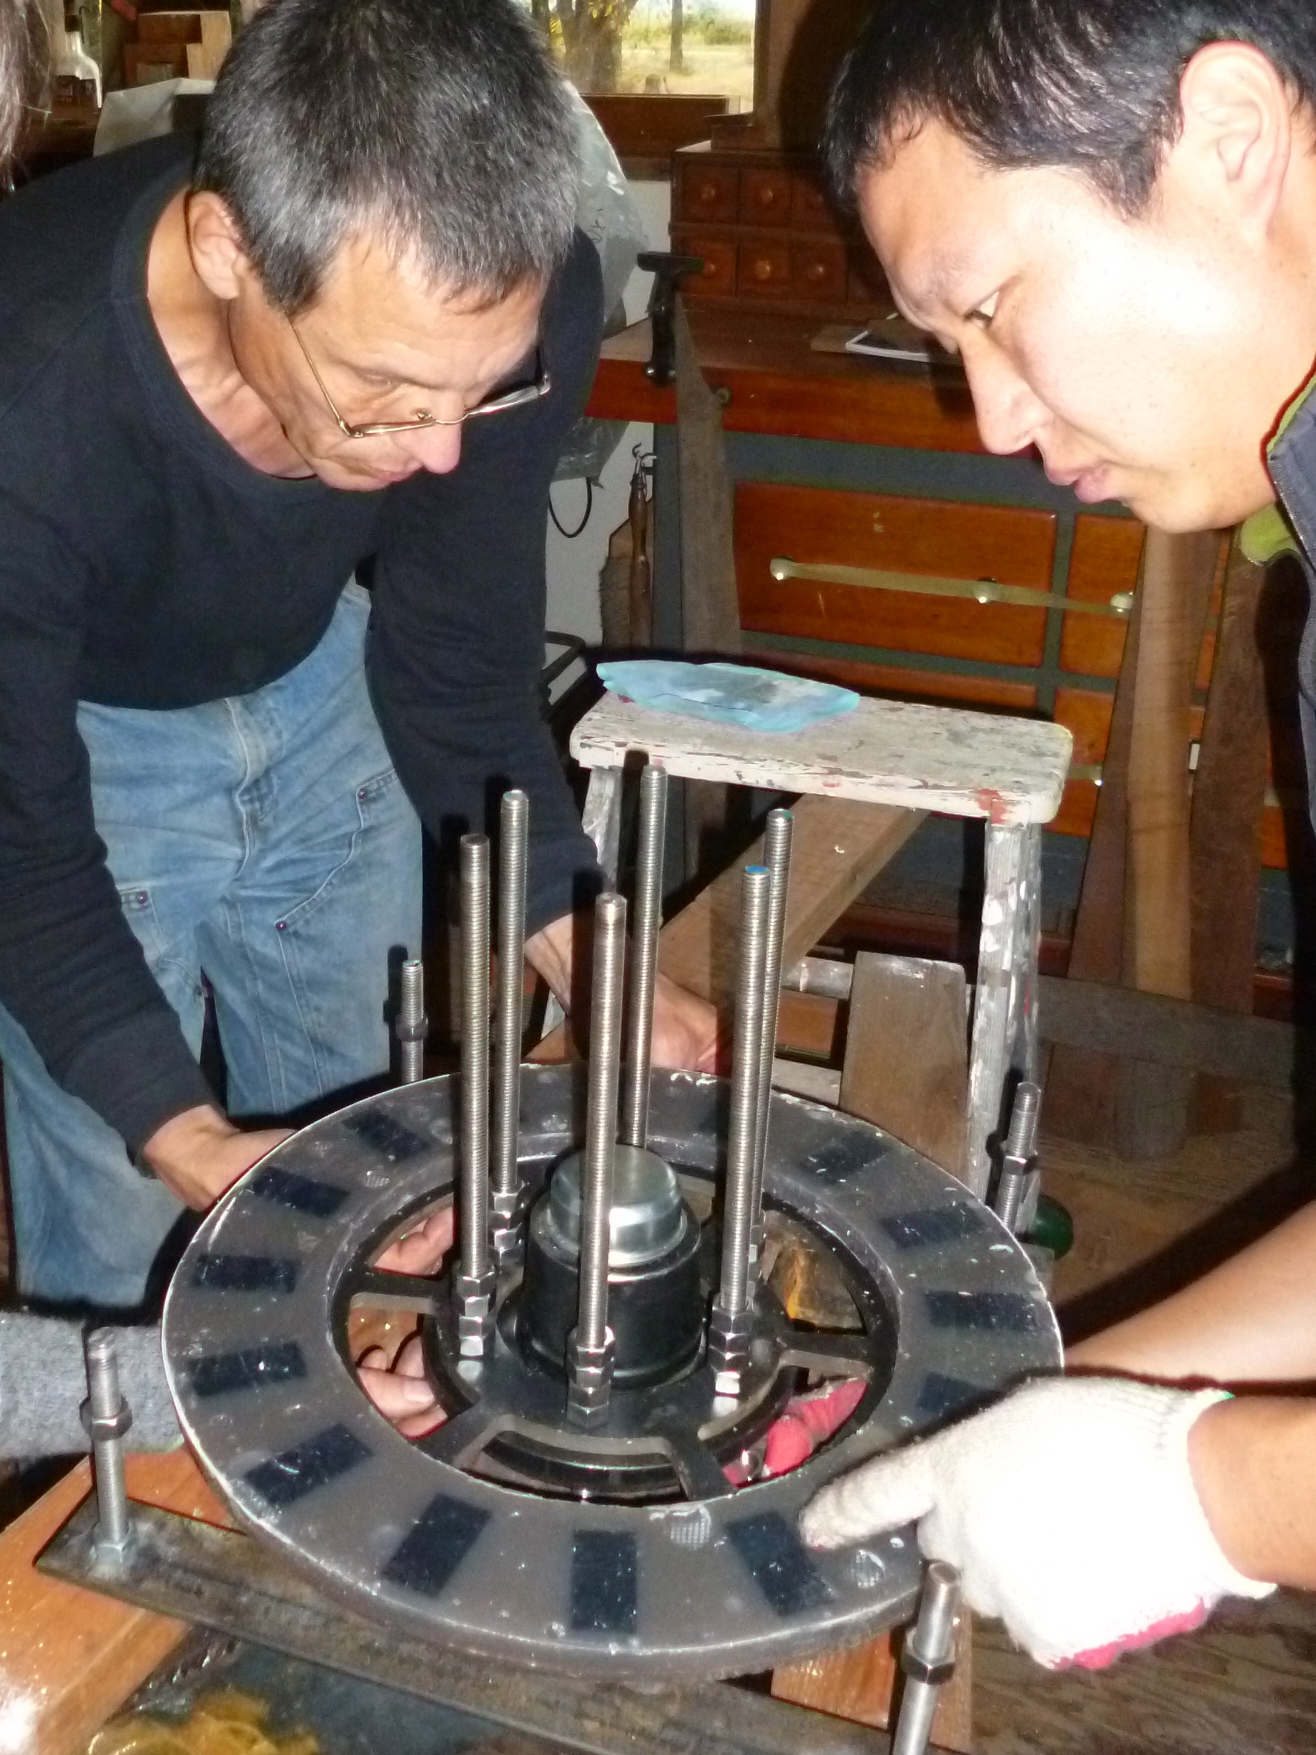
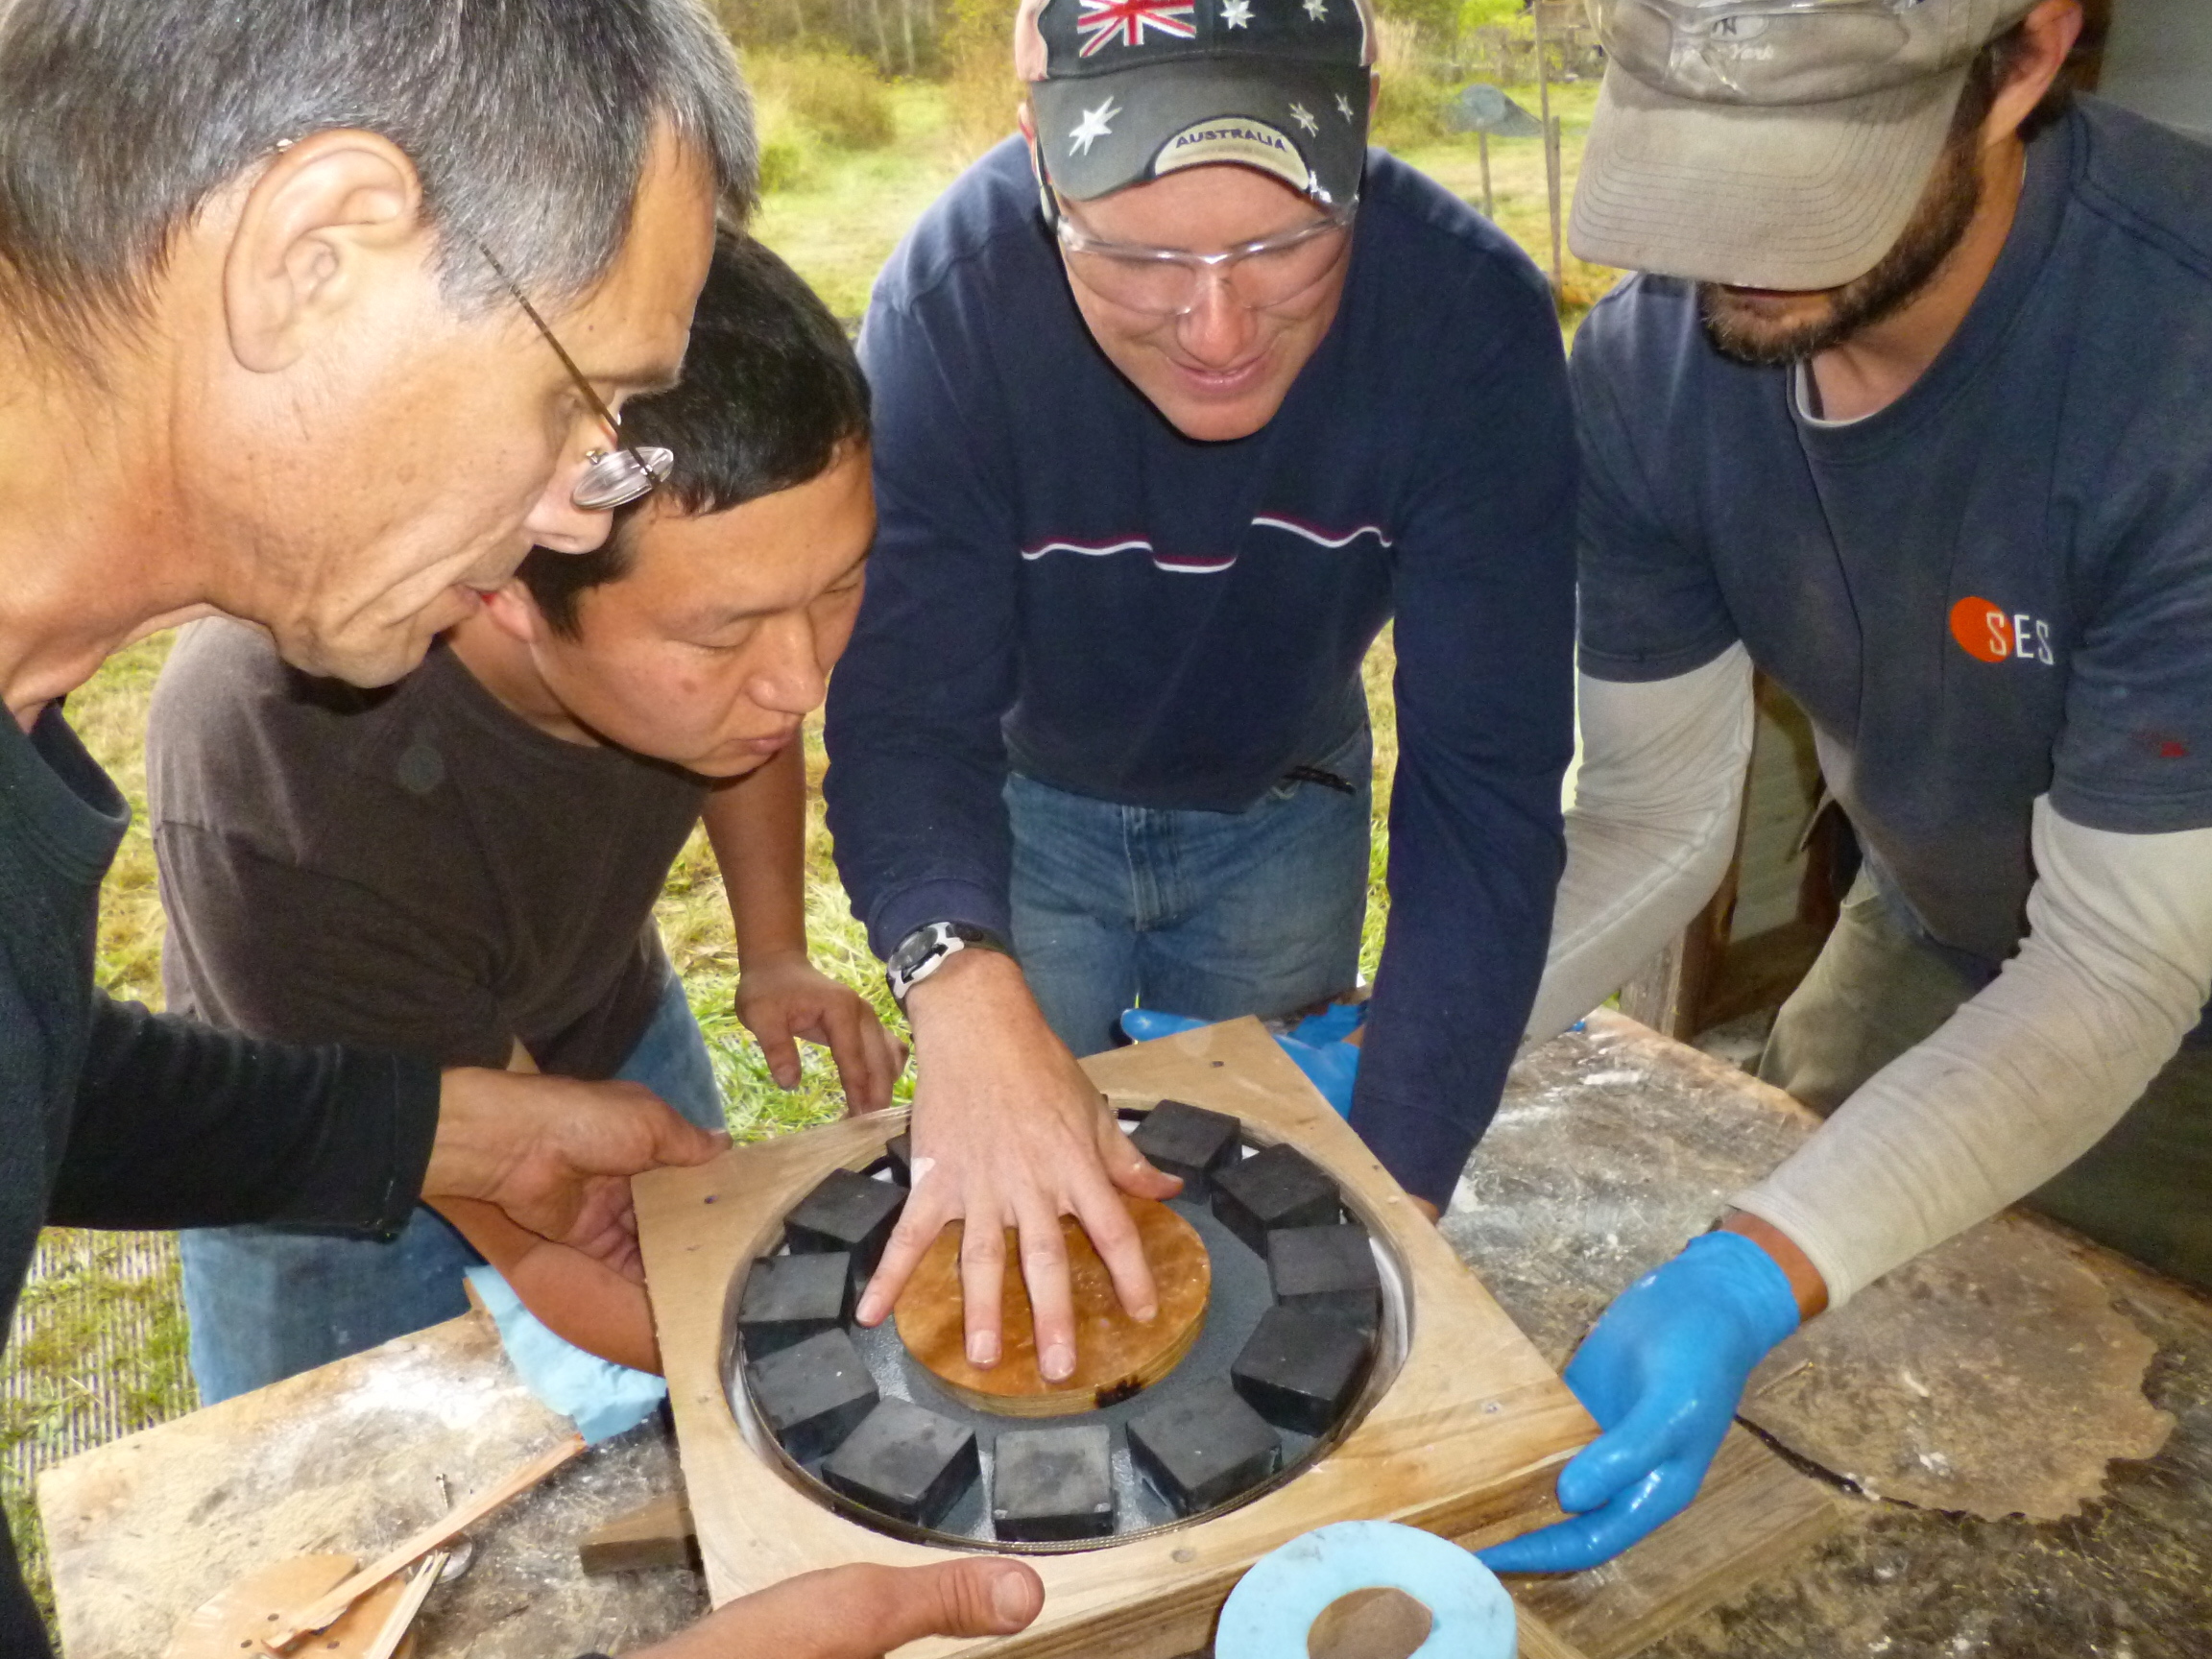
- Assembling the ferrite magnet rotor
-
- tacking the tail
-
- David setting up the tail brackets
-
- The Store has a wind turbine we built in 2003
-
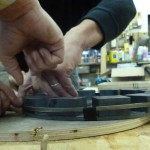
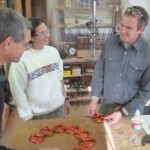
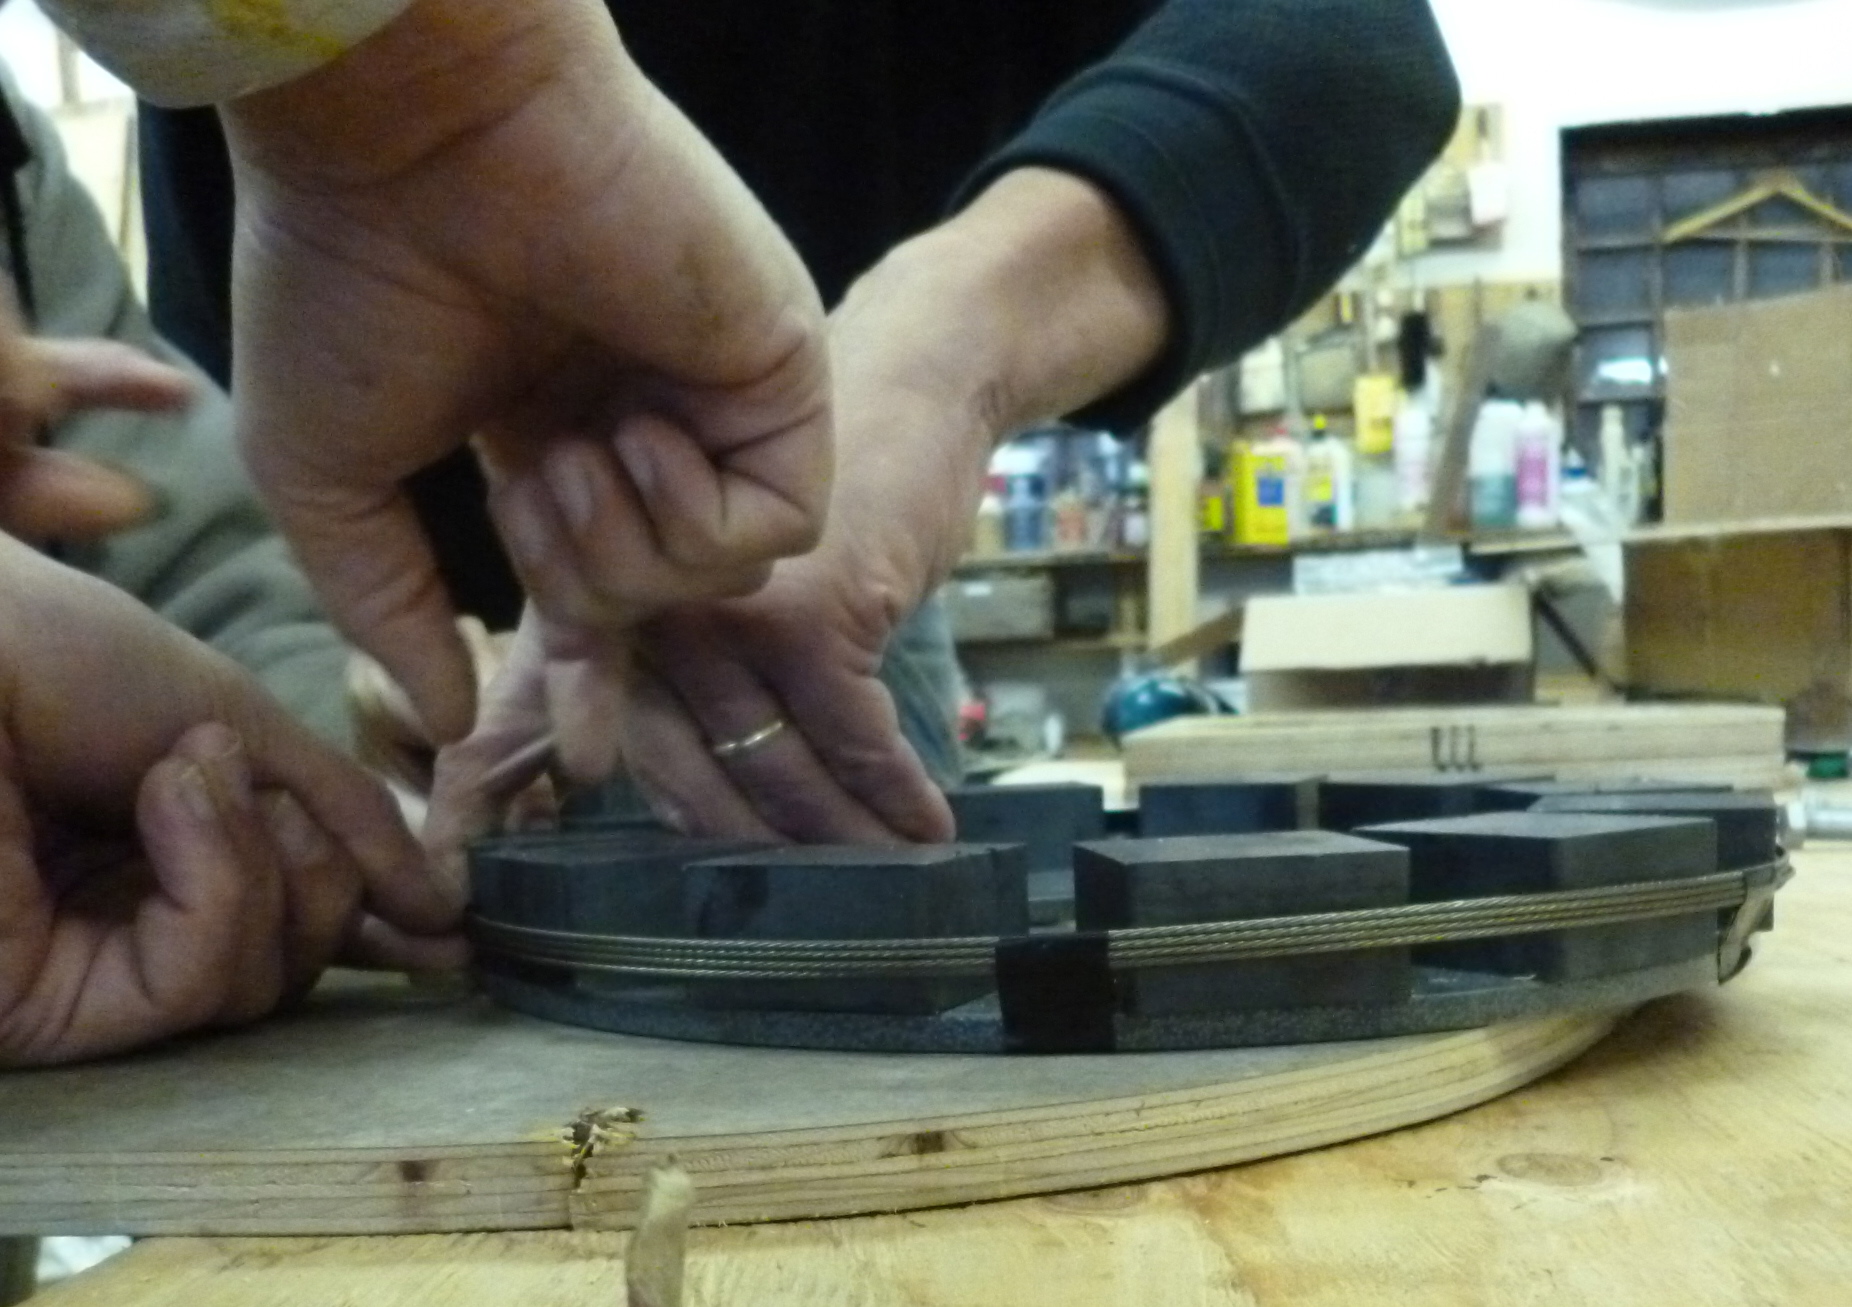
- wrapping stainless wire around the ferrite magnets
-

- casting the 7 footer parts
-
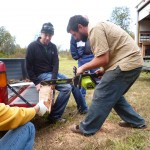
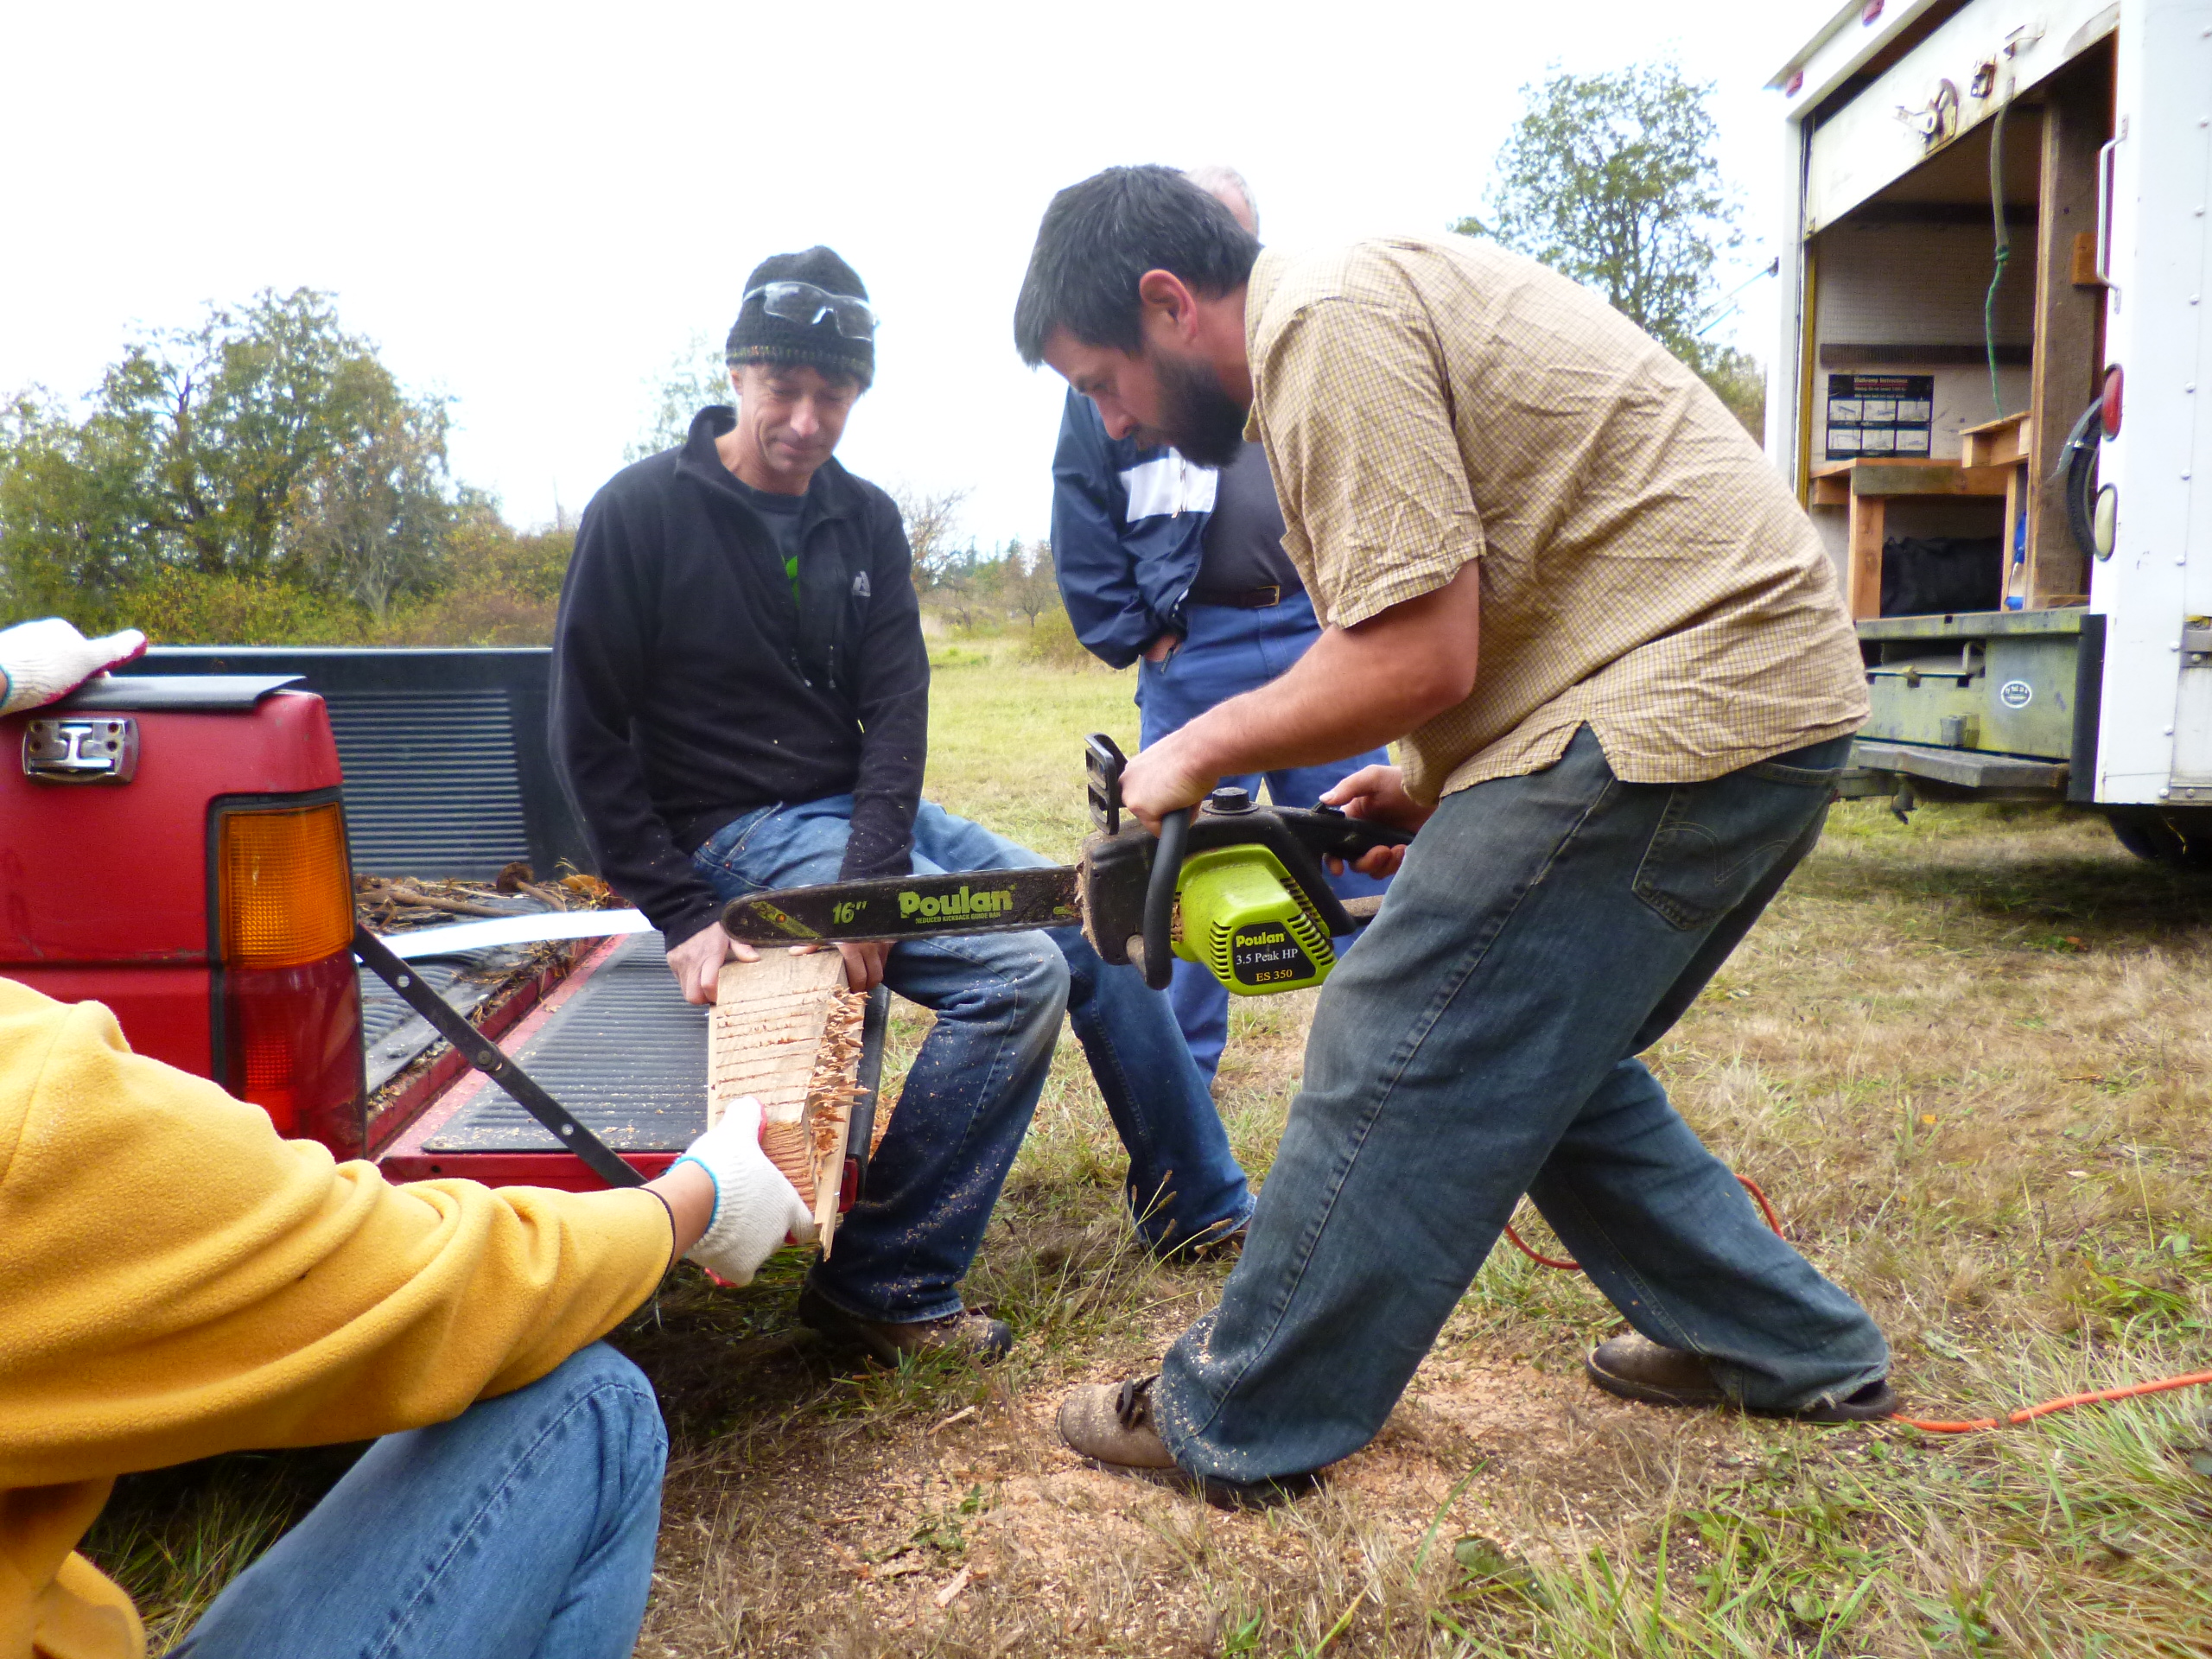
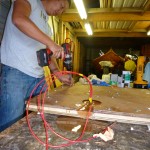
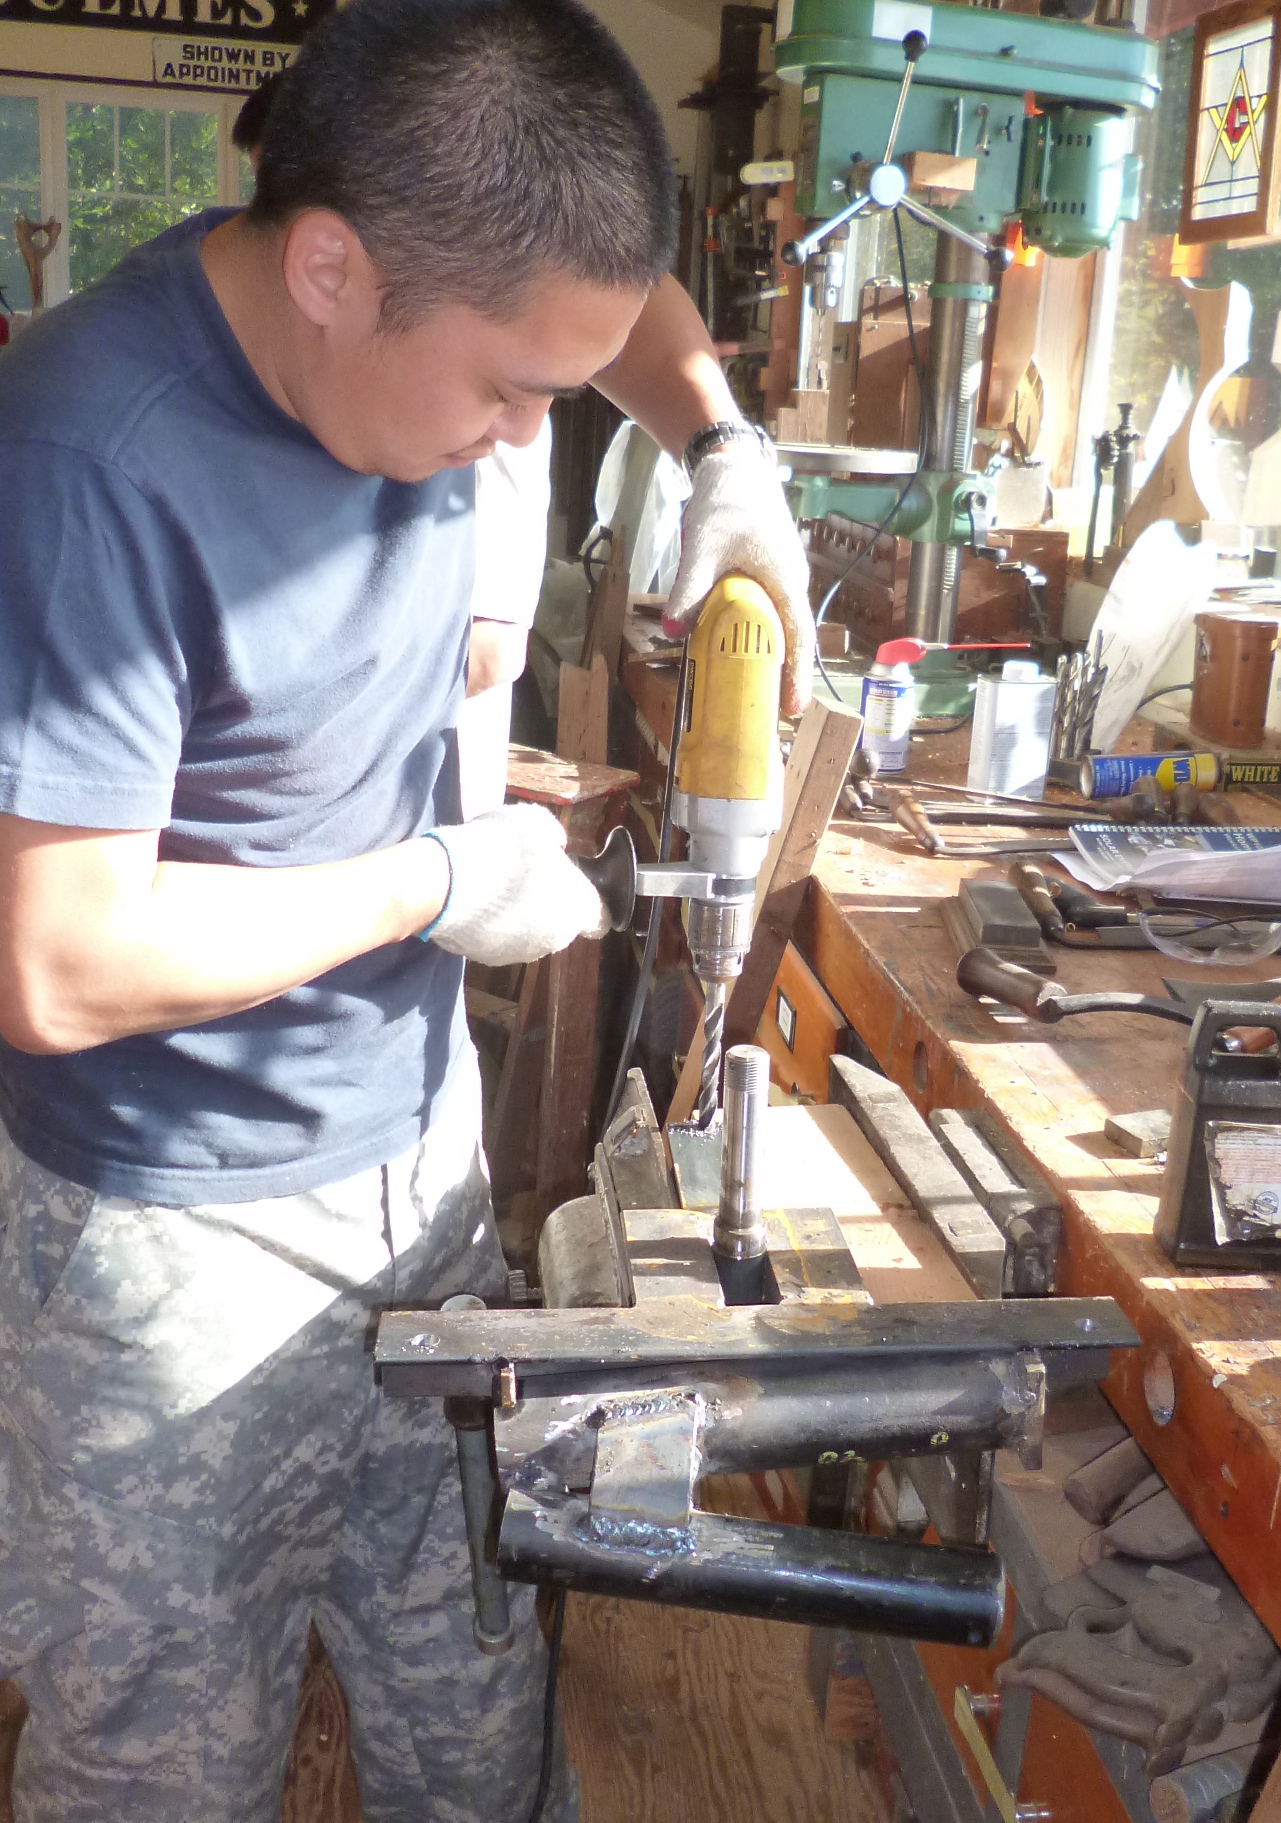
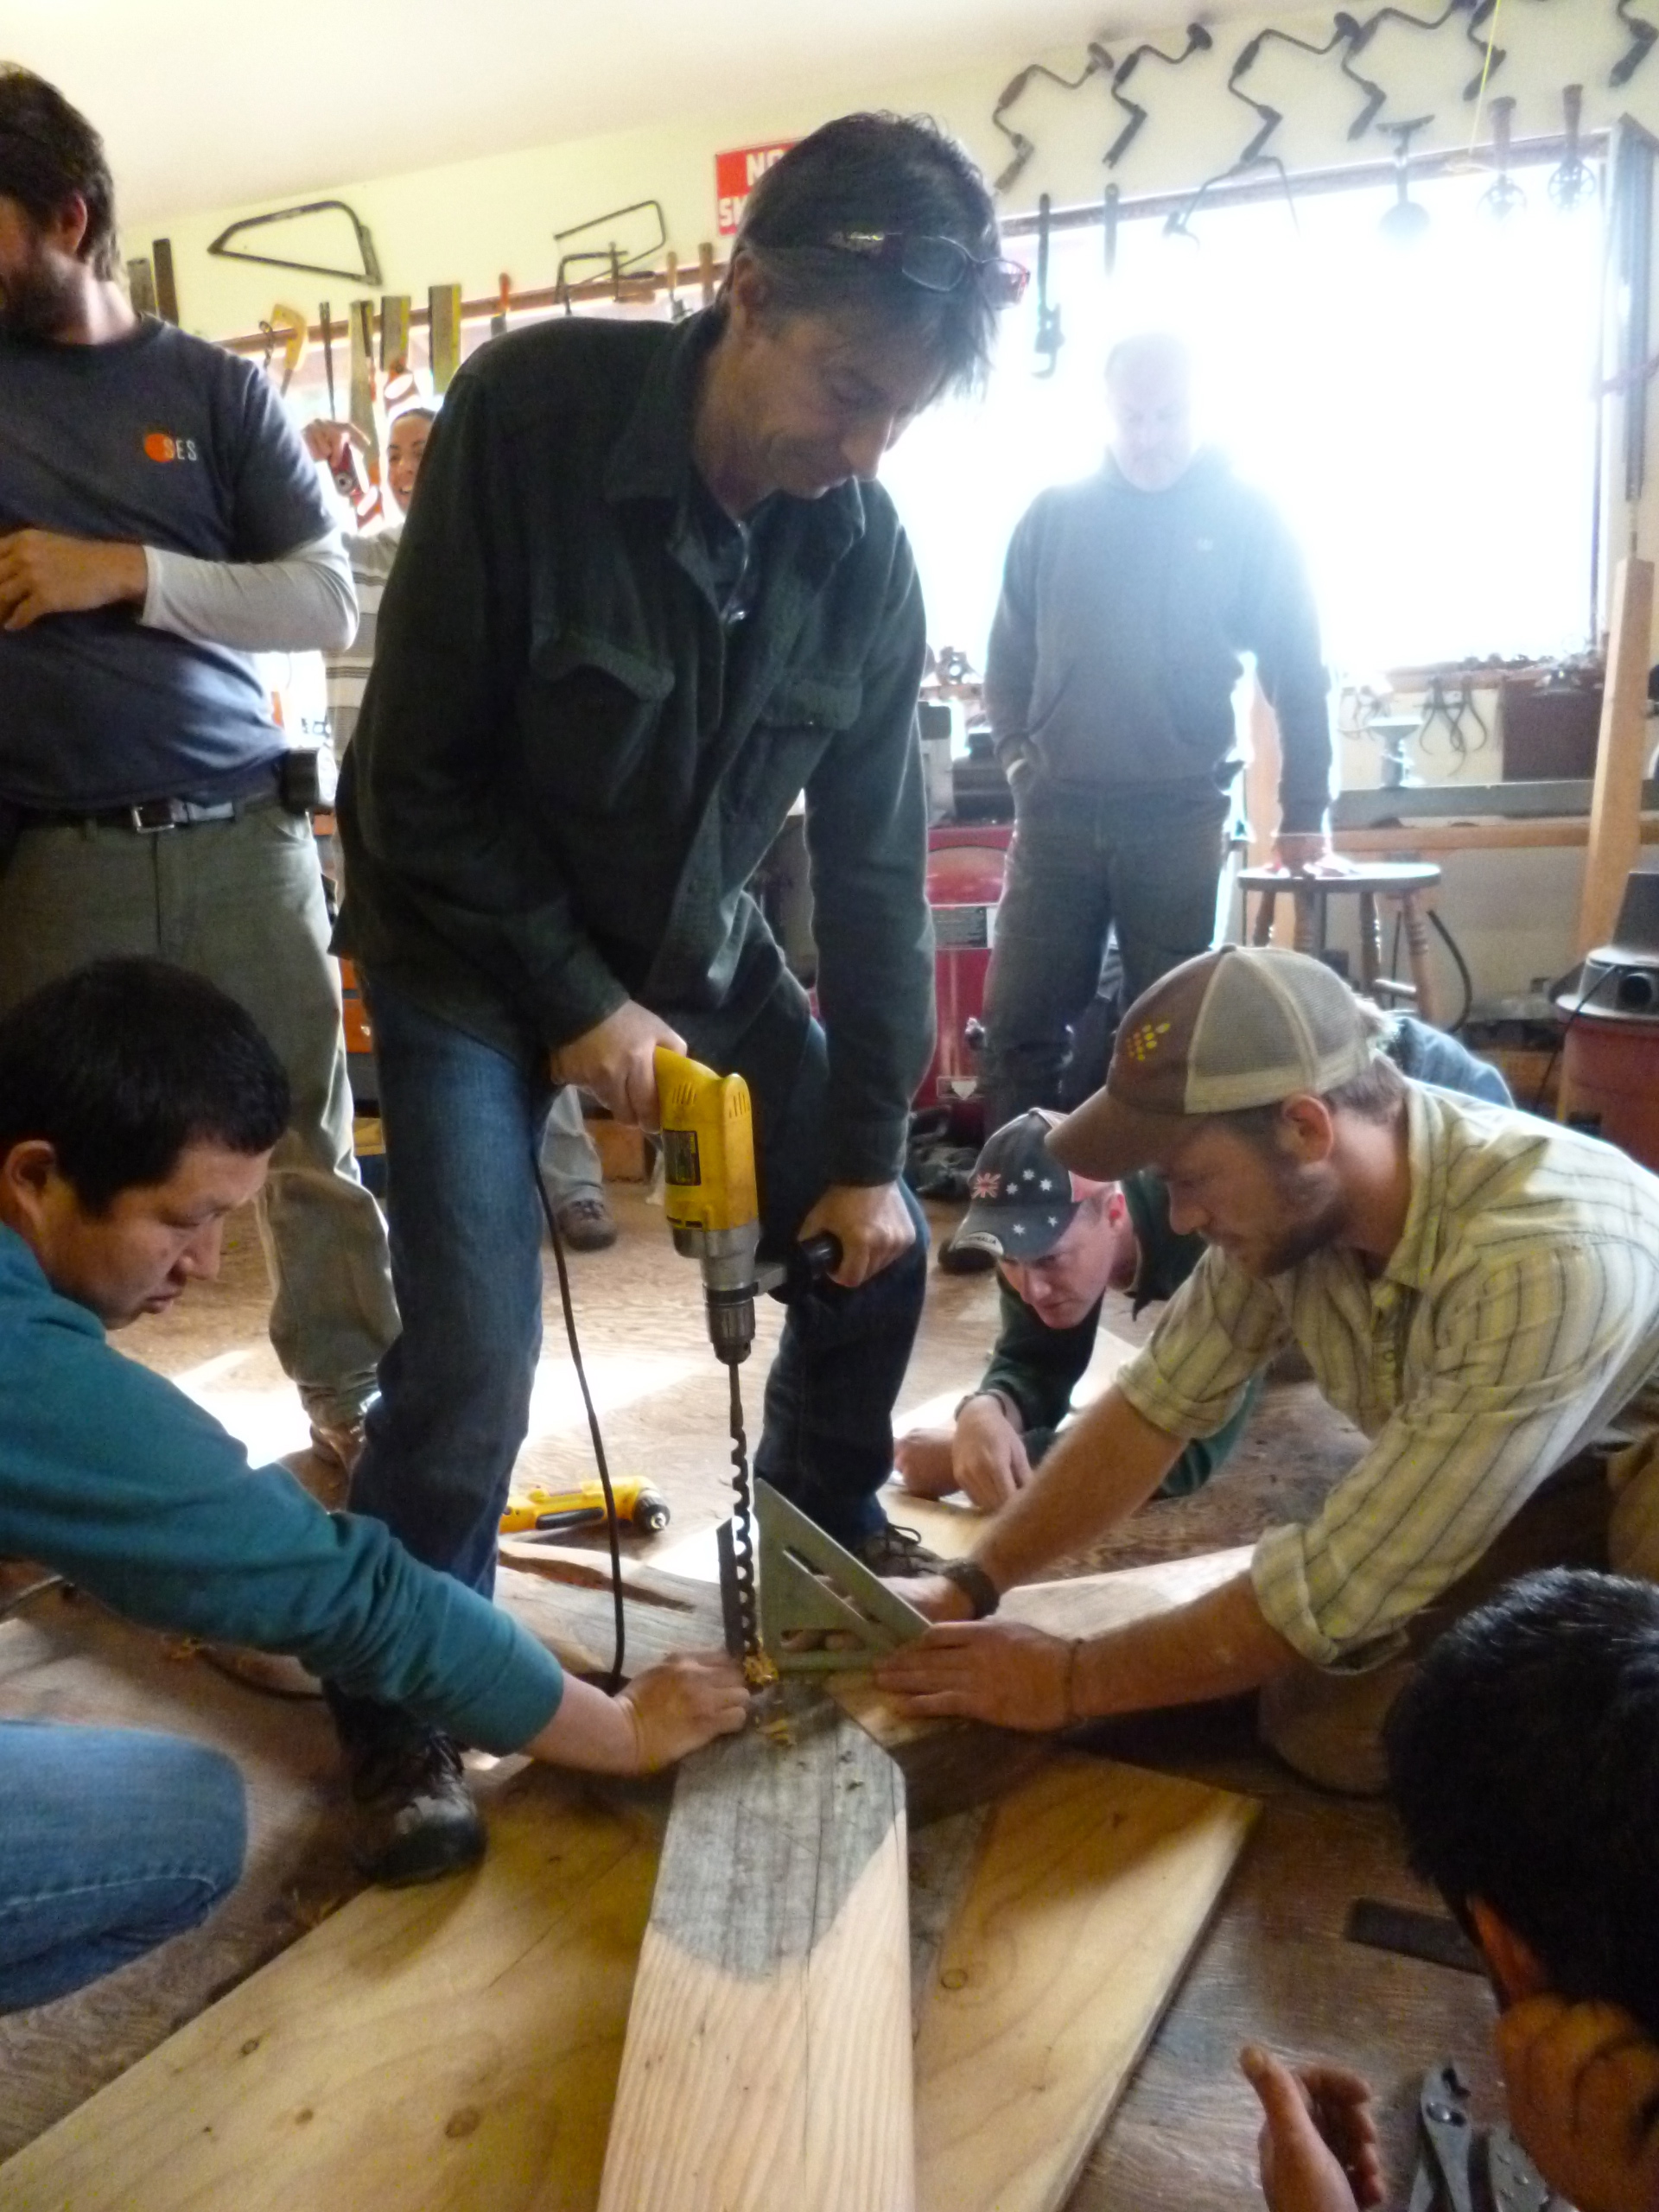
- drilling the 7 footer alternator frame
-
- Interesting wood to work with!
-
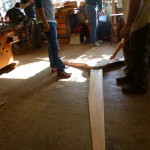
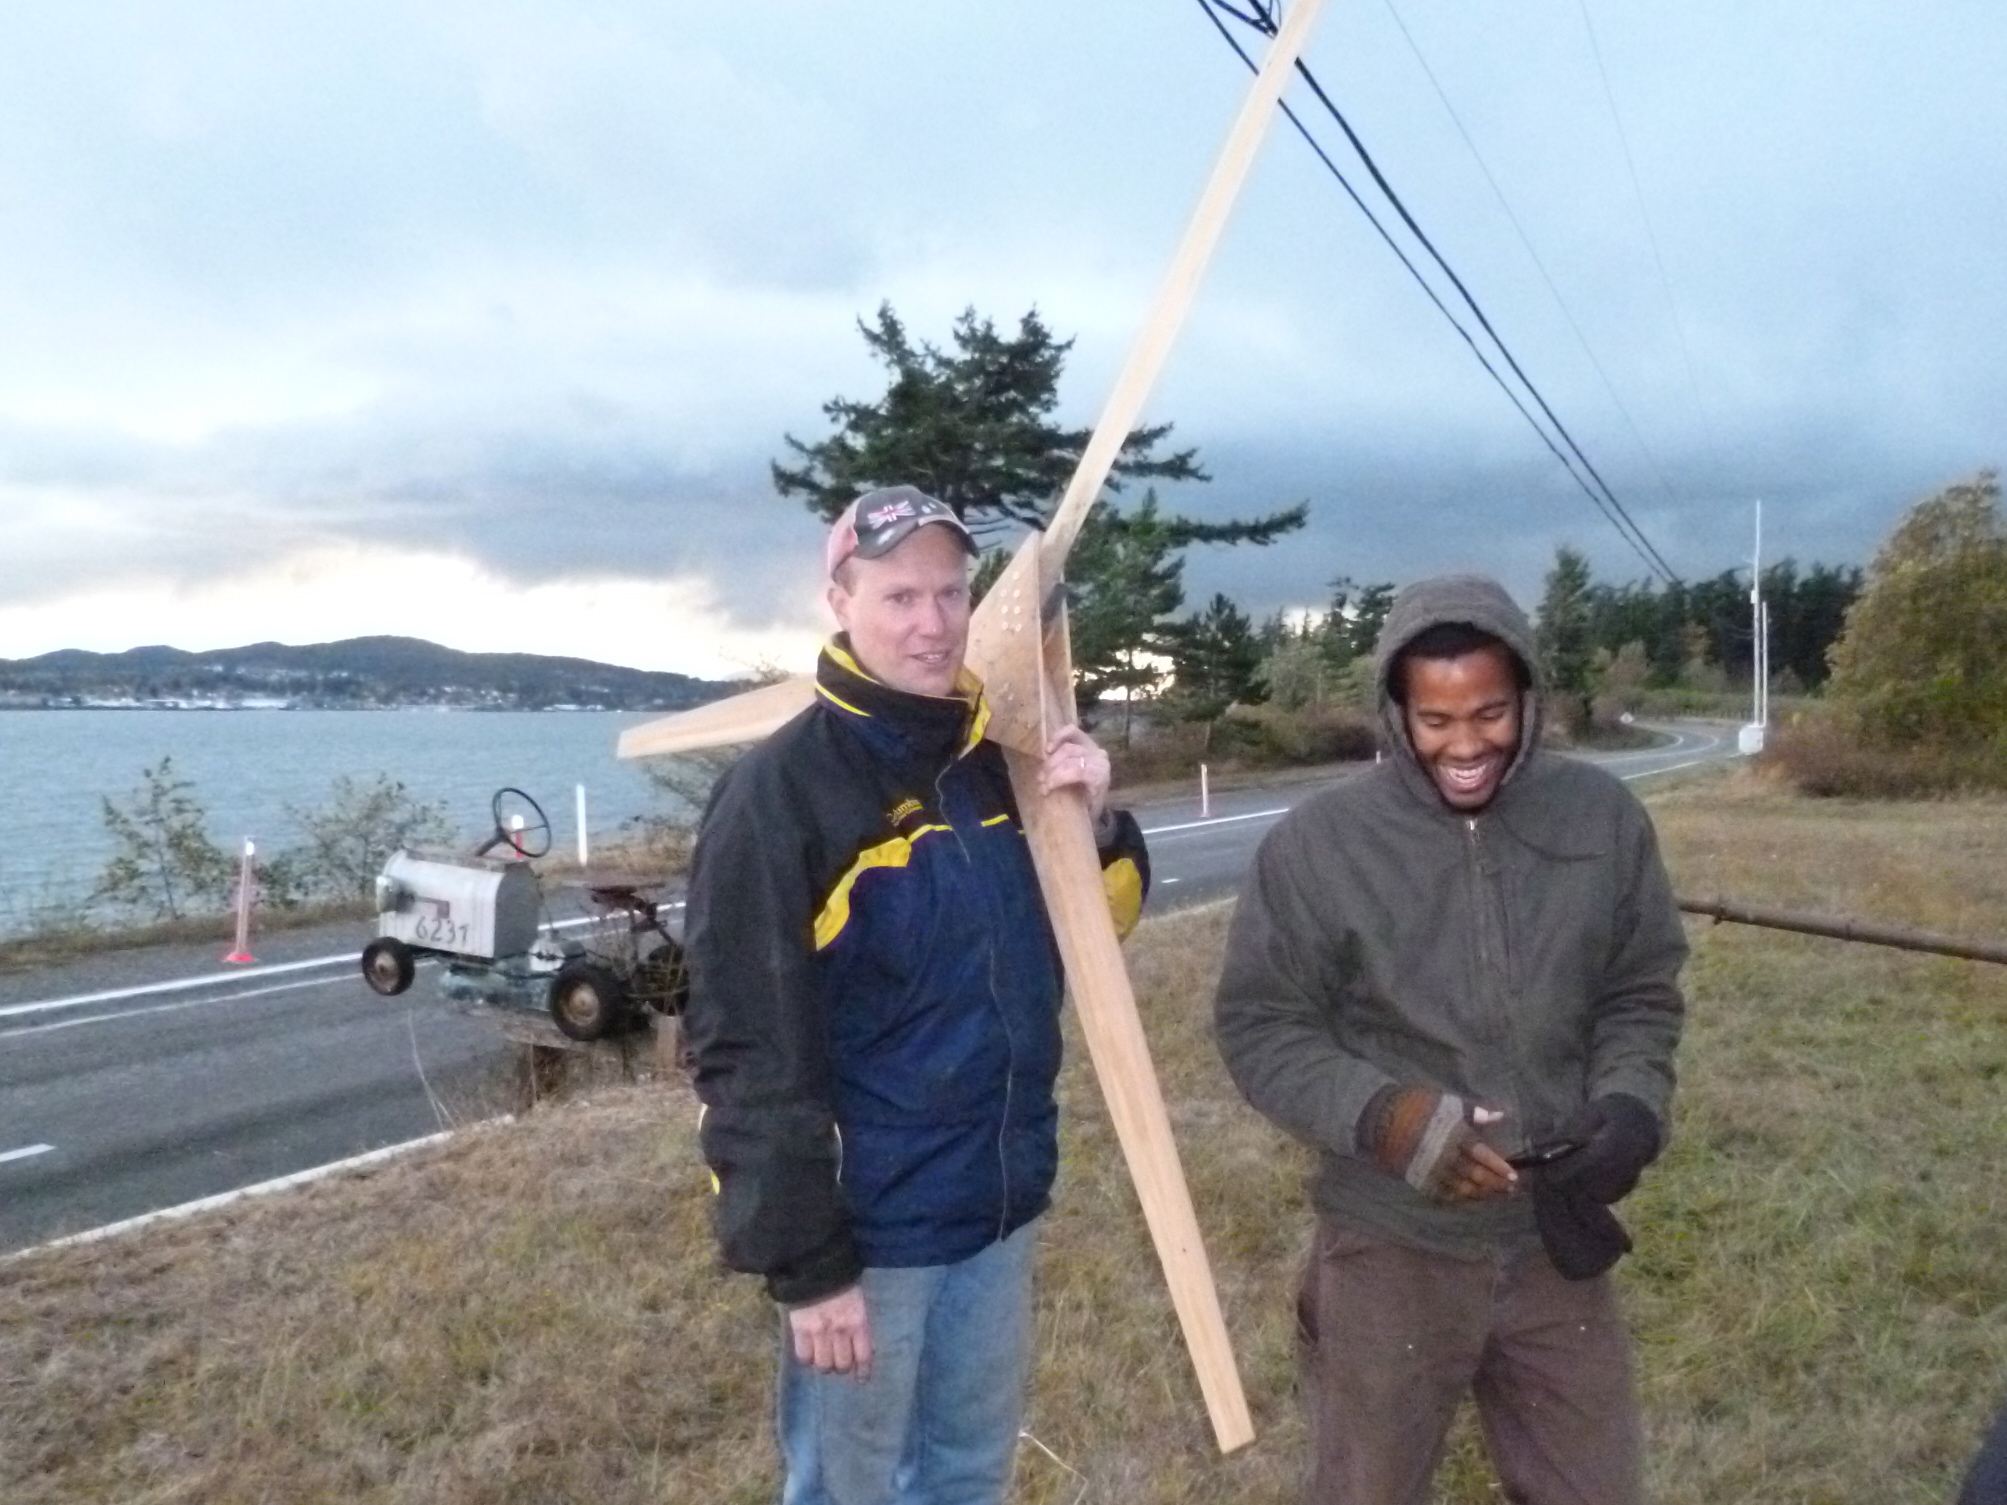
- fixing the blades together
-
- Roger poses in front of the 12 footer

-
- assembling the blades
-
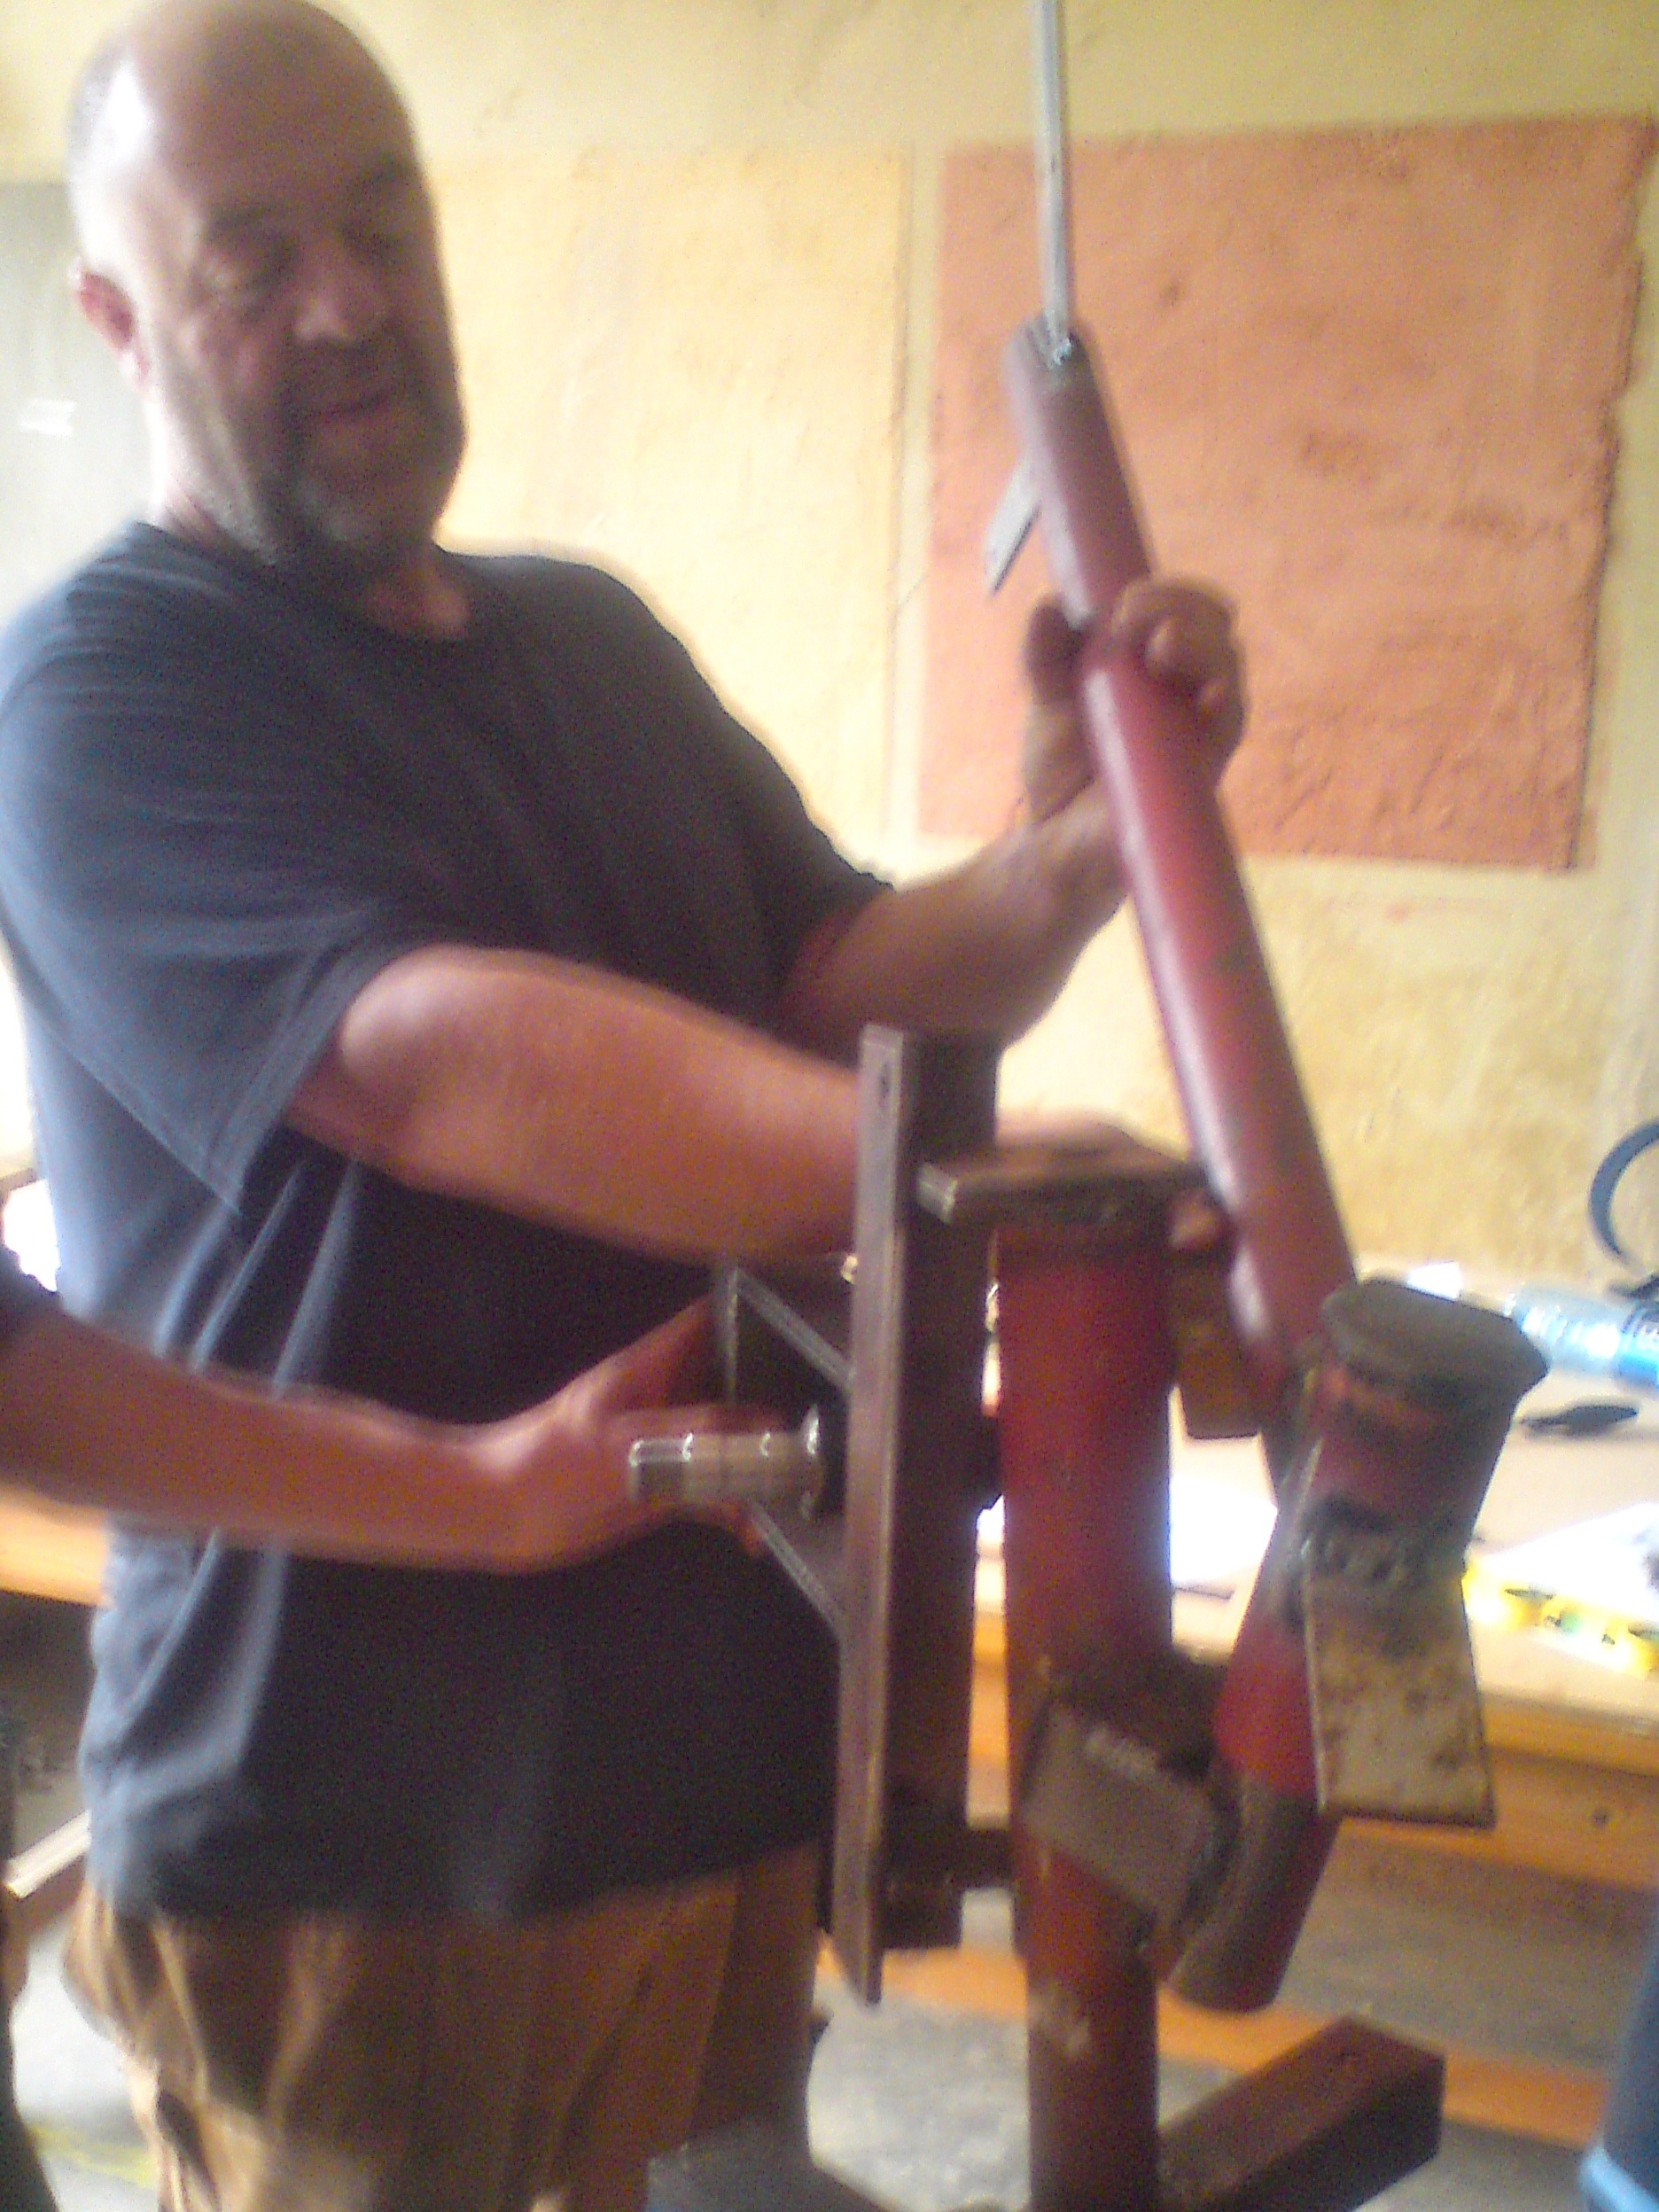
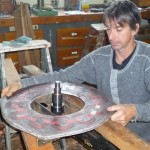
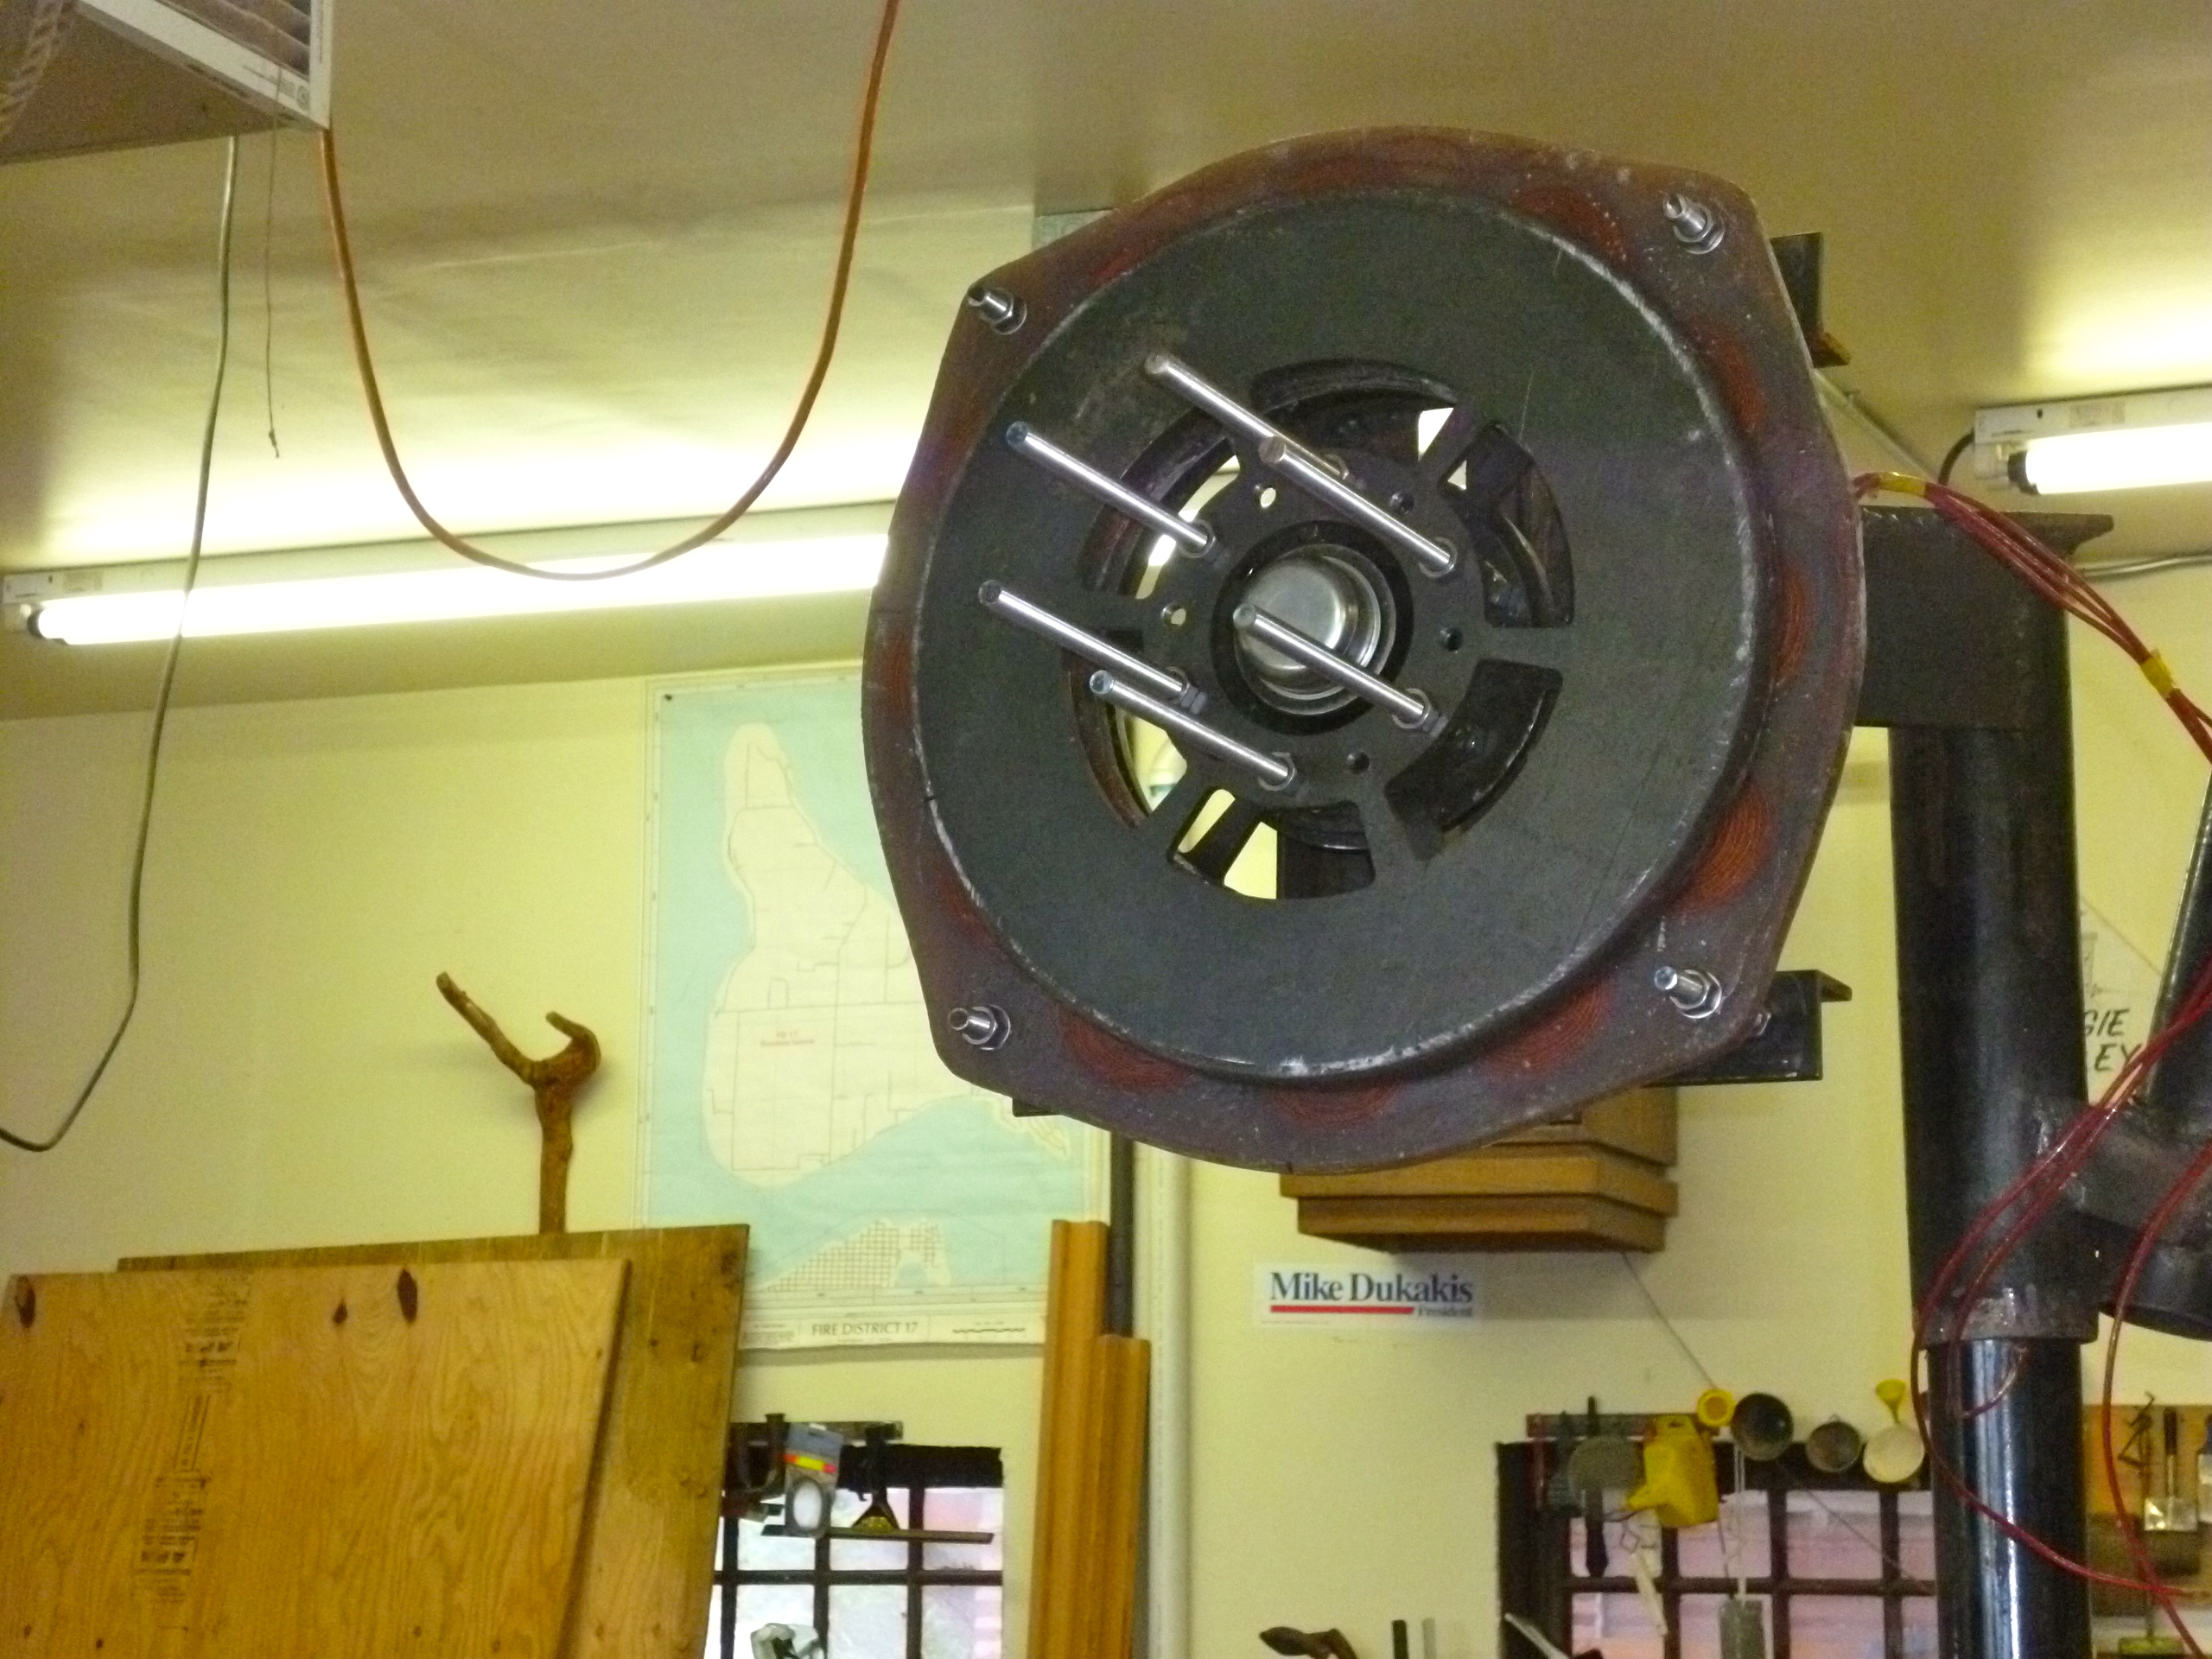
- 12 footer alternator
-
- 7 footer stator
-
- I prefer to work the right way up

-
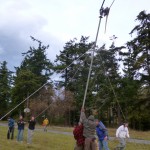
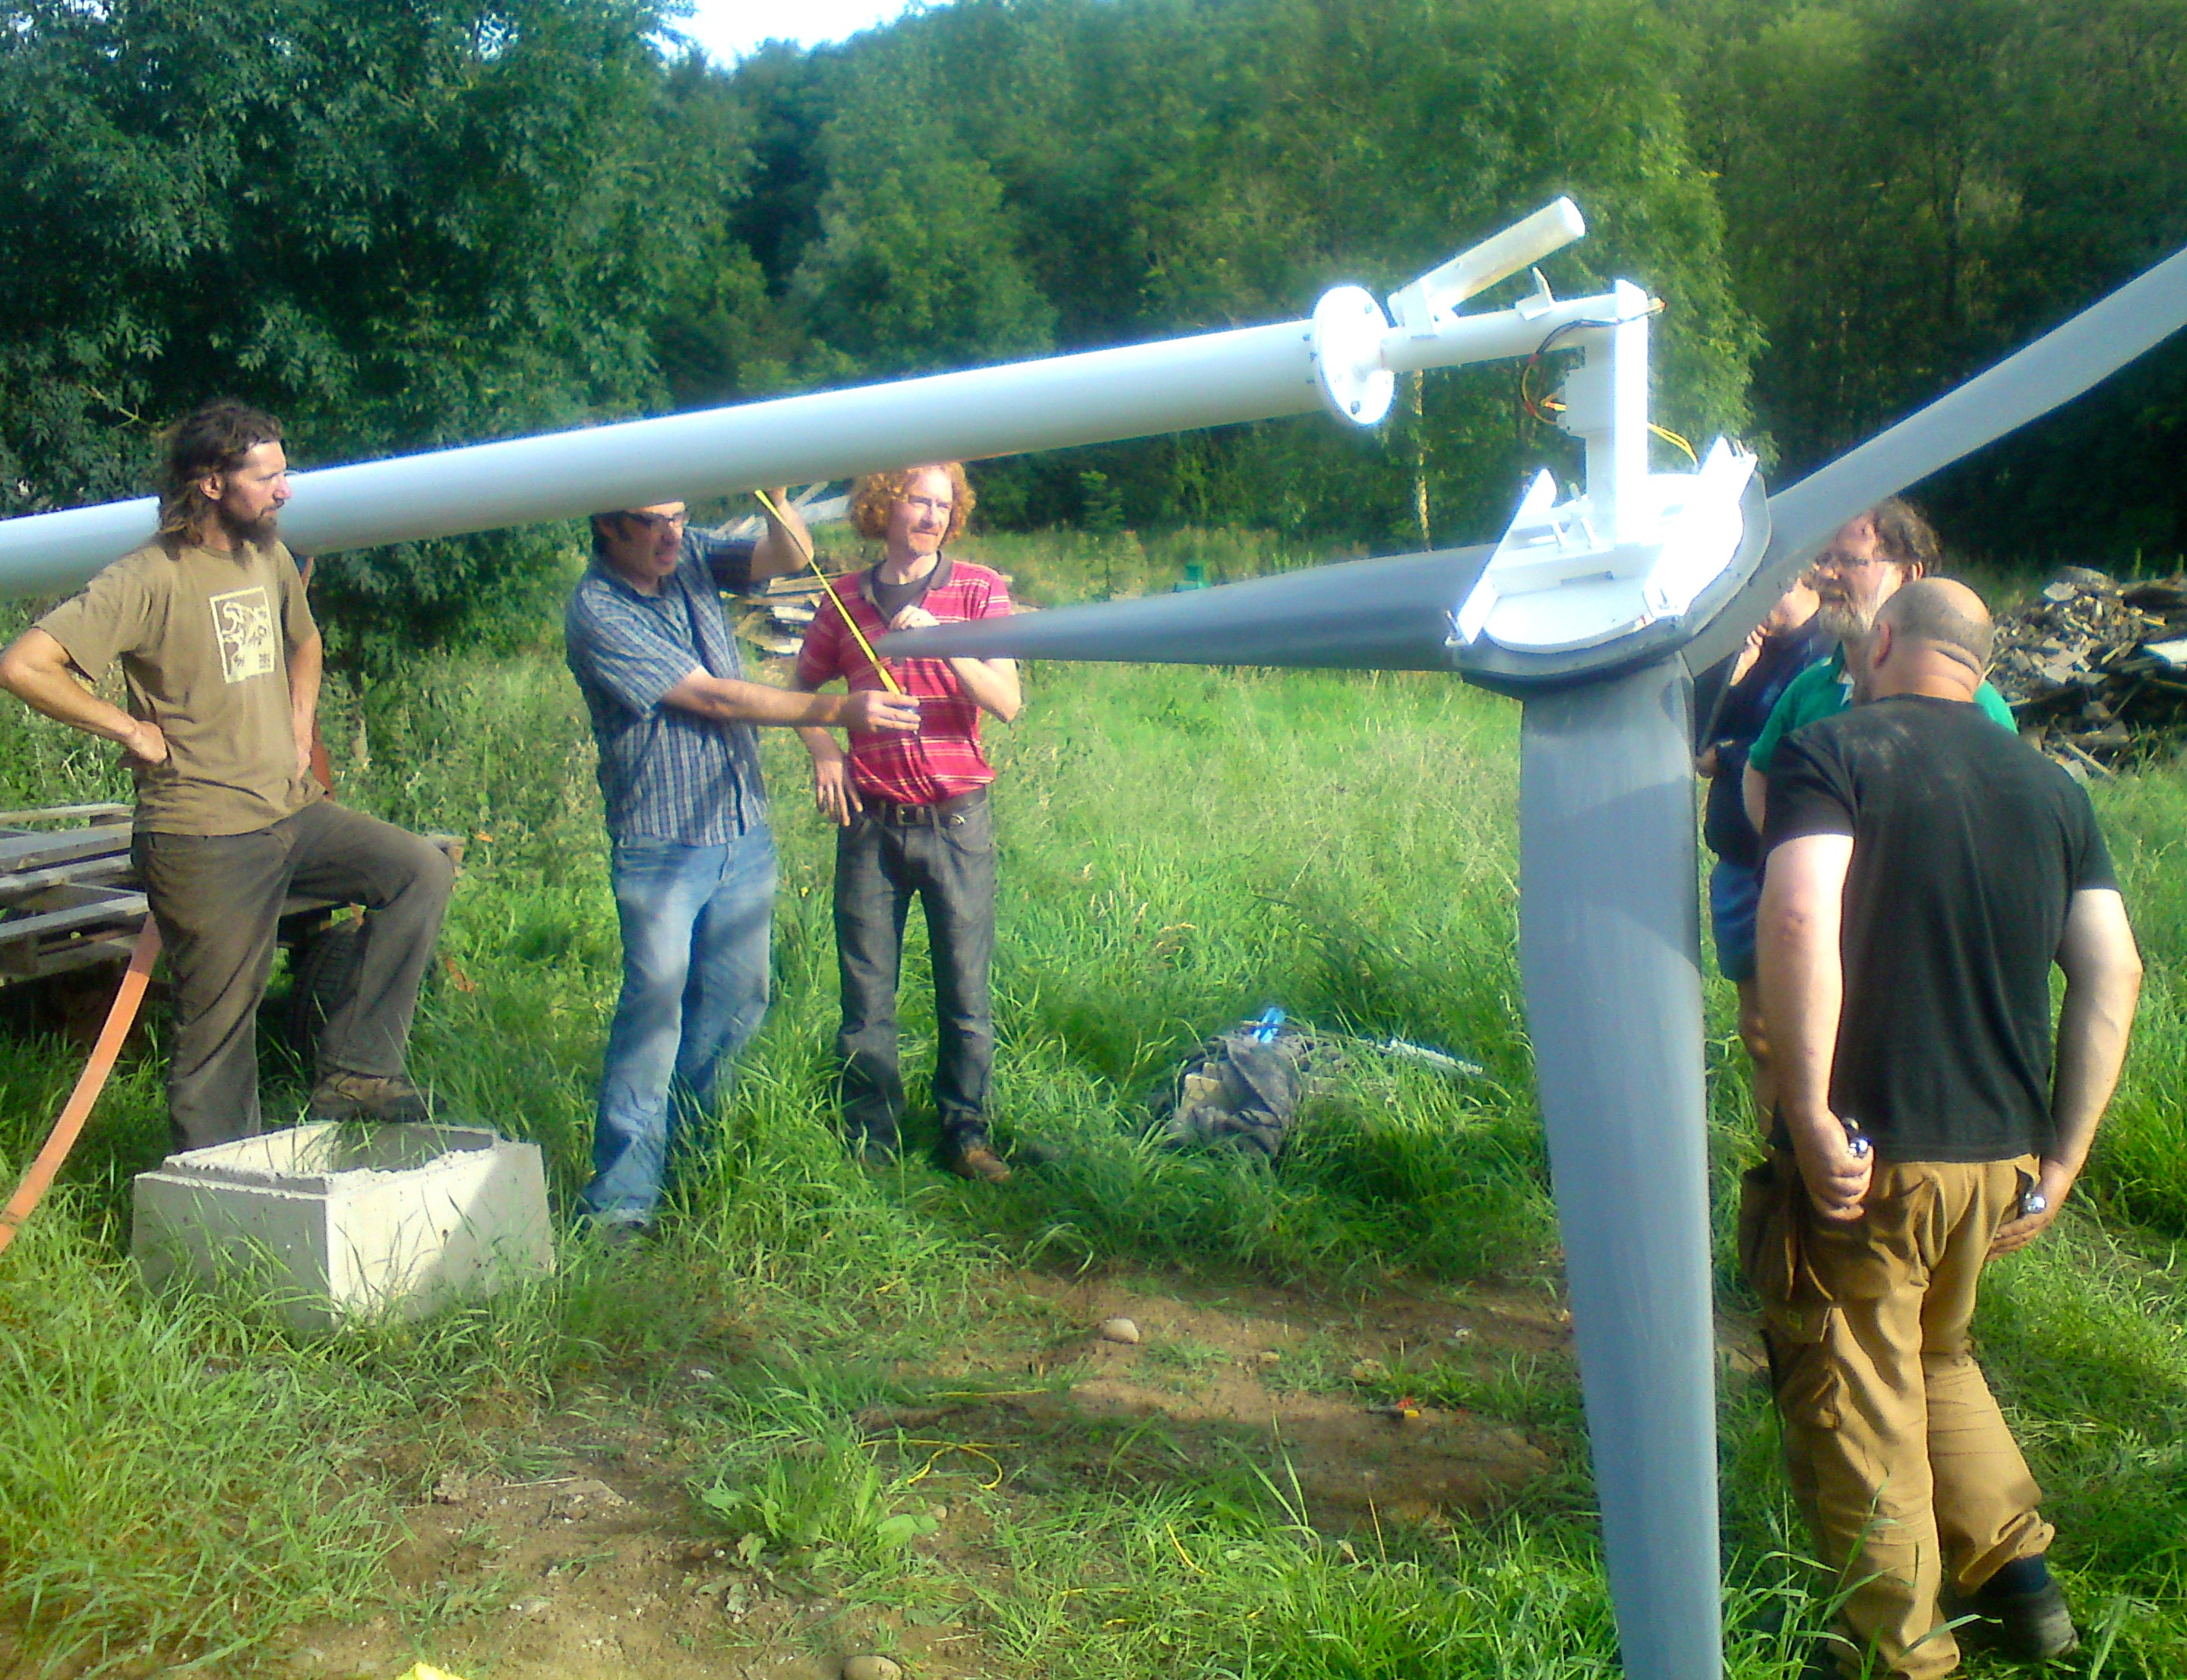
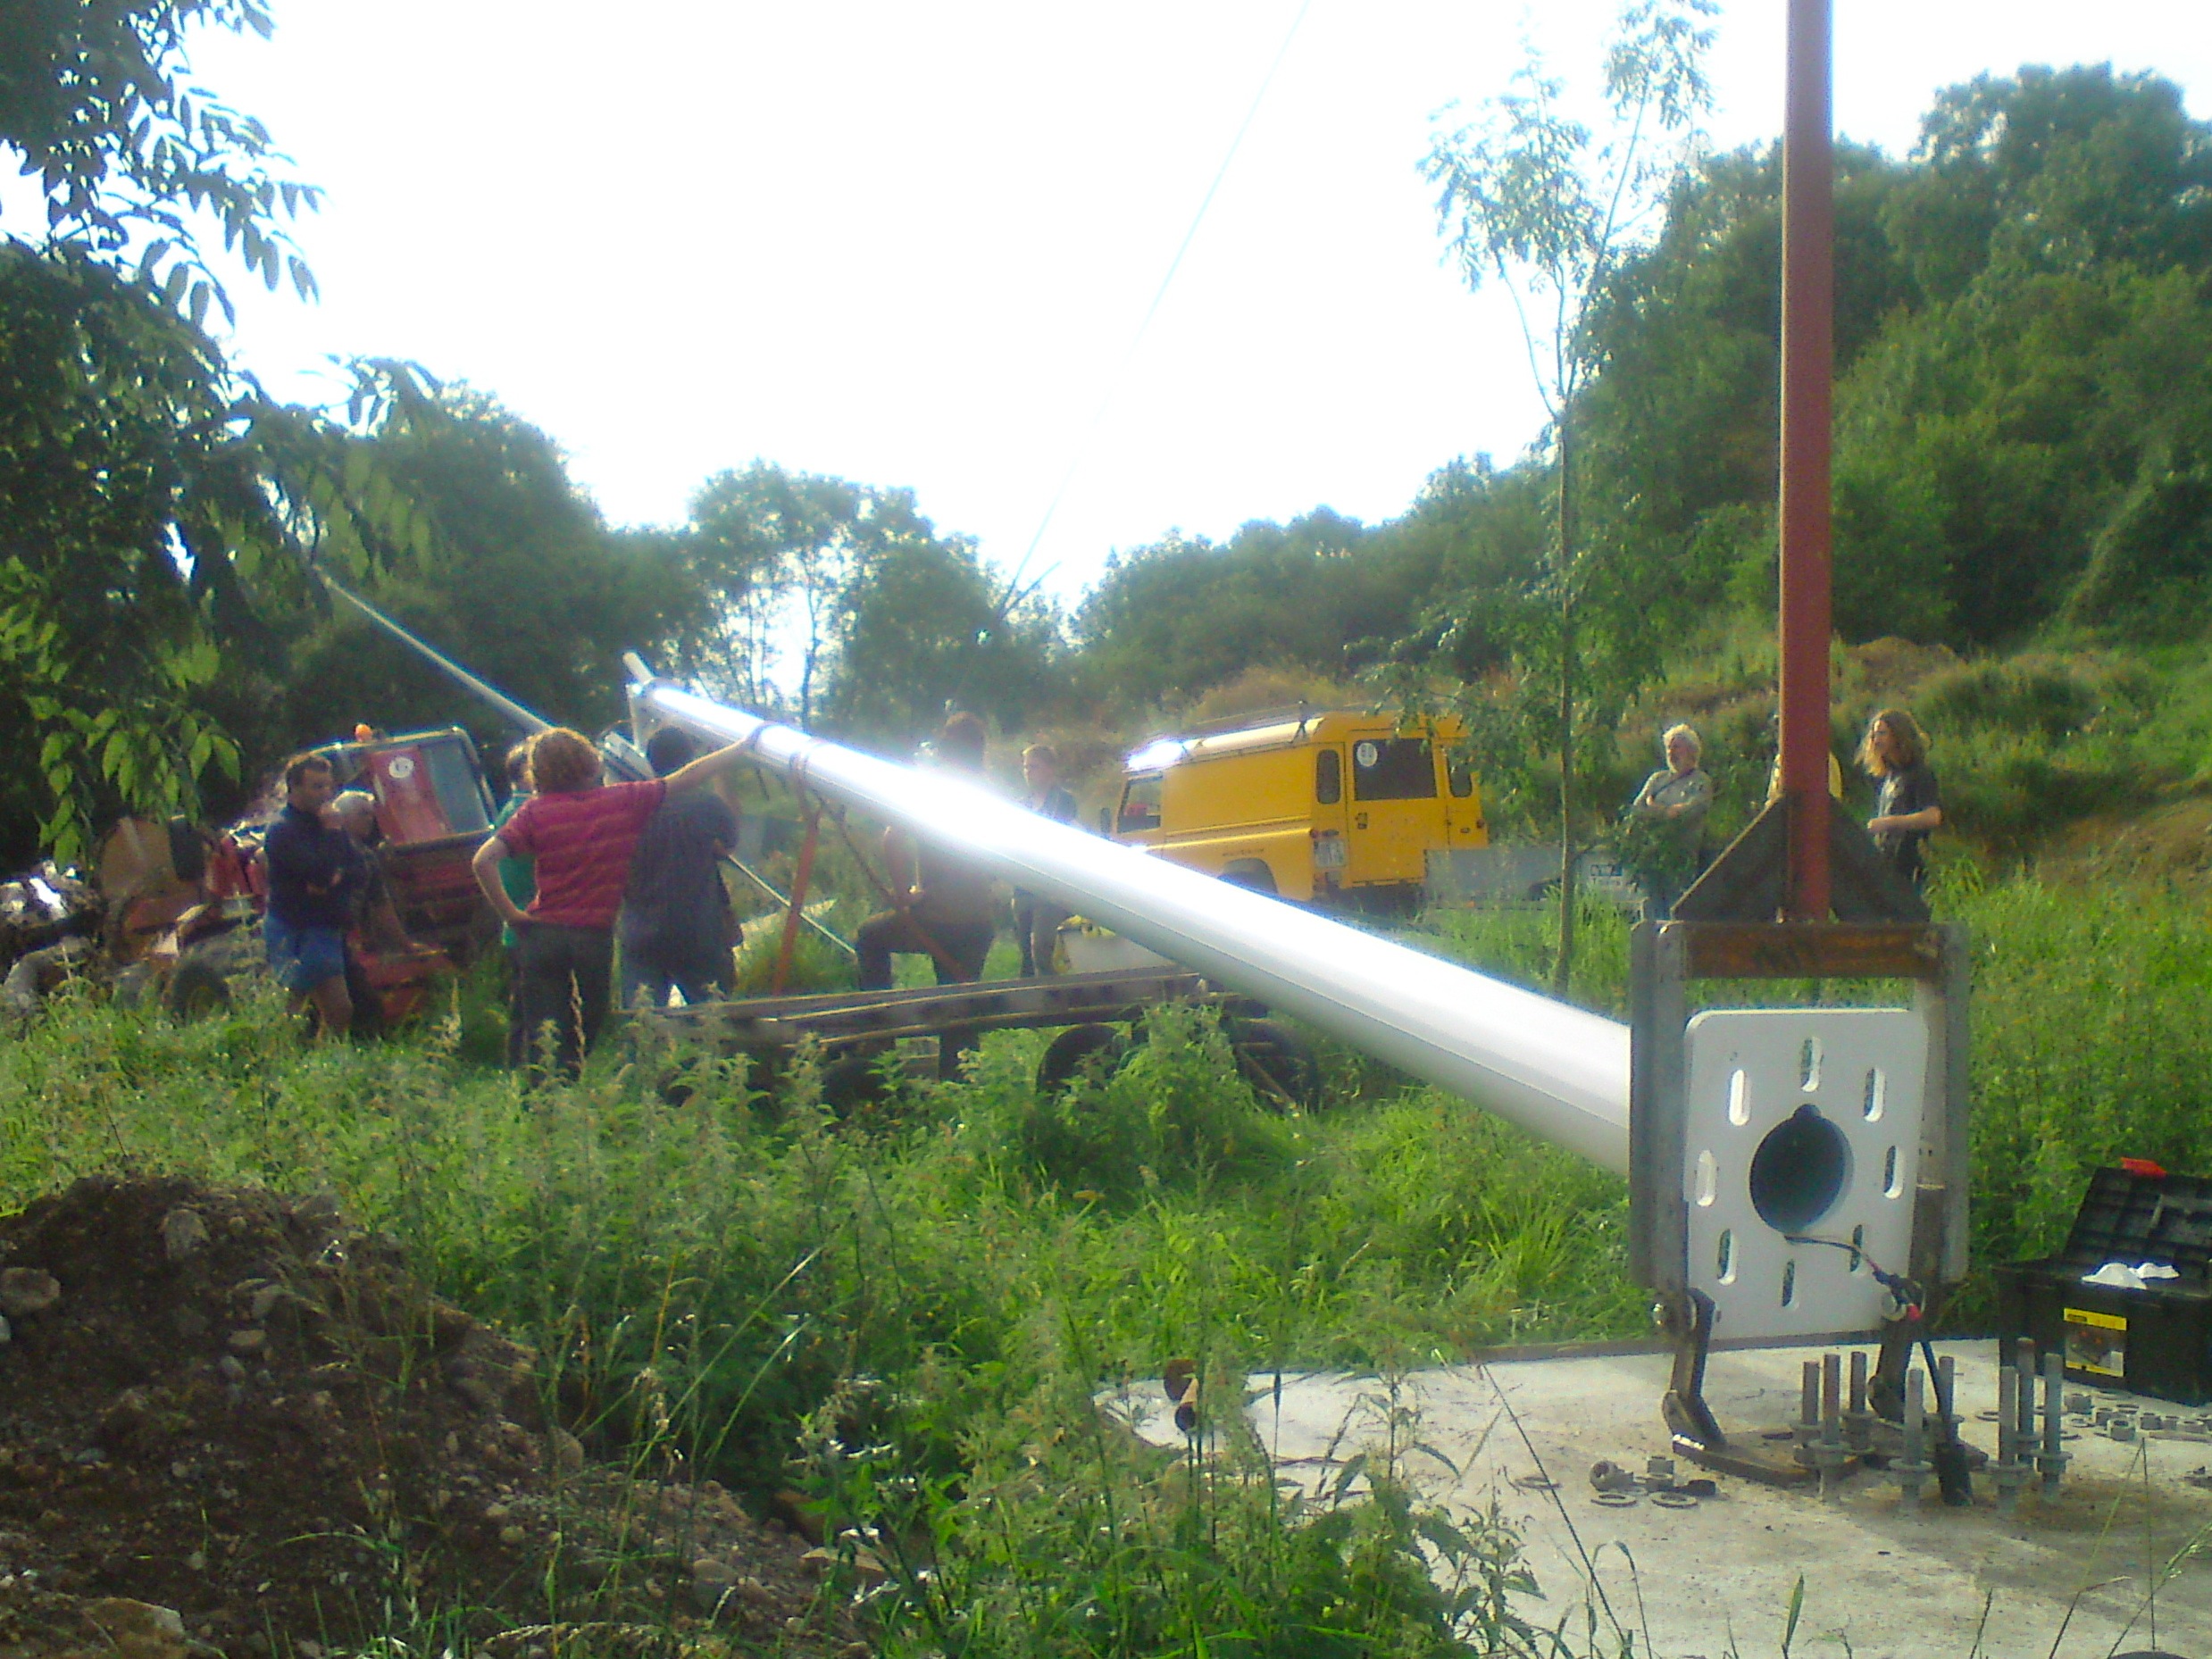
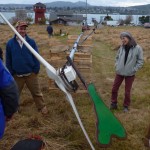
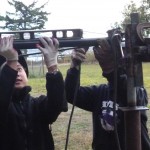
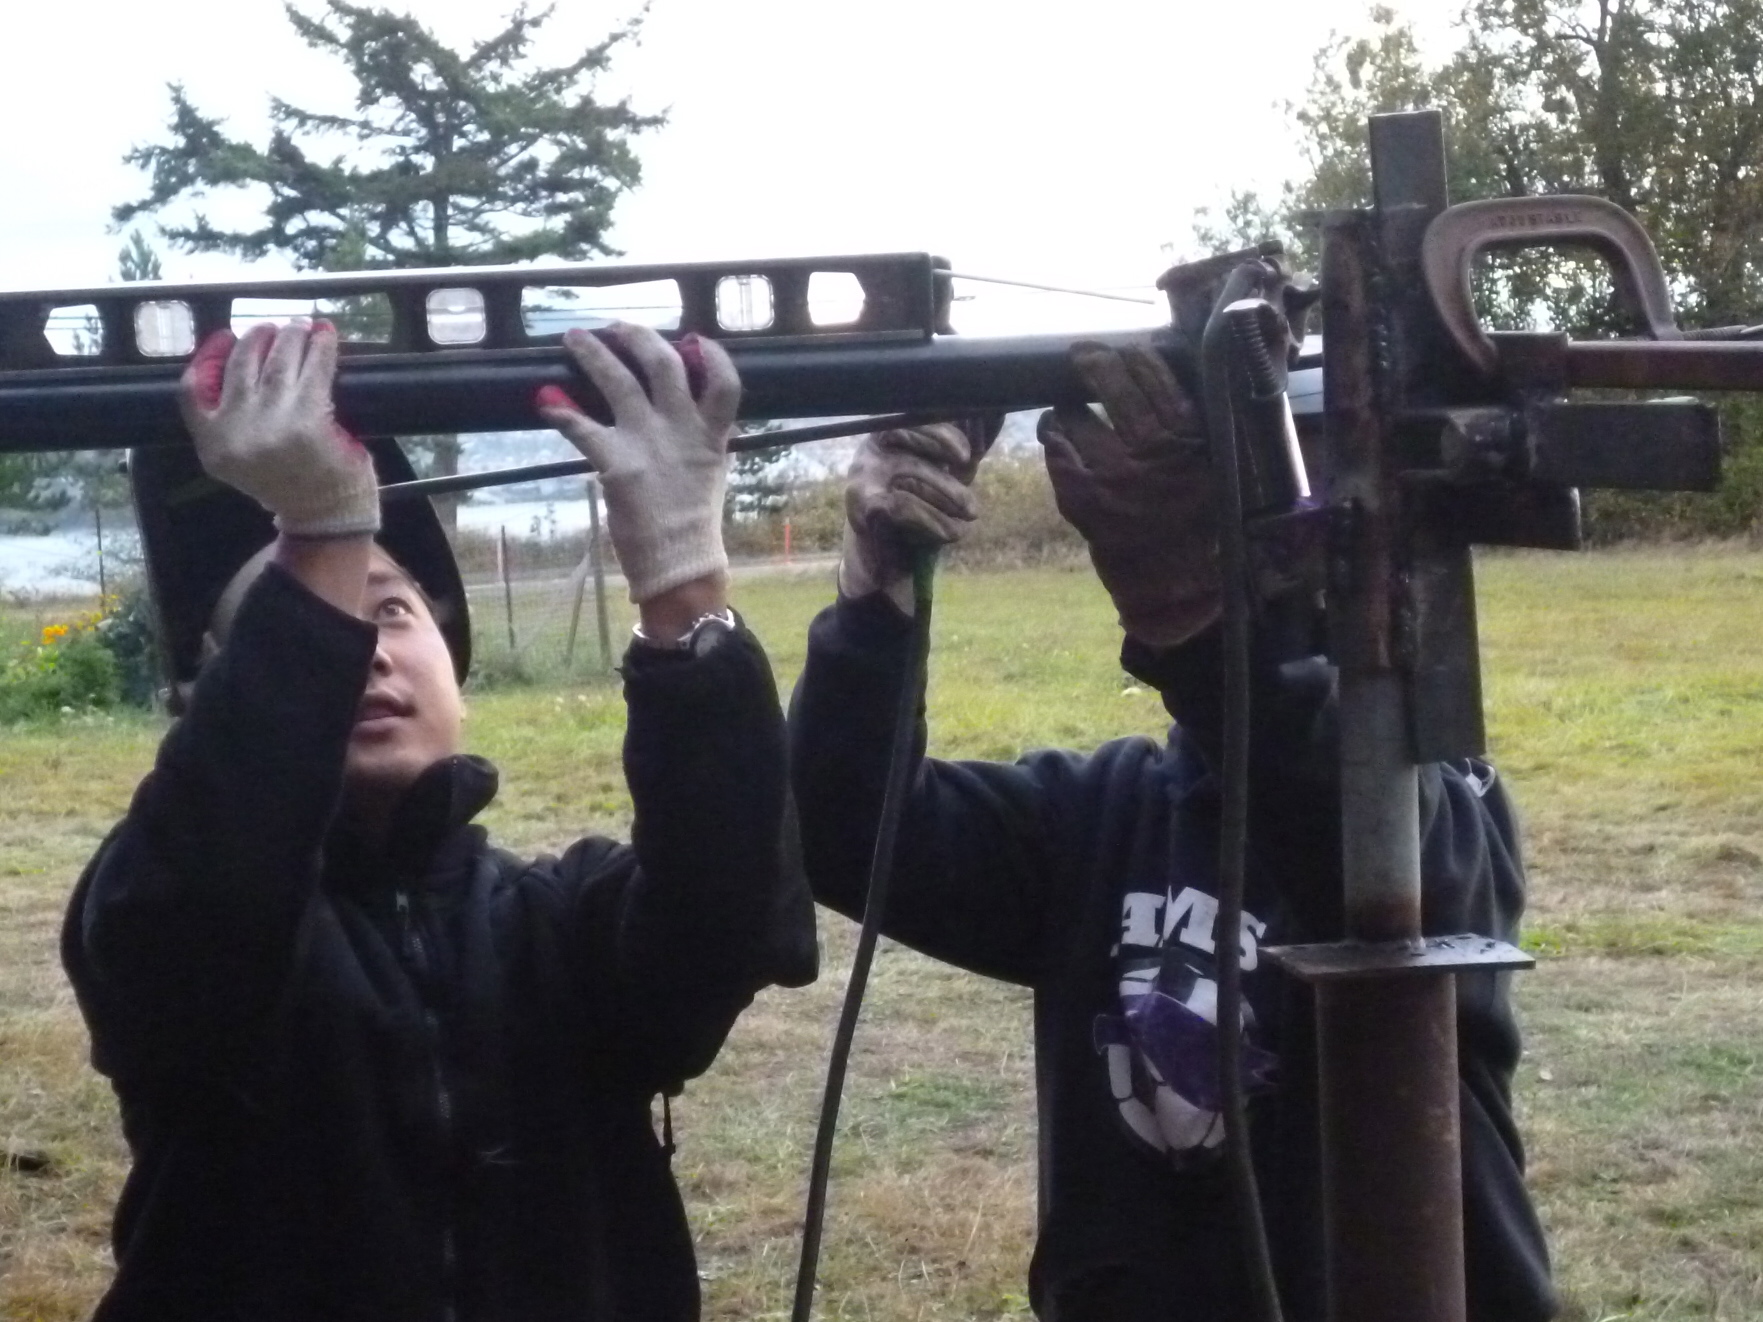
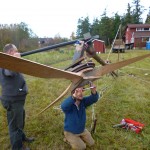
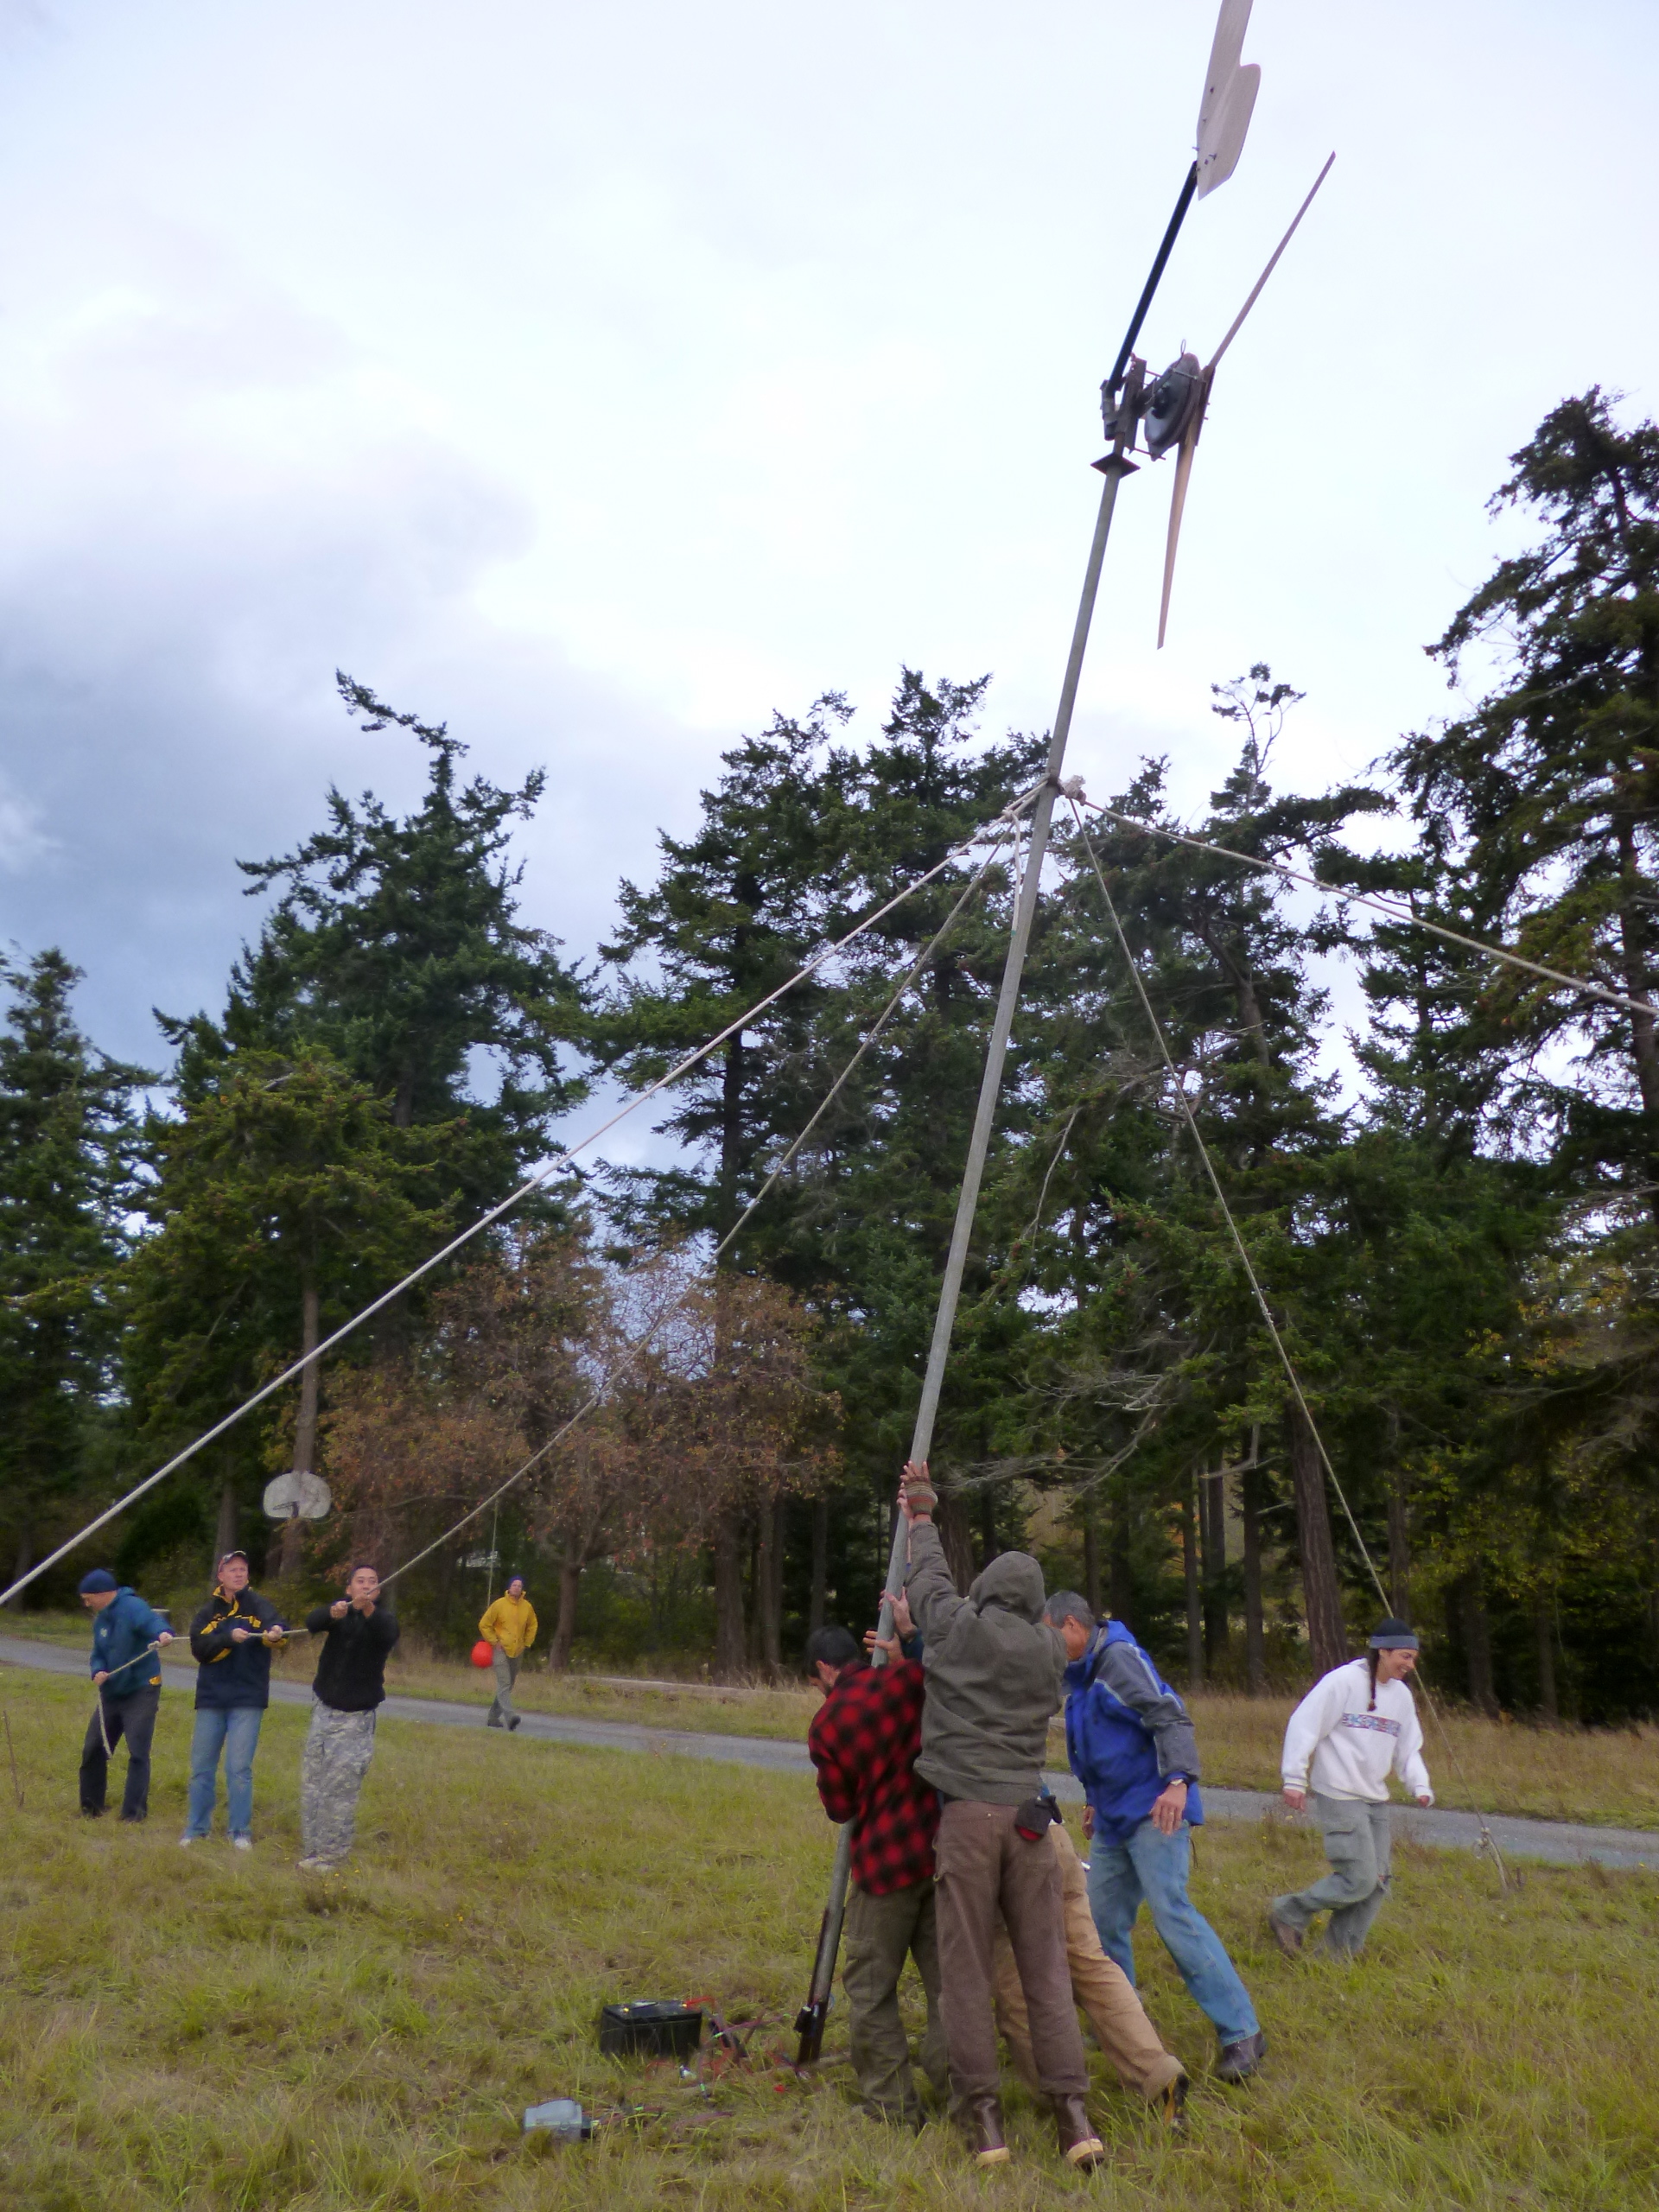
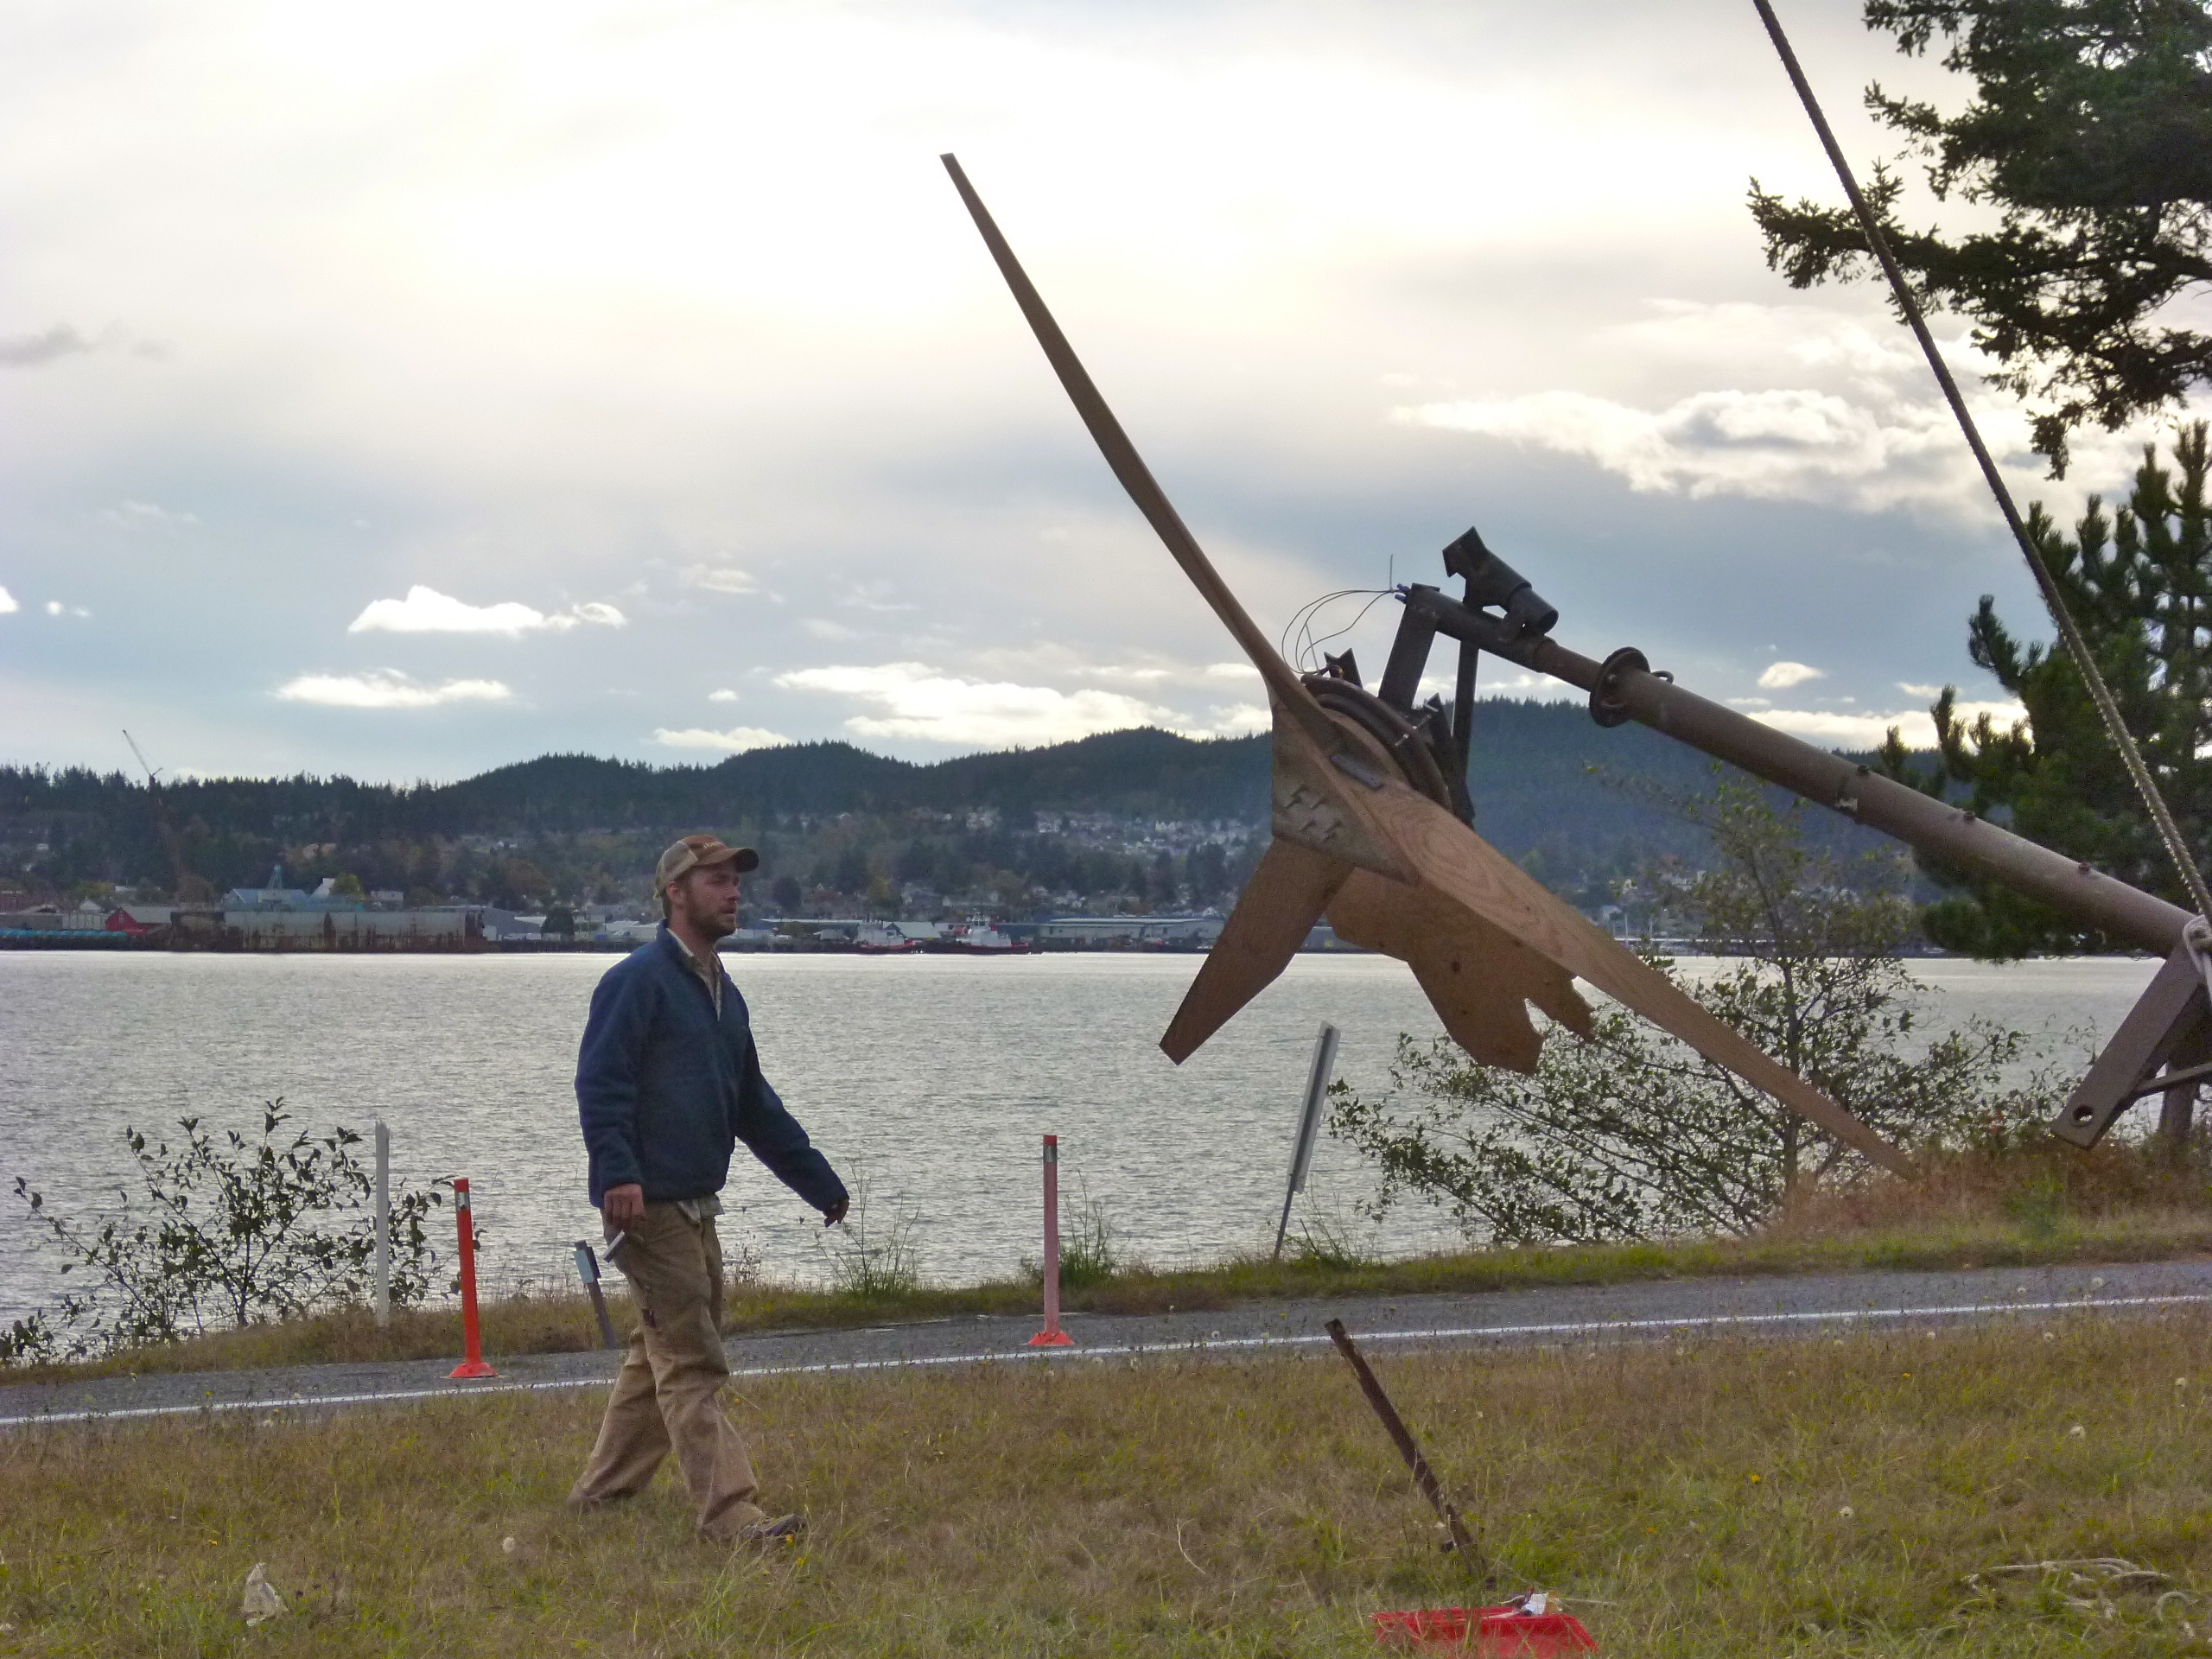
- Erecting the 7 footer
-
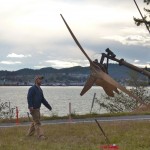
- Ready to erect
-
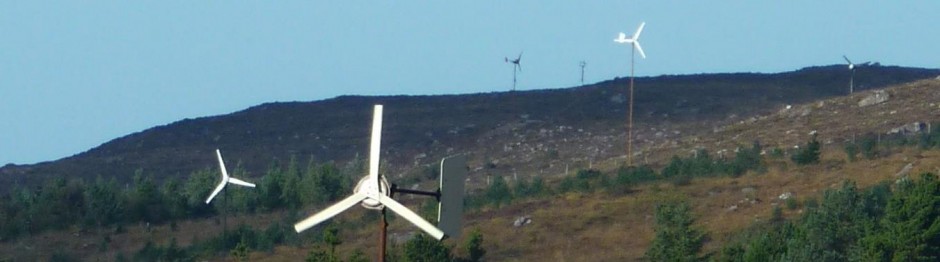
- The two wind turbines on test on Saturday

-
- Lee and Adrian
-

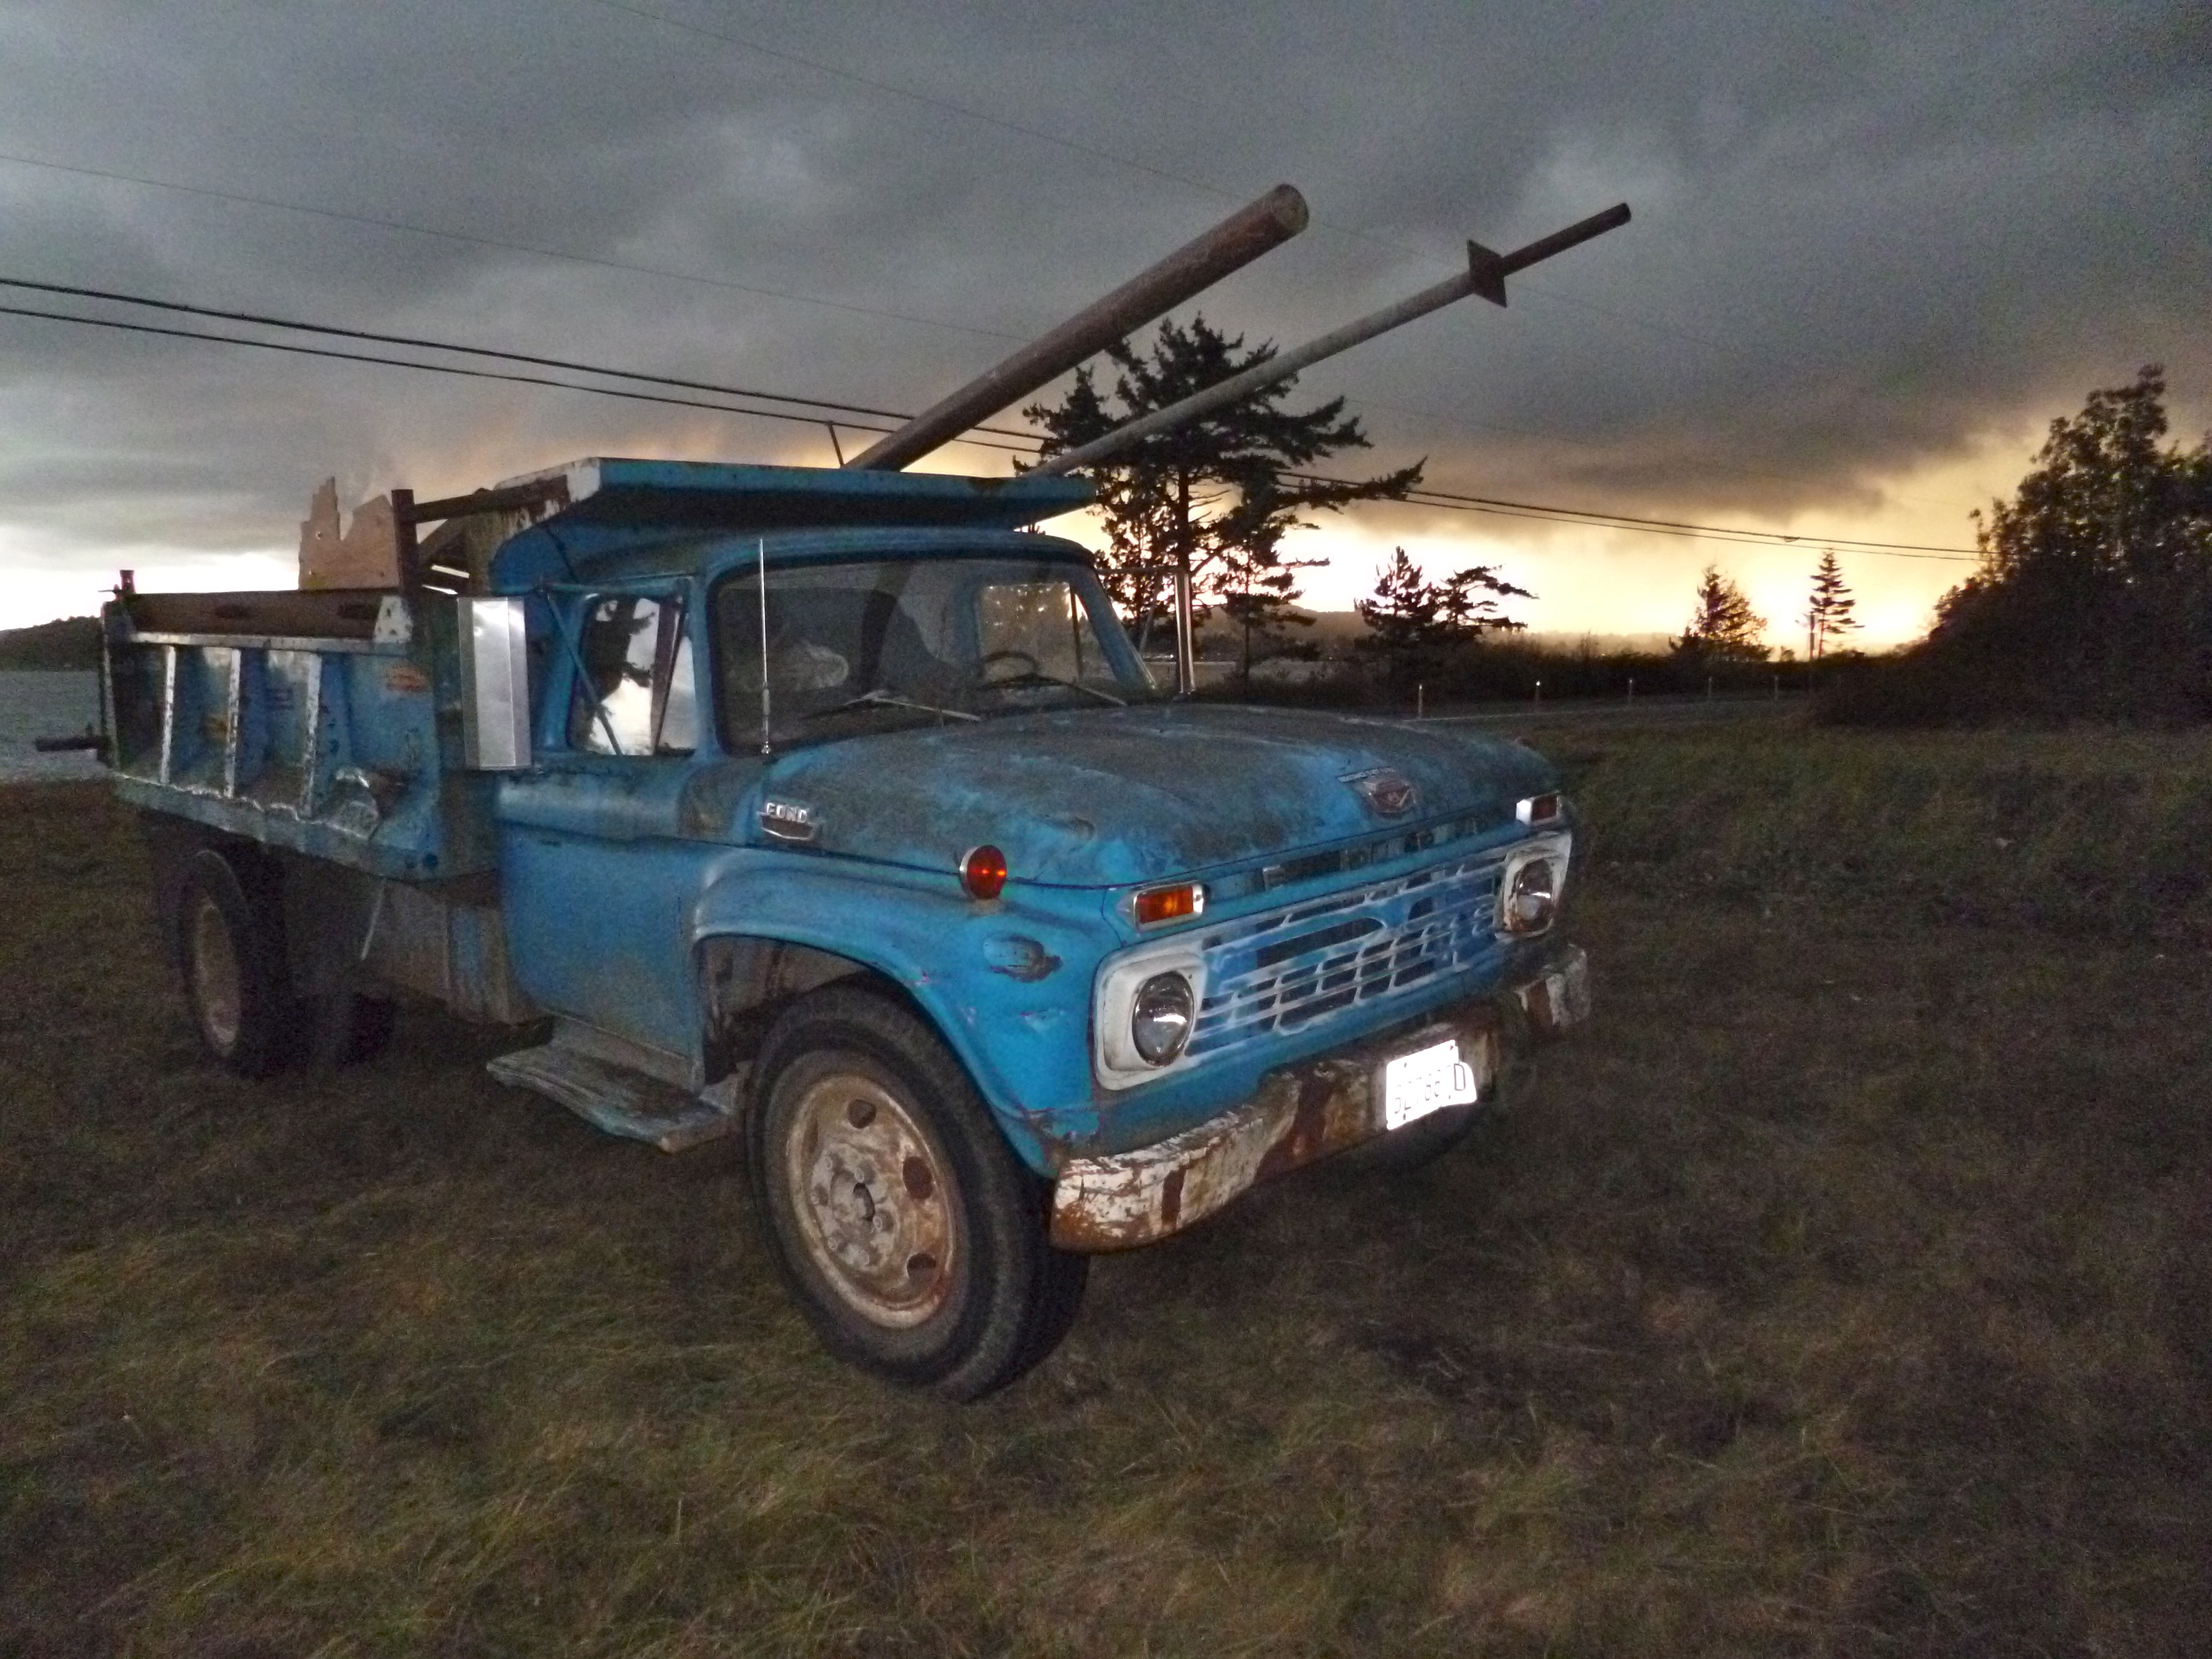
- thunder and lightning coming along
-
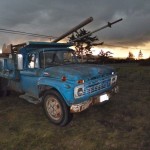
- the storm came in
Homebuilt Wind Generators-Broadband High from Adrian smith on Vimeo.