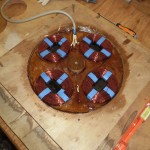
3-phase stator visualisation

Thanks to Jesse Salisbury for this nice graphic visualisation of the relative movement of magnets and coils in an axial flux 3-phase design using 12 magnets on each rotor and 9 coils between them.  This is the basic layout for my recipe turbines although some use more or less magnets.  The ratio of 4 magnets to 3 coils produces a neat 3-phase result that I have used since the 1990s.

Watch the way the magnets pass all of the red coils at the same time and also watch the red voltage indicator below to see it reach zero each time a magnet is centred on a coil and reach a maximum as magnets cross the legs of the coils.

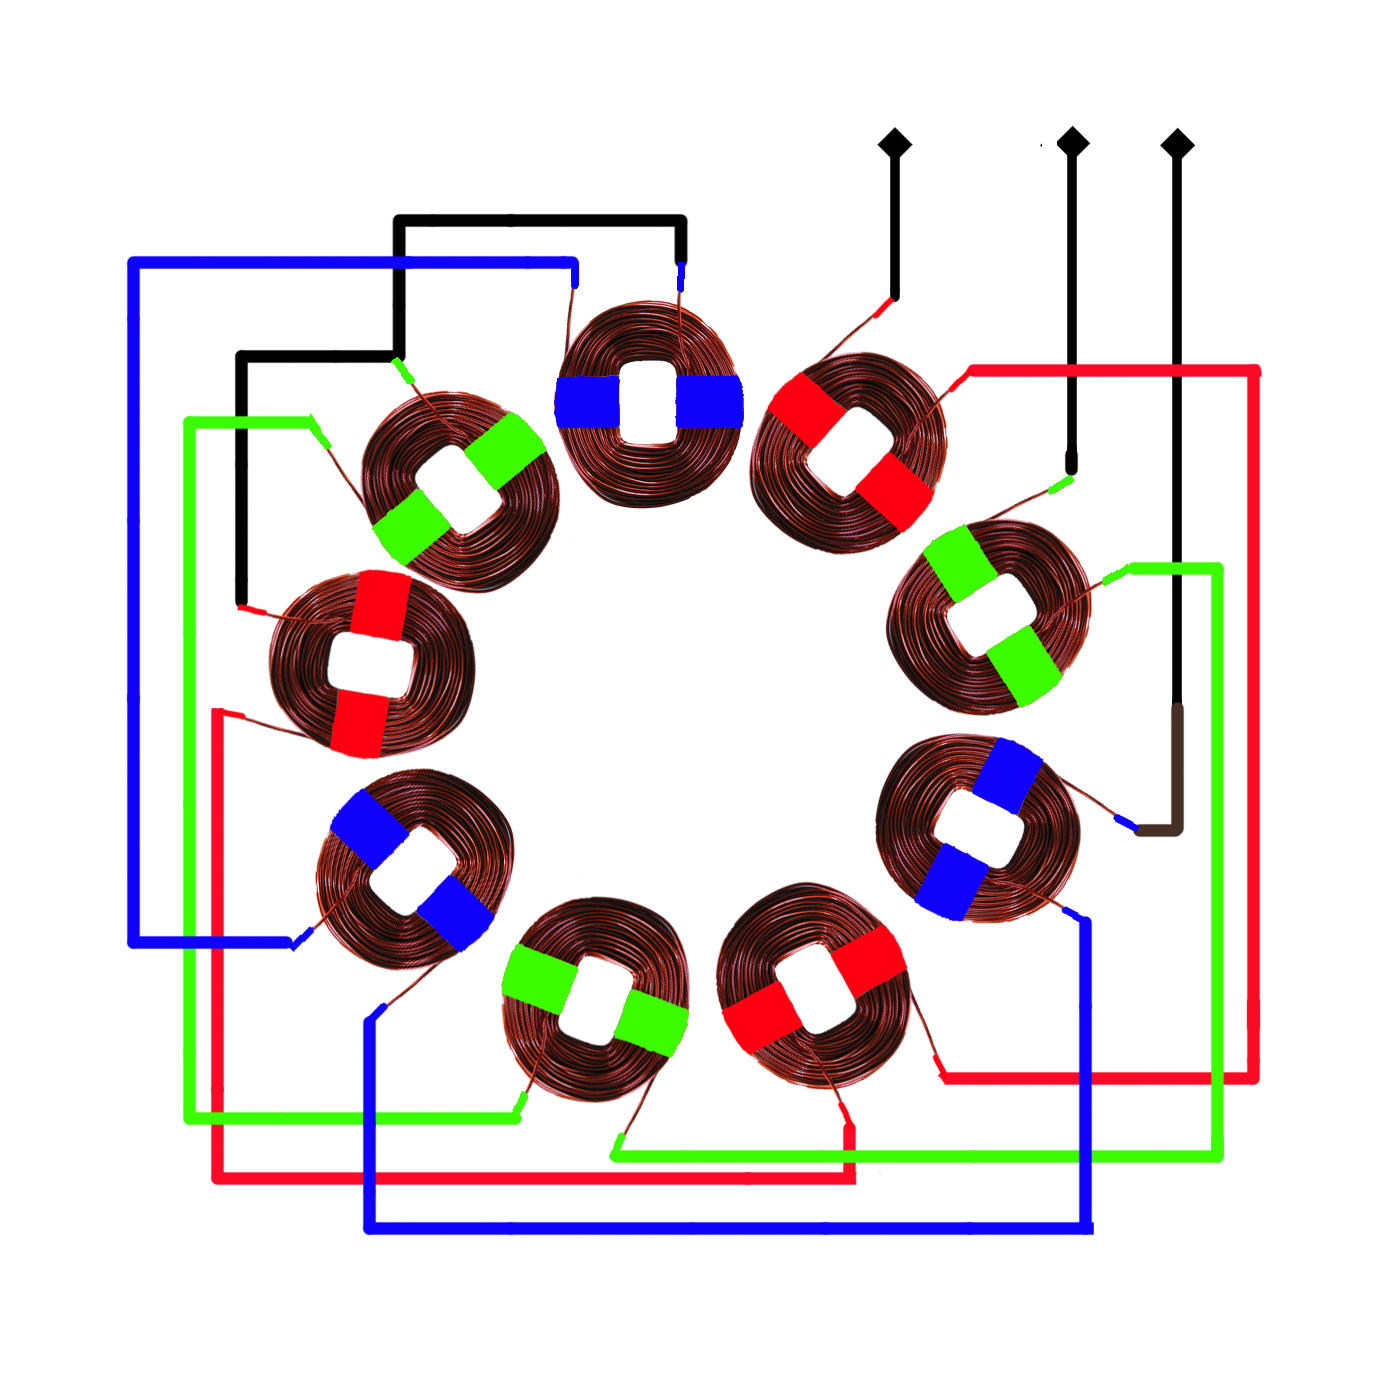
The next diagram (by Jimmy of Eirbyte) shows how to connect the coils in 3-phase star or wye:

at the top left the starts of 3 coils are connected to form the star point or neutral.  After that the coils in each phase are connected in series until you reach the output wires on the top right.  These will be connected to the rectifier, and from there the DC wiring goes to the battery or grid-tied inverter.

Posted in construction | 61 Comments

Power curve measurements on Scoraig

Together with Jon Sumanik-Leary (E-Futures PhD Student at University of Sheffield) we’ve been measuring the power/windspeed performance of some of the turbines on Scoraig.  The results aren’t always what I expect but they are interesting.  There’s an article about it on the Logic Energy website.  And here is a link to a paper that Jon published about the first complete study.

Here is the power curve we measured for a 1.8 metre diameter turbine

Posted in People, products/technical, Scoraig | 2 Comments

More new ideas from Chris Olsen

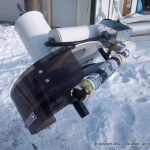
Chris Olsen has taken a new turn in his wind turbine experiments and built a direct drive neo magnet machine for use with the Midnite Classic controller.

Older stuff by Chris includes a gallery showing how to cut out a magnet disk with a cutting torch.  Also his work with chain driven ferrite magnet machines on this blog here.  And here

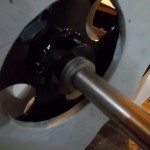
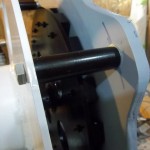
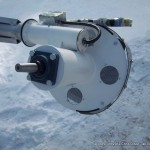
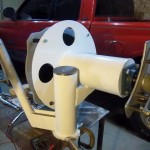
It is quite small for a 20 pole generator – only 330 mm rotors. The whole thing is covered to protect against snow and ice build up which has been a big problem in Chris’s Wisconsin environment.

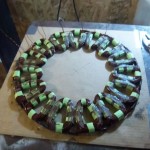
2 x 1 x .5″ N42 bars with countersunk holes on both sides so they can be bolted to the rotors with small taper head stainless steel bolts.   Air gap is 17 mm between magnet faces.

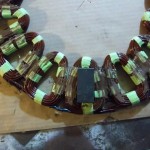
15 coils of AWG 14 wire for this stator and there is 70 turns in each coil.

Star/wye connected: 53 volts at 100 rpm and 205 at 380 rpm.

In delta: 120 volts from it @ 380 rpm.

The resistance: 1.13 ohm in wye and .35 in delta.

“I wanted to do a direct drive because I believe I will get better rotor acceleration with a direct drive to take advantage of variable winds.  The geared machines “lag” a tiny bit when wind speed increases because the rotating mass must be accelerated much more than direct drive mass.  I believe that will help me keep the rotor in a more ideal TSR range at all times, and harvest more energy from the wind.  It might be very, very small amount.  But over time it adds up.  And when you have a wind turbine that already operates over 32% overall efficiency thruout the entire wind speed range, it gets harder and harder to “tweak” it to get more.  So you have to pay attention to every last detail, including accelerating rotating mass!”

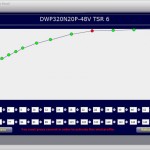
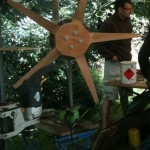
In these photos the generator has been modified to work well in star/wye with a 3.2 metre diameter rotor.  “I pulled the rear generator rotor and added some shims to it to increase the air gap and lower the voltage some.  Then programmed the controller to “flatten” the power curve and don’t let it go over 148 volts.”

Chris has started a new web site with details of how to build this project here  (but only the first pages are available)

Watch this space.

“The Classic controller that boB and Robin Gudgel invented opened up a whole new world in what I can do in wind turbine design.  I can “tweak” a power curve on my laptop and load it to the controller over wireless.  Then sit there in the comfort of my office and watch it perform, and log the output data from it and analyze what the change did.  It is very cool.  And fun too!  🙂 “

Posted in construction, People, products/technical | 9 Comments

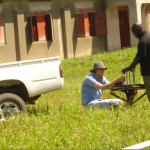
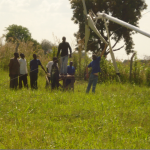
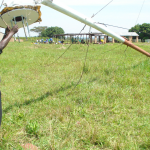
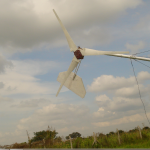
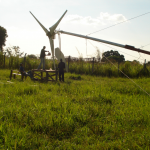
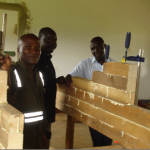
The refurbishment of Alwa secondary School in Kaberamaido district in Northern Uganda

The GIZ , Ugandan Government demonstrated their commitment
towards wind power, but fully funding the refurbishment of  Alwa
secondary School in Kaberamaido district in Northern Uganda. they
where very impressed, few officials offered hands on , for example
that is Mr Christian with GIZ , Then Mr Wafla with Ministry of Energy
Uganda the pictures are attached for you to see.

Photos from:
Mr. AGWOTU SAMUEL
Managing Director
Uganda Veterans Wind Power Initiative
Nalukolongo behind Hass petrol station
Kampala Uganda
Mobile +256783857251

Posted in developing world | 1 Comment

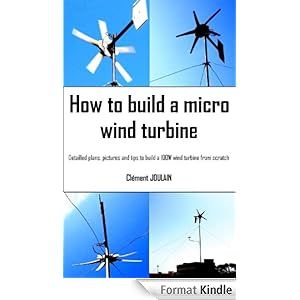
How to build a Micro Wind Turbine

Clément Joulain has written a manual for building a one metre diameter turbine for 12-V charging using some of my basic ideas but adding some new ones.

Available from Amazon in Kindle format

“How to build a micro wind turbine” is a practical manual full of pictures, plans, tables and comments to learn how to build a 100W wind turbine and 6 metre tower from scratch, for less than 250 USD. The design is based on very reliable, efficient and easy to build Piggott’s turbines. This micro turbine with five blades is appropriated to power a boat, a shelter, a RV or an household in a developing country. A design to build a simple and low cost wind controller is included. The book “A wind turbine recipe book” from Hugh Piggott is strongly recommended as a complement to this manual. The units are international metrics.


Posted in Books, construction, developing world, France, People | 9 Comments

Free Document downloads from Kragten Design

Adriann Kragten has made available a number of his reports on small wind turbines for free download Here at www.bidnetwork.org/en/member/adriaankragten

Adriaan writes very thorough reports with plenty of equations and clear drawings.  The reports cover both, electricity producing wind generators and also wind pumps.

“If people ask information about water pumping, I advise them to start with report KD 490 as this gives an overview of four different ways how to pump water with a windmill and it gives references to all my relevant reports for detailed information about a certain choice.”
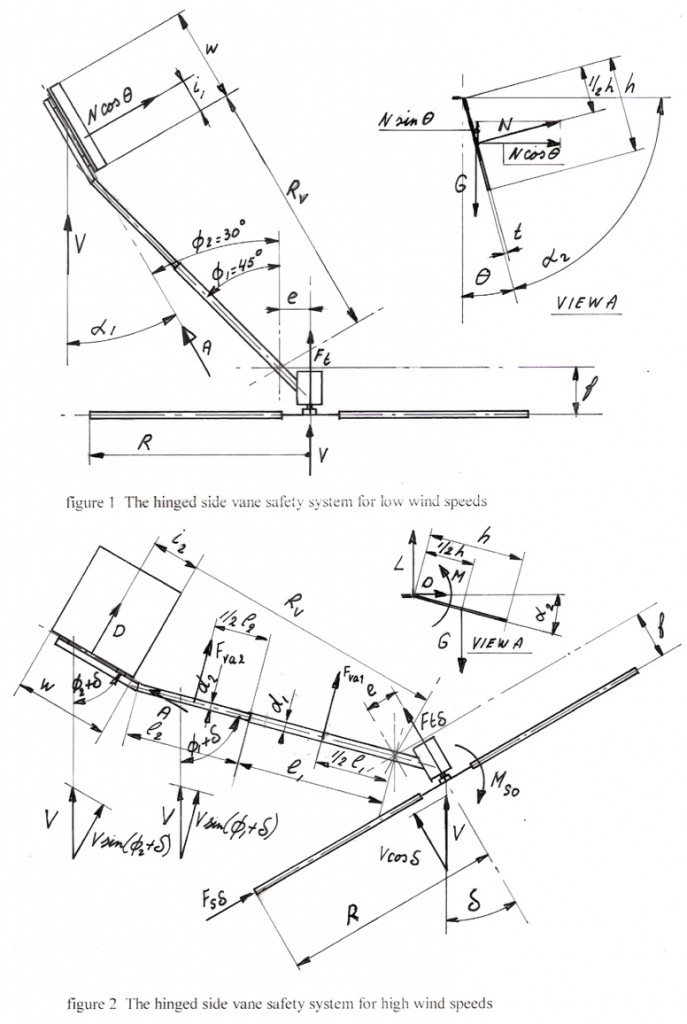
Adriaan has made a study of furling systems (that protect the turbine against excessive winds) which he calls safety systems.  Report KD 485 gives a “rough description and the main characteristics of five systems” including the ‘inclined hinge’ system that I (Hugh) have used over the last 30 years.  Adriaan himself favours a system called the ‘hinged side vane’, based on his computations and his experience.  “I have now 25 years experience with my system and it works really nice if it has the correct geometry” he writes. 

As you can see it’s analysed in some detail.

It’s very noticeable that Adriaan’s designs differ from mine in just about every respect, which goes to show that there are always choices, and never just one best way to do anything.  (There are plenty of worst ways too!)  He has done a lot of projects for the developing world.

It’s great to have these documents available freely because normally they are quite expensive to buy, I believe.  Please note that you will need to pay Adriaan for a license to use his designs though.

Posted in Adriaan Kragten, Books, construction, developing world, People, wind systems tutorial | 1 Comment

Good news for small hydro turbine owners who want Feed-in-Tariffs

OFFGEM have published an open letter that clarifies the question of eligibility for Feed-in-Tariffs (FiTs).  This is confirmed in the Energy Savings Trust website.

This gist of it is that Hydro turbines do not need to be approved under the Microgeneration Certification Scheme (MCS) but can get access to FiTs via the ROO-FIT process via Offgem.

“the Department for Energy and Climate Change (DECC) published their intention to extend the ROO-FIT accreditation process for micro-hydro installations indefinitely…   hydro installations with a DNC of 50kW or less must continue to be accredited for the FIT scheme under the ROO-FIT accreditation process. This process is administered by Ofgem. Therefore all hydro installations with a total installed capacity up to and including 5MW will continue to be accredited through the ROO-FIT process, from 1 October 2012 onwards…  contact the Renewable & CHP team at [email protected].”

I have two Powerspout customers pursuing this ROO-FIT thingy now, and both of them happen to have wordpress sites as well:

Paul and Ewan.


Posted in hydro, People | 1 Comment

SEI Workshop in the USA

Homebuilt Wind Generators Workshop

Guemes Island, Washington • October 15-20, 2012

Instructor: Hugh Piggott, Scoraig Wind Electric, Scoraig, Scotland

Support staff: Ian Woofenden, Andy Gladish, Willie McWatters, Etc.

Projects:  12 foot diameter 48 volt from Recipe Book with neo magnets.

and 7 foot diameter 12 volt new design using ferrite magnets (350 watts)

Homebuilt Wind Generators-Broadband High from Adrian smith on Vimeo.

Posted in construction, courses | 1 Comment

3-phase stator wiring question answered

Jeff Croy asked me this common question by email today and he sent a nice sketch of the options so I decided to publish it here.

I am in the process of connecting and soldering the coils for the 3000 machine in a 24v “2 in hand” configuration.  In your instructions you say to connect the two strands separately around the stator to avoid parasitic currents.  My question is concerning the “star” connection point where coils #1, #2, and #3 tie together.  Should those connections be separated as well (two connections of 1, 2, 3) or tie all 6 wires together at the one point?  I’ve included a crude drawing to illustrate my point.  Please let me know which example is the correct procedure.stator connections

That’s a good question, and good sketches.  Actually it will not make much difference which you choose, but I normally do it the first way (Example A, 2 separate connections at the neutral, each with 3 wires).  It’s easier to solder just 3 wires and it does not matter which 3 you choose.


Posted in construction | 3 Comments

LDR load control circuit update

Francis Greaves in Ireland sent me this updated diagram of his system that uses two LDR controllers for a heating system plus the over-voltage trip that I designed for him.  More about how to use the LDR controllers from Solar converters on this page.

Franciswrites:

“The 2 LDRs (each controlling the Immersion Heaters) are switched on and off via relays as you suggested using the Batt+ lead. The relays default to both ON.
I got a dual element immersion from T P Fay, don’t know why I did not think of this before. A 3kW 240v AC element and a 1kW 48v DC element to go into the hot water tank which is also heated by Solar Panels.
I have the other 1kW 48v DC element in the Underfloor Heating Buffer Tank.
I have a trip to switch overvoltage into a 1Kw Dump Load.
I have extended my Arduino controller to check the Hot Water tank temperature and switch the LDRs as necessary when the Solar Tank is above a certain temperature as follows:-

Solar ON and Buffer OFF
Both ON
Buffer ON Solar OFF

This seems to work very well indeed!

In the 2 weeks I have had the system running I have left the Mains input to the Solar Tank Immersion off. There has not been a great deal of wind, but between the Sunshine and Wind I have had plenty of hot water. There is a nice graph showing the Solar and Buffer Tanks in use during a 24hr period in the ‘progress’ part of the web site.

Just the job. Brilliant! Thank you so much for all your help with this project.”

Posted in construction, People, products/technical | Leave a comment