Choosing your pipe size for a hydro turbine

I spend a lot of my time doing “what if” scenarios for people who want a hydro turbine.  I use the Powerspout online calculation tool to get me quick answers.  I can edit the numbers, and the screen will update with new results after a few seconds.  Very useful , once you get the hang of how it works.  As with most things, it helps to read the manual, but you can also just dive in and play with it.

First I enter the basic numbers: the head and the flow and the pipe length.  The tool suggests a pipe diameter to carry the flow while only losing 10% of the static pressure in pipe friction.  (Target=90% efficiency) Let’s take an example:

Flow 20 litres per second
Head 30 metres
Pipe length 168 metres

The calculator tells us we need 127mm pipe.  This is the internal size of the pipe, meaning that the outer diameter will be about 140mm, an unusual size to buy and very costly so we try entering a size of our own.
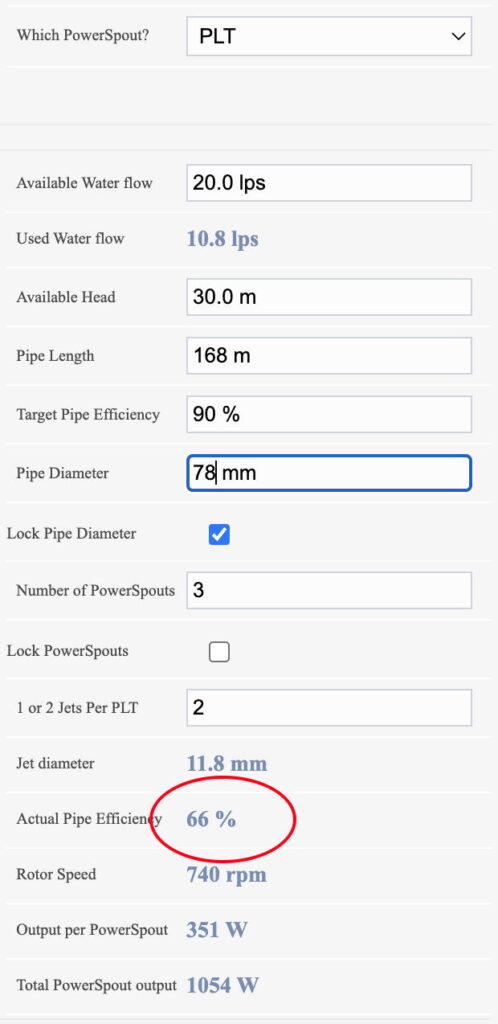
We have access to some cheap surplus 90mm pipe with internal size 78mm so we enter this in the calculator.  See what happens (second screenshot on right).

The “Used flow” is now only 10.8 lps.
The “Actual pipe efficiency” is 66%.

This is a key number for pipe performance.  It means that you only have 2/3 of the pressure remaining at the turbine, after friction loss in the pipe.  And the power output is impacted by this pressure drop.  If you open up more jets, or fit larger jets in the turbines, you will increase the flow used but you will get even more pressure drop.

The special thing about 66% efficiency is that this is the point where the loss of pressure happens faster than the increase in flow so you will actually get less power if you use more than this amount of water.  The calculator will not go beyond this point.  This is the “sweet spot” where you get maximum power.  The pipe can carry 18 litres per second (wide open – no turbine) but by that time there will be no pressure left at all and the water will flow out without producing any useful power.
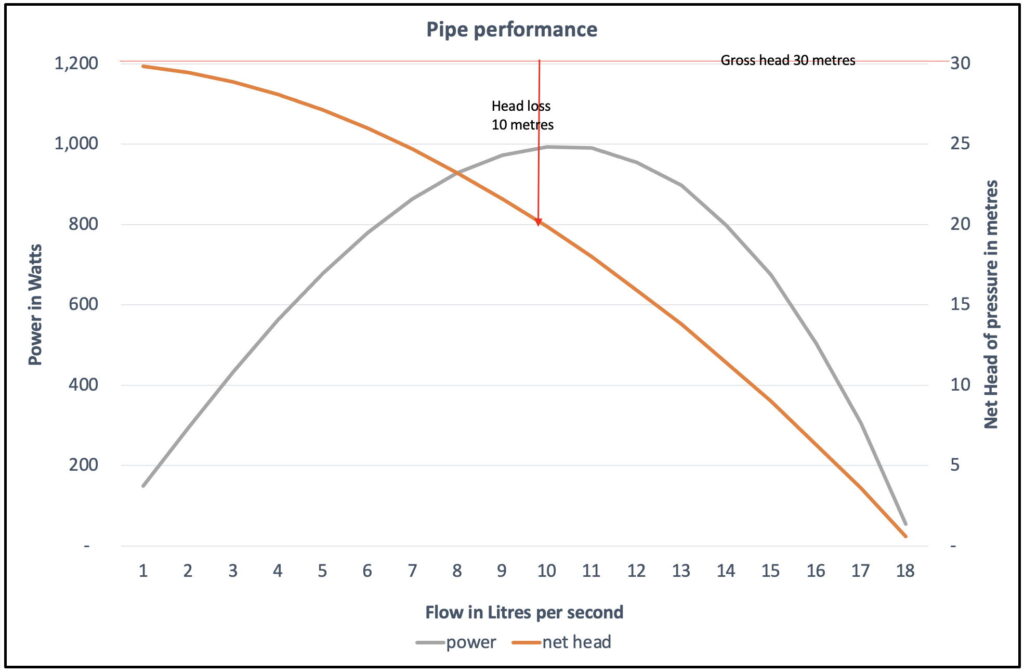


This chart shows how the power (grey curve) changes as the flow increases (left to right) and the pressure drops (red curve).  Power is proportional to flow multiplied by pressure. At first the power increases steeply with flow rising, but power also depends on the pressure, so the rapid plunge in pressure also affects it.  Power peaks at 10.8 lps, after which it’s all downhill.

It seems a no brainer to go for this peak power, and this may be a good idea in some cases, but often it’s worth thinking about the big picture.  For one thing, there is a tendency for pipes to get fouled over time and become less efficient, so in a few years this may no longer give the same result, whereas the impact is much less where the head loss is modest.  Second, you are not making very good use of the water.  If you really have this much water all the time then think seriously about using a larger pipe (or even two small ones if they are cheap enough to get).  If you don’t have this much flow very often then perhaps a smaller scheme using fewer turbines will be more cost-effective and will work with less management.  Bear in mind that it can become a burden to open and close valves every time the weather changes.

In the above “maxed out” example the calculator chose 3 standard PLT turbines.

Changing the “turbine type” to TRG HP we could handle all of this flow with one turbine.  (Try it and see.  I have not done a screen shot for this.) And the calculator would indicate better power production, 1160W output.  A note of warning though.  The PLT turbines output figures tend to be understated by the online tool, whereas the TRG figures it gives you are the highest you could hope to see.  In reality the PLT is a quieter, more efficient turbine that I would recommend using where possible.
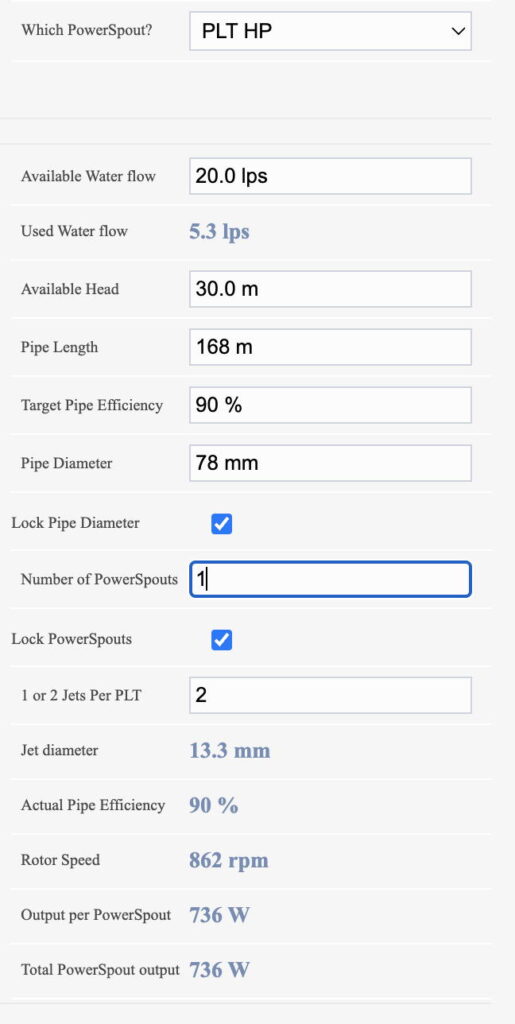
If the pipe is to be 90mm HDPE (with 78mm internal) then my preferred option would be one PLT HP turbine.  Enter PLT HP at the top and enter 1 for “number of turbines”.  Output is stated as 736W but will likely reach at least 800W in reality using only half the flow of the previous example.  This scheme will be much more efficient and will work better as the weather gets drier.  It will not be affected much by fouling of the pipe as the pipe loss is only 10%. I would probably choose the single PLT  HP rather than the TRG.  But I there is a case for the TRG if the flow is rarely less than 11 lps and you are ready for a decline in output over time.

Often it depends on the relative cost.  If the pipe is very long then it will become a major cost in the project versus the turbines etc so the temptation is to max it out by using the flow that gives the most possible power.  If the pipe is shorter, then there are several good reasons to use a large enough pipe to achieve 90% efficiency.

Posted in hydro, PowerSpout hydro turbines, Uncategorized | Leave a comment

More new Powerspout installations

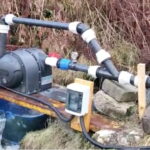
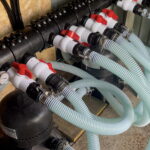
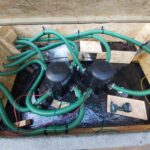
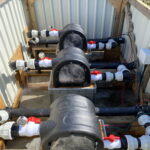
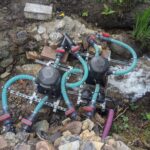
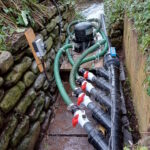
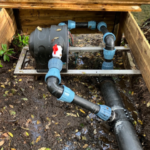
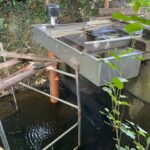
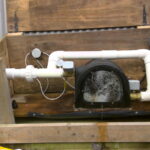
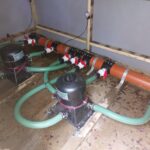
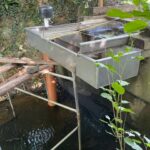
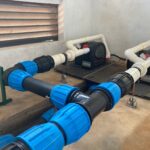
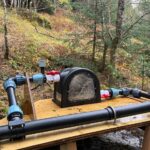
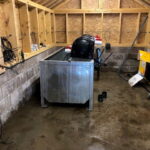
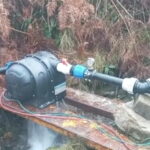
A few of my customers’ installations over the last six months or so.  As ever these are mostly a work in progress, and may look a bit messy, but will get tidied up in due course.  The exciting thing is that they are all producing power for their owners.

Posted in PowerSpout hydro turbines | Leave a comment

Powerspout documents for download

Powerspout turbines do not come with paper manuals included, because the manuals are online in the Document Index.


You can find the index on the web site under “Advice and Resources”.  We put a lot of work into preparation of these documents and trying to keep them updated over the years.  You can find a lot more than just product manuals here.  Documents can be viewed online or downloaded as pdfs.

A known issue with manuals is that once you include all the useful information you can think of, the manual becomes too long and boring so nobody can read it.  So we also did some more concise “check lists” keeping them to only four pages of really essential information.

And there is much more than just these manuals!  For newcomers there is the “Getting started guide” in the section titled “Planning your system“.  Also in this section is the guide to the Calculators that we use to quickly assess sites and consider different turbine types and sizes of pipes etc that could be used.  It’s a bit of a learning curve, so you may prefer to just have a conversation and let us do the calculations, which we are happy to do, but this tool is what we use and it is a wonderful resource.

There is a lot to consider when designing a power system and there are plenty more documents to help with this.  Whether you have a battery system and want help with MPPT controllers or you are connecting your Powerspout to the grid with a PV inverter there are guides to several different brands and models in the index.  There are also numerous documents in the “technical” section to help with understanding how to wire it all up.  For example the guide to the “Powerclamp” is in this section.  You might need a powerclamp to regulate the output voltage in some situations and keep the turbine from running unloaded.

DIY enthusiasts can find a great deal of useful stuff in the index, including a guide to using Smartdrive alternators for renewable energy projects.  Reading this guide you can select the perfect alternator design to go with your wind turbine or waterwheel or perpetual energy device or whatever you have cooked up.  There are also guides to DIY flow control systems that can manage a turbine on sites with variable flow rates.

Importantly for turbine owners there are guides to maintaining your Powerspout which mainly consists of monitoring and greasing and replacing the bearings over the years.

There is much more in the index including case studies and videos of installations.  Also information about the very successful solar pumps that Powerspout have developed in recent years.

I hope this helps to open people’s eyes to this great resource of information.  But if you do have any questions, I am very much here to find you the answers.

Posted in hydro, PowerSpout hydro turbines, products/technical, Uncategorized | Leave a comment

Some Powerspout installations by customers over the last 12 months

Here is a random collection of pictures sent to me by customers with PowerSpout turbines.  In many cases they were still in the throes of installing the turbine(s) so please do not judge too harshly if they look a bit messy.  It’s just to give you a rough idea of some of the sites where I have helped to make hydro power happen recently.
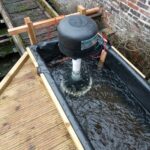
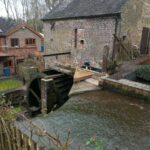
Most of my customers lately have been in the UK, but I work with people all over the world such as the site in the Congo which was for a hospital. I have a number of customers in Ireland, Portugal and South Africa for example.  In most cases I do not get sent any photos but it is really nice to see them when I do.

Posted in PowerSpout hydro turbines, Uncategorized | 1 Comment

Materials for my metric Wind Turbine Recipe Book designs

With the publication of an updated 2023 edition of my metric Wind Turbine Recipe Book it seems appropriate to update my suggestions for sourcing materials.  Often the best supplier will be a local one, but I will offer some links to online suppliers below in case this is useful.

This post is mainly for UK readers but if you are in the EU there will be other options that are easier to access such as the Ti-eole shop in France. Ti’eole offer magnets, and steel disks and courses and everything.

Neodymium Magnet Blocks 46mm x 30mm x 10mm thick :
Powermagnetstore have N40.
The web site may display low stock, but they tell me this is not accurate.
“We always stock these magnets ”  See them also on eBay
Guys magnets may have N35 blocks.  These are a bit weaker.

If you want to buy from China then I can recommend Lily as a trusted source for magnets [email protected]

In the EU there is :
Supermagnetic in Germany,
the Ti-eole shop in France
(or Enesmagnets in Poland who can offer 50 x 25 x 12 magnets in N38 which can also work well with the Recipes, slightly adapted.)

Winding wire
I buy my winding wire in 20kg reels from EC wire.
For smaller deals, here is an ebay supplier I found quite easily.

Resins, Vinyl Ester, Epoxy etc
East Coast Fibreglass
Polyfibre
These suppliers also offer the glass cloth you need for reinforcing the resin castings
Mostly I use West Epoxy nowadays for magnet rotor castings for maximum protection of the magnets.

Steel disks
Find a local workshop that offers profile cutting services. Bear in mind that it will be much cheaper to buy a larger batch if possible (shared with friends?). I like to get them sent to be galvanized on their way to me. Another option is to get them powder coated but I don’t find this lasts so long in my maritime environment.
It is fairly simple (if slow) to cut your own disks using a grinder (a big polygon works OK). Harder to get a precise result this way, but provided the assembly is balanced at the end there is no problem.

Trailer hubs
There are several online suppliers.
Trailertek offer stub axles and hubs for small turbines around 2m diameter
(beware of the seal behind the bearings which wears through due to thrust of the wind, so it is safer to remove this seal as the worn out seal causes a very slack bearing.)
You may wish to replace the bearings with decent ones such as SKF or other major brands.
I have also used AutoW for cheap options.
Towsure are another source.

For larger turbines I like to use 5-stud hubs with 140mm PCD (aka 5 1/2″)

I hope this helps. If anyone needs further advice (or if you have a good source to add to the list) please contact me at [email protected]

Posted in Uncategorized | 1 Comment

Powerspout Pacific island installation video

Background document with photos here.

All Powerspout documents and videos here

Posted in developing world, hydro, People, PowerSpout hydro turbines | Leave a comment

Installing a Powerspout Coanda intake

Some good photos from a recent installation trip to a Pacific Island by Michael Lawley and his son Edward show best practice for installing their Coanda intake. Water is impounded in a small pool behind the intake so that it spills over the rounded crest, over an acceleration plate that keeps the flow adhering to the surface in an even layer at a good velocity to optimise the function of the Coanda screen.

So often I see coanda screens with water flying right over them or poured in a jet onto the middle or submerged in slow flow. Correct installation is the key to getting the benefits of this type of screen, with its specially shaped bars that use the surface tension of the water to separate it from solid particles.

Coanda installation manual is here.

Posted in developing world, hydro, People, PowerSpout hydro turbines | Leave a comment

Estimating your head

I just did a wee video about methods of estimating head and put it on Youtube.  It’s a bit rough in places, but I hope it helps.

Shown in this video are the following methods:

  1. Using a contour map (in this case an ordnance survey map taken on streetmap.co.uk)
  2. Using Google Earth Pro to make a track with an elevation profile
  3. Using a Johnson Sight Level that you can buy on eBay or wherever
  4. Using a “clinometer” app on your phone
  5. Using a pressure gauge on a pipe full of water

I did not mention that you can also use the clinometer to measure the angle of slope, and a long tape to measure distances, and thereby you can calculate the drop based on the triangle calculation for each step of the way.  This can also work well if the device is calibrated.  It also gives you an accurate pipe length.

An accurately calibrated aneroid altimeter can be a possible method on high head sites, but be wary of using GPS altimeters as they are not likely to be very accurate.  Nor is Google Earth, to be honest.  Each of these methods just gives you another rough indication which is why you should use several of them if possible and see if they agree at all with each other.   There are more methods for sure including laser levels and tubes full of water but these are ones that I actually use.

In the end you just need this head measurement to satisfy yourself that your hydro site is going to delivery useful energy.  As a ballpark figure, the output in Watts might be about 5 Watts for every metre of head and litre/second of flow.  So if you have 100m head and 2 l/s flow then you can likely make 5 x 100 x 2 = 1000W or 1kW of power, which after 24 hours adds up to 24kWh units of electrical energy per day.  More than an average home uses.

some links

http://www.microhydropower.net/basics/head.php
https://www.micro-hydro-power.com/how-to-measure-water-head.htm
https://www.renewablesfirst.co.uk/hydropower/hydropower-learning-centre/head-and-flow-detailed-review/

Posted in hydro, PowerSpout hydro turbines, Video links | 1 Comment

Nice LH turbine installation

Mill sites are often ideal for the PowerSpout LH turbine.  Here is a nice one in England installed recently.

Posted in Uncategorized | 2 Comments

More Photos of DIY turbine installations working well

Some recent installations that I have helped with remotely.  The owners of these turbines were kind enough to share these glimpses of the installation process, and of course they went ahead and tidied them up afterwards, but I rarely get the pictures of the final result.

Posted in hydro, PowerSpout hydro turbines | Leave a comment